Reverse appliqué is one of those techniques that sounds fancier than it is. Regular appliqué stitches a shape on top of your fabric; reverse appliqué does the opposite: you stitch your shape, then snip the top layer away to reveal a pretty print hiding underneath. That's the whole magic trick. And because the cut edges are supposed to look soft and a little raw, the mistakes just blend right in, which makes it one of the most forgiving projects I hand to a beginner.
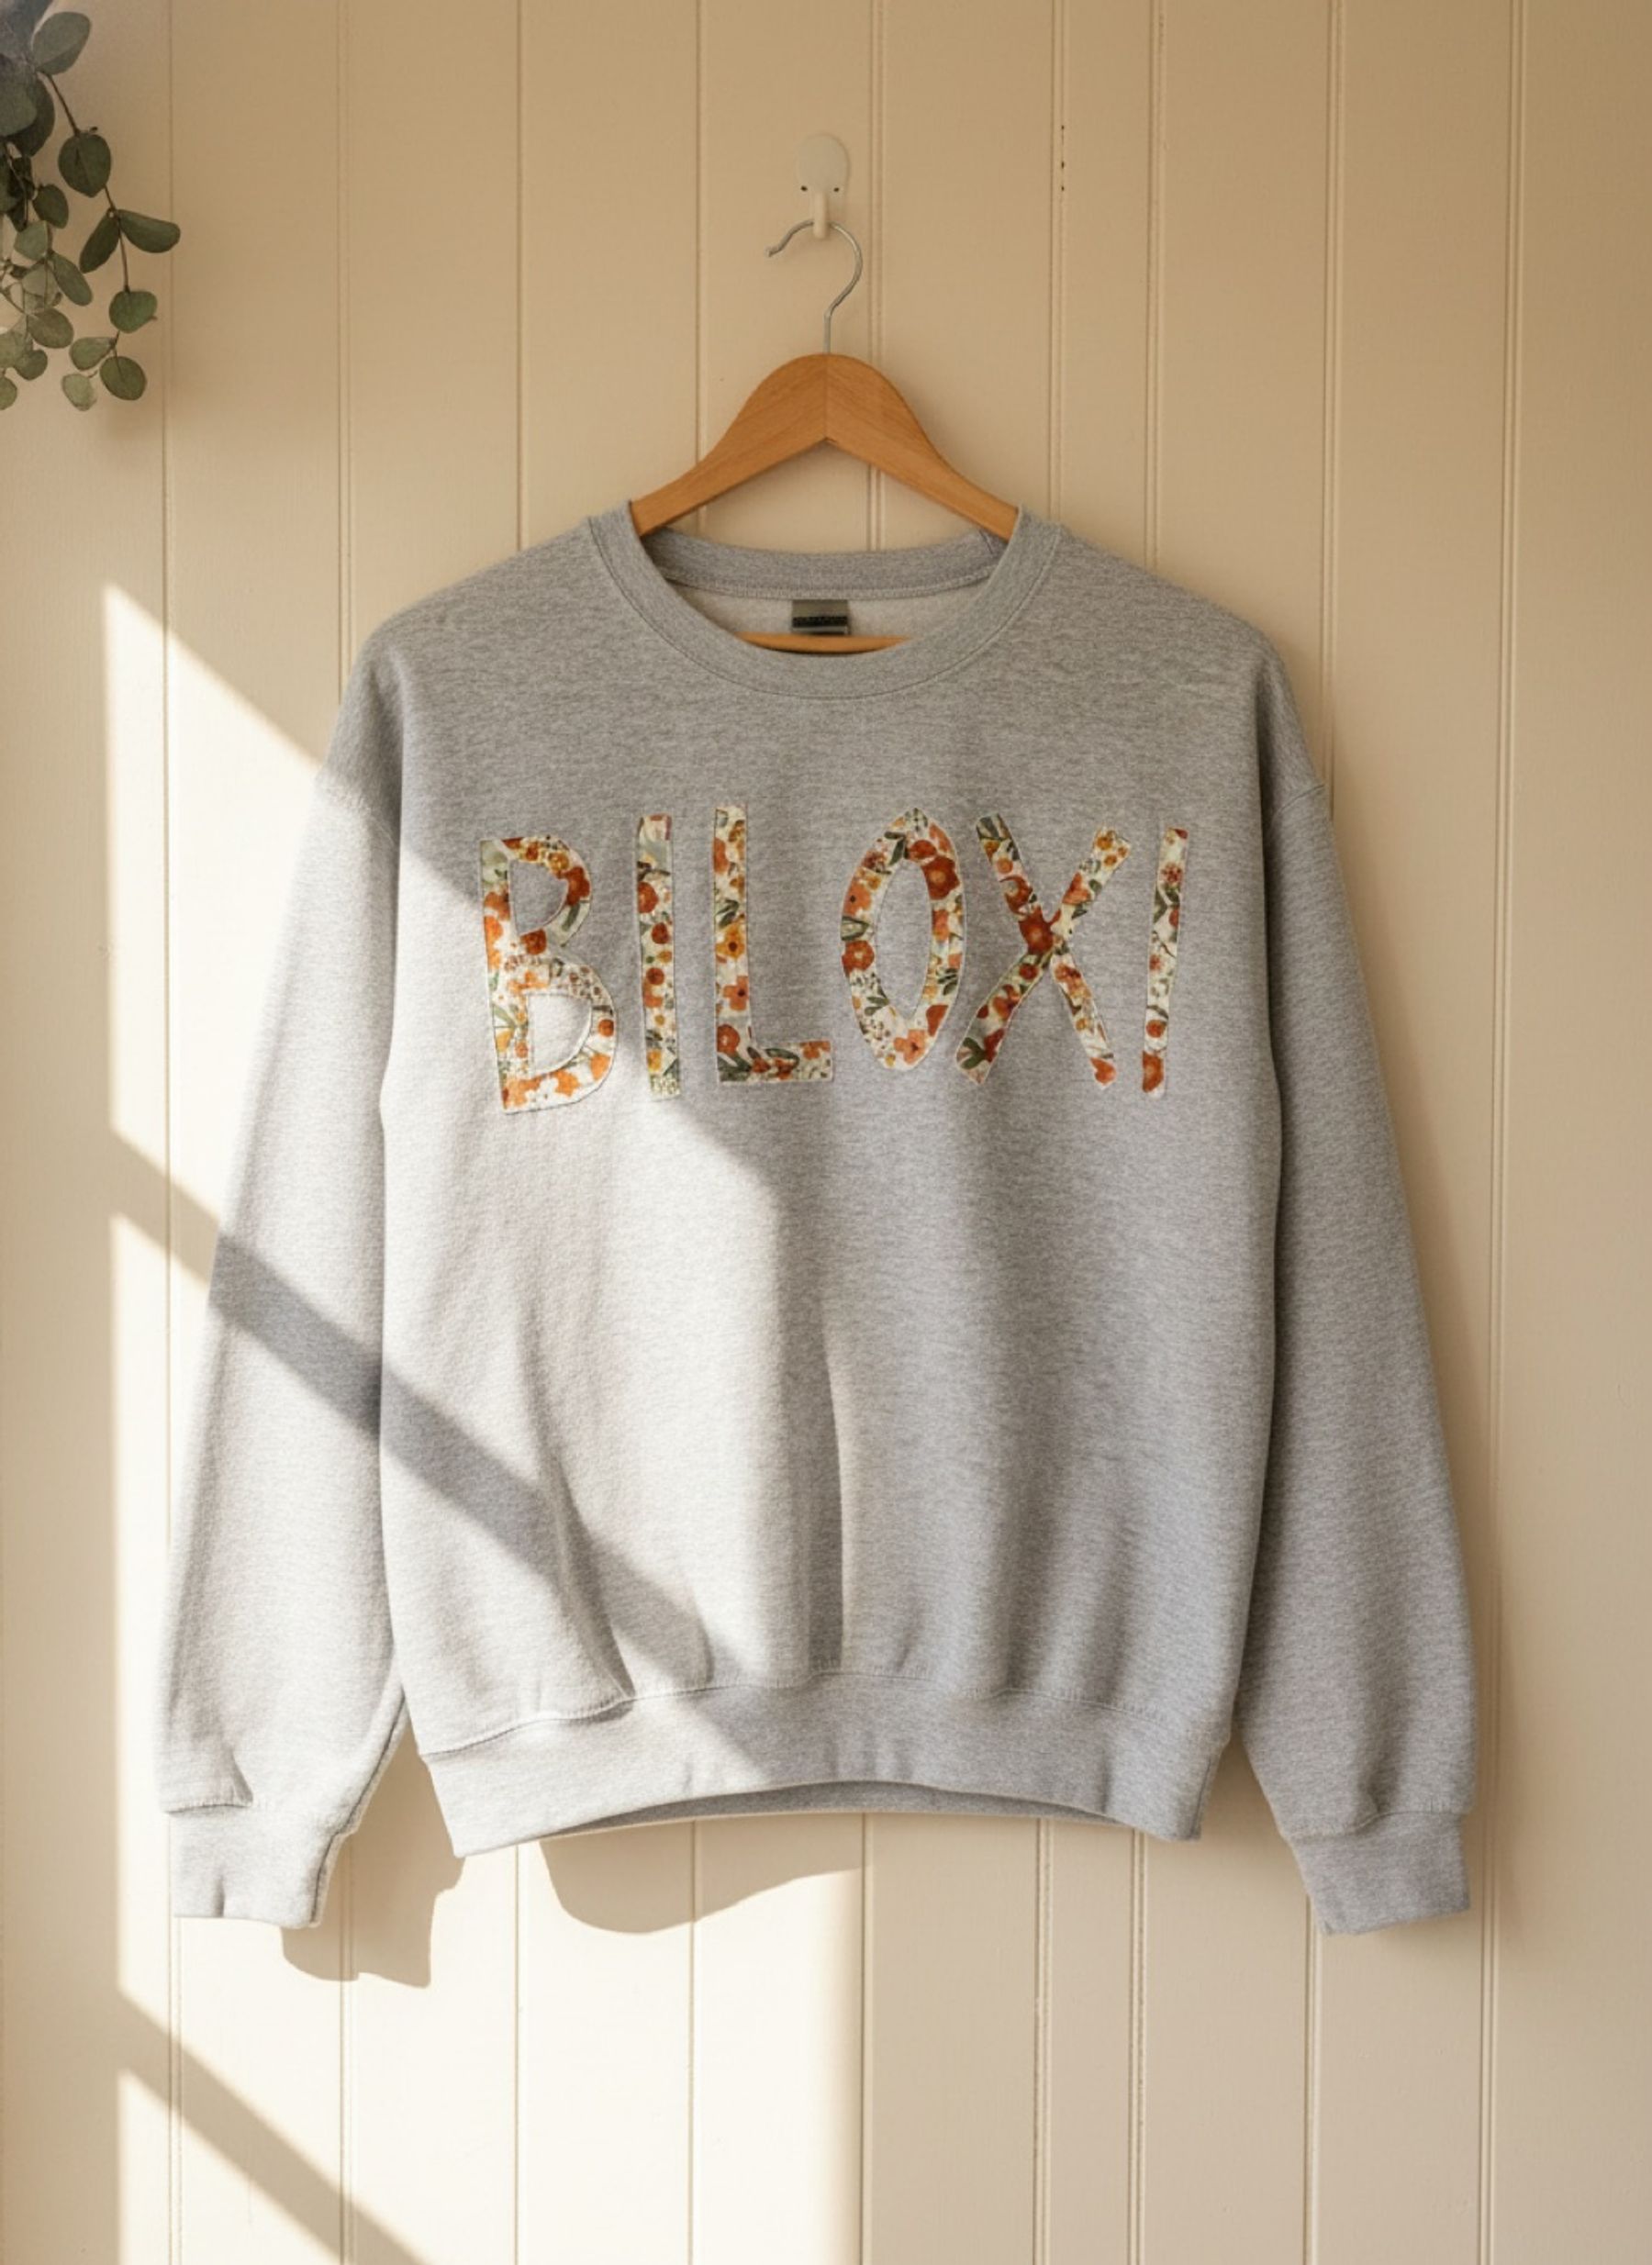
I made mine on a plain grey crewneck with "BILOXI" spelled out in a small floral, but a heart, a single flower, or your own town's name works just as well.
Gather your bits
- A crewneck sweatshirt (thrifted or well-loved is perfect)
- A scrap of coordinating fabric for the reveal (a fat quarter is plenty)
- Tearaway stabilizer, if you have it (optional, but it helps)
- Sharp little scissors (embroidery scissors are ideal)
- A ruler and some chalk or a washable fabric marker
- Pins, and either your machine or an embroidery needle and thread
Draw your design
Keep it simple: letters, a heart, a flower, a basic shape. Sketch it centered on the front of the sweatshirt with your washable marker, or print a design onto iron-on washaway paper and press it down. Simple shapes read best and are far easier to cut cleanly, so resist the urge to get ambitious on your first one. Pin around the edges to hold everything steady.
Pin your fabric behind it
Turn the sweatshirt inside-out and pin your scrap fabric behind the design area, with the pretty side facing the sweatshirt. That's the side that'll show once you cut. Make sure it's a little bigger than your design all around. This is the step people flip, so slow down: right side of the scrap fabric toward the wrong side of the sweatshirt. A layer of stabilizer here keeps everything from shifting while you sew.
Right side of the scrap faces the inside of the shirt: that's the whole secret, and it's the one thing everyone gets backwards the first time.
Stitch the outline
Flip the sweatshirt right-side-out again and sew directly along your drawn lines. A straight stitch is fine, or a small zigzag if you want a little more hold on the raw edges. You're stitching through both layers here, which is what traps that hidden fabric in place. Go slow on the curves and don't chase perfection; a slightly wobbly line looks handmade in the best way.
Cut to reveal
Here's the payoff. Working inside your stitched lines, carefully snip through the top layer only (just the sweatshirt) to expose the fabric underneath. Take your time and keep your scissor tips away from the stitches. As you cut, the print comes up through the opening and the whole thing suddenly makes sense.
Tidy the back
Turn it inside-out one more time and trim away the extra scrap fabric and any stabilizer close to your stitching. That's it: a plain sweatshirt turned into something with a story.
This works on more than sweatshirts, too: tote bags, tees, a jacket you're bored of. Just pick a reveal fabric that doesn't fray like crazy, and you're set. Make one, wear it into the ground, then make another.
First published in my Gulf Coast Woman column : read the original in the digital issue →