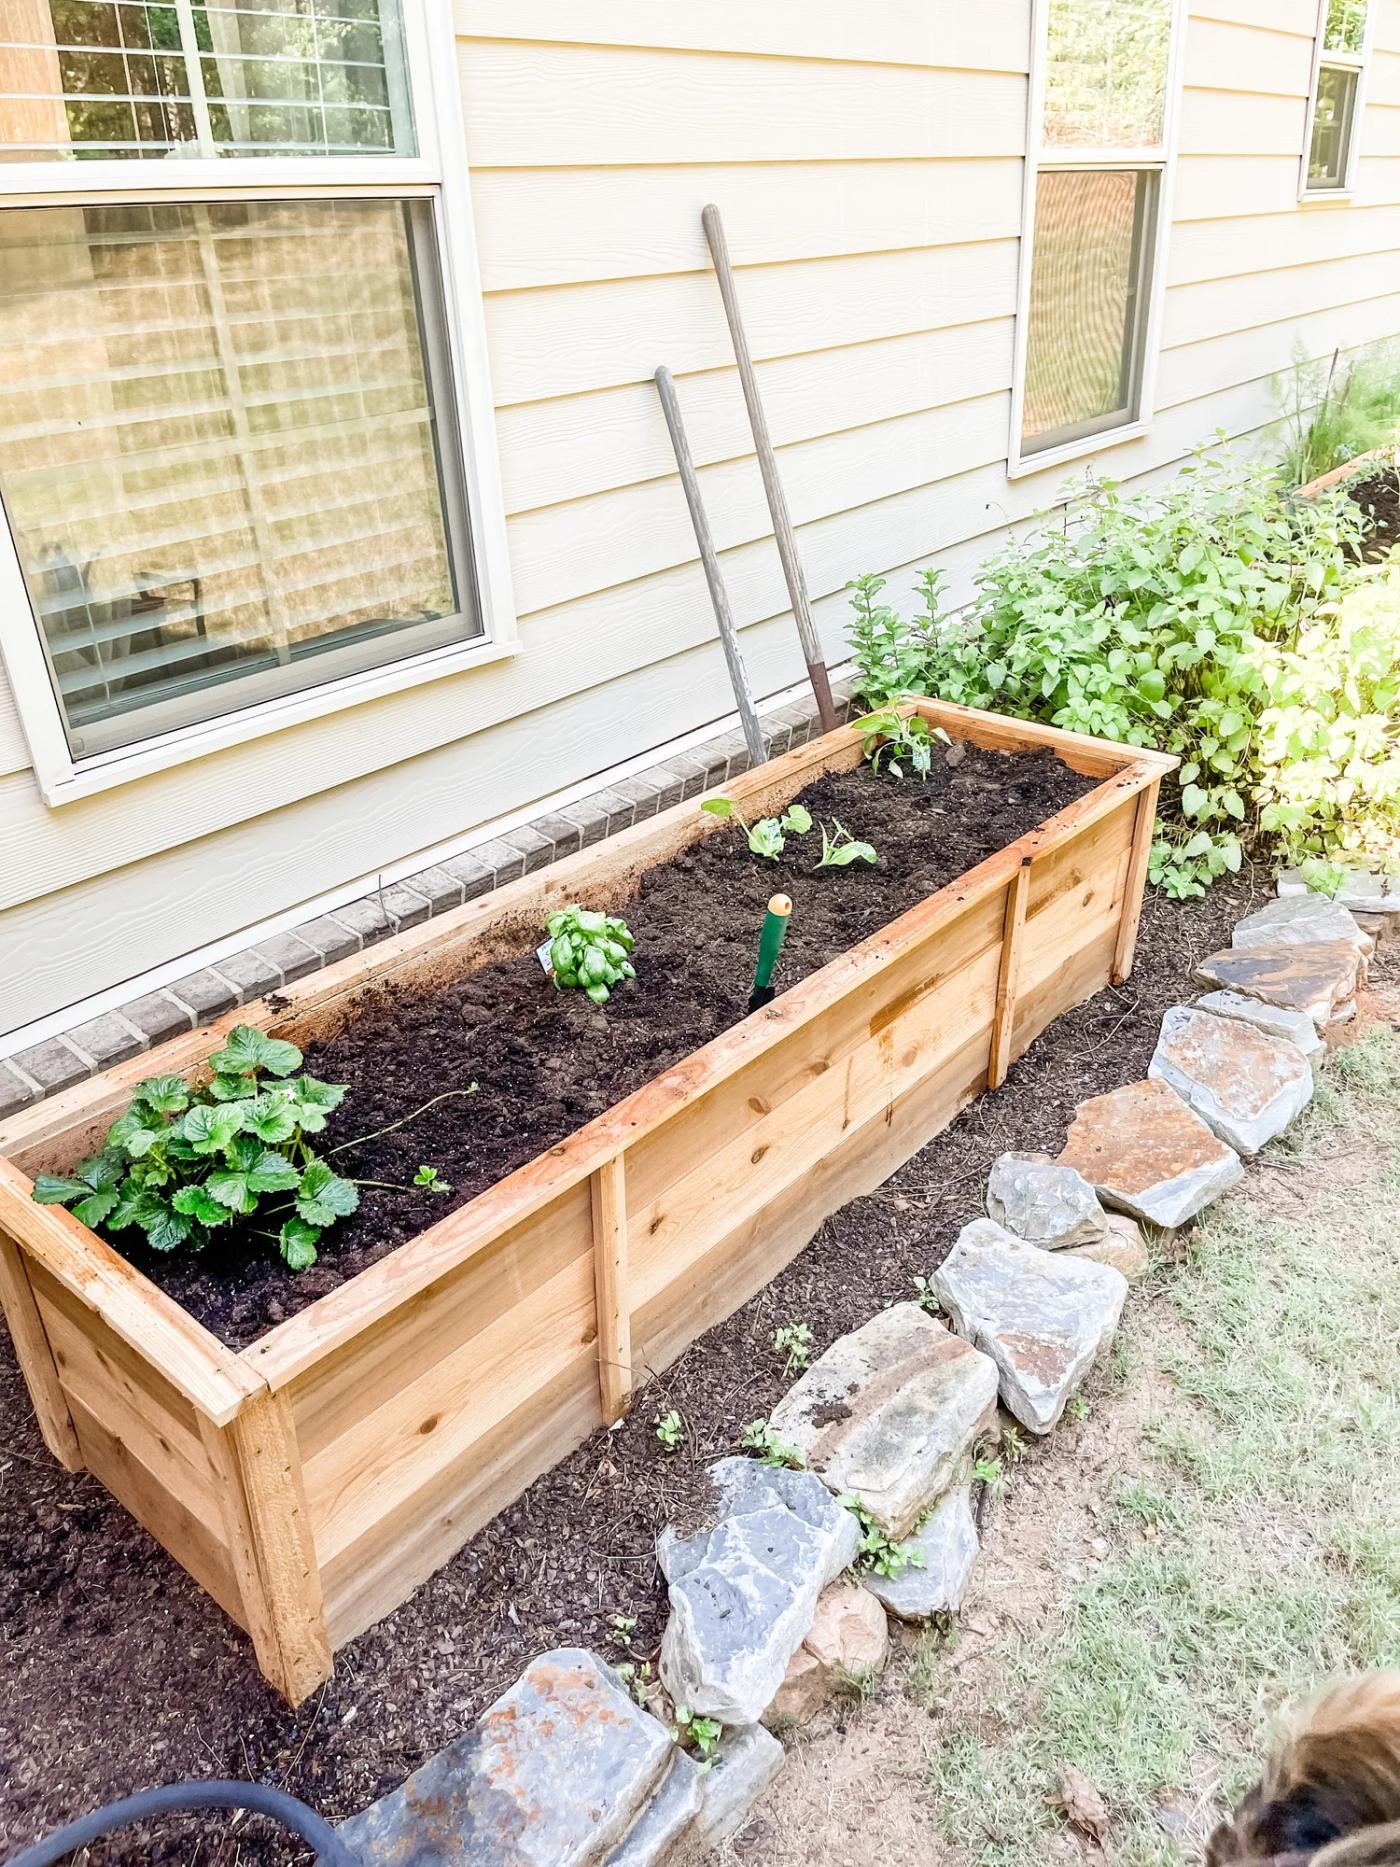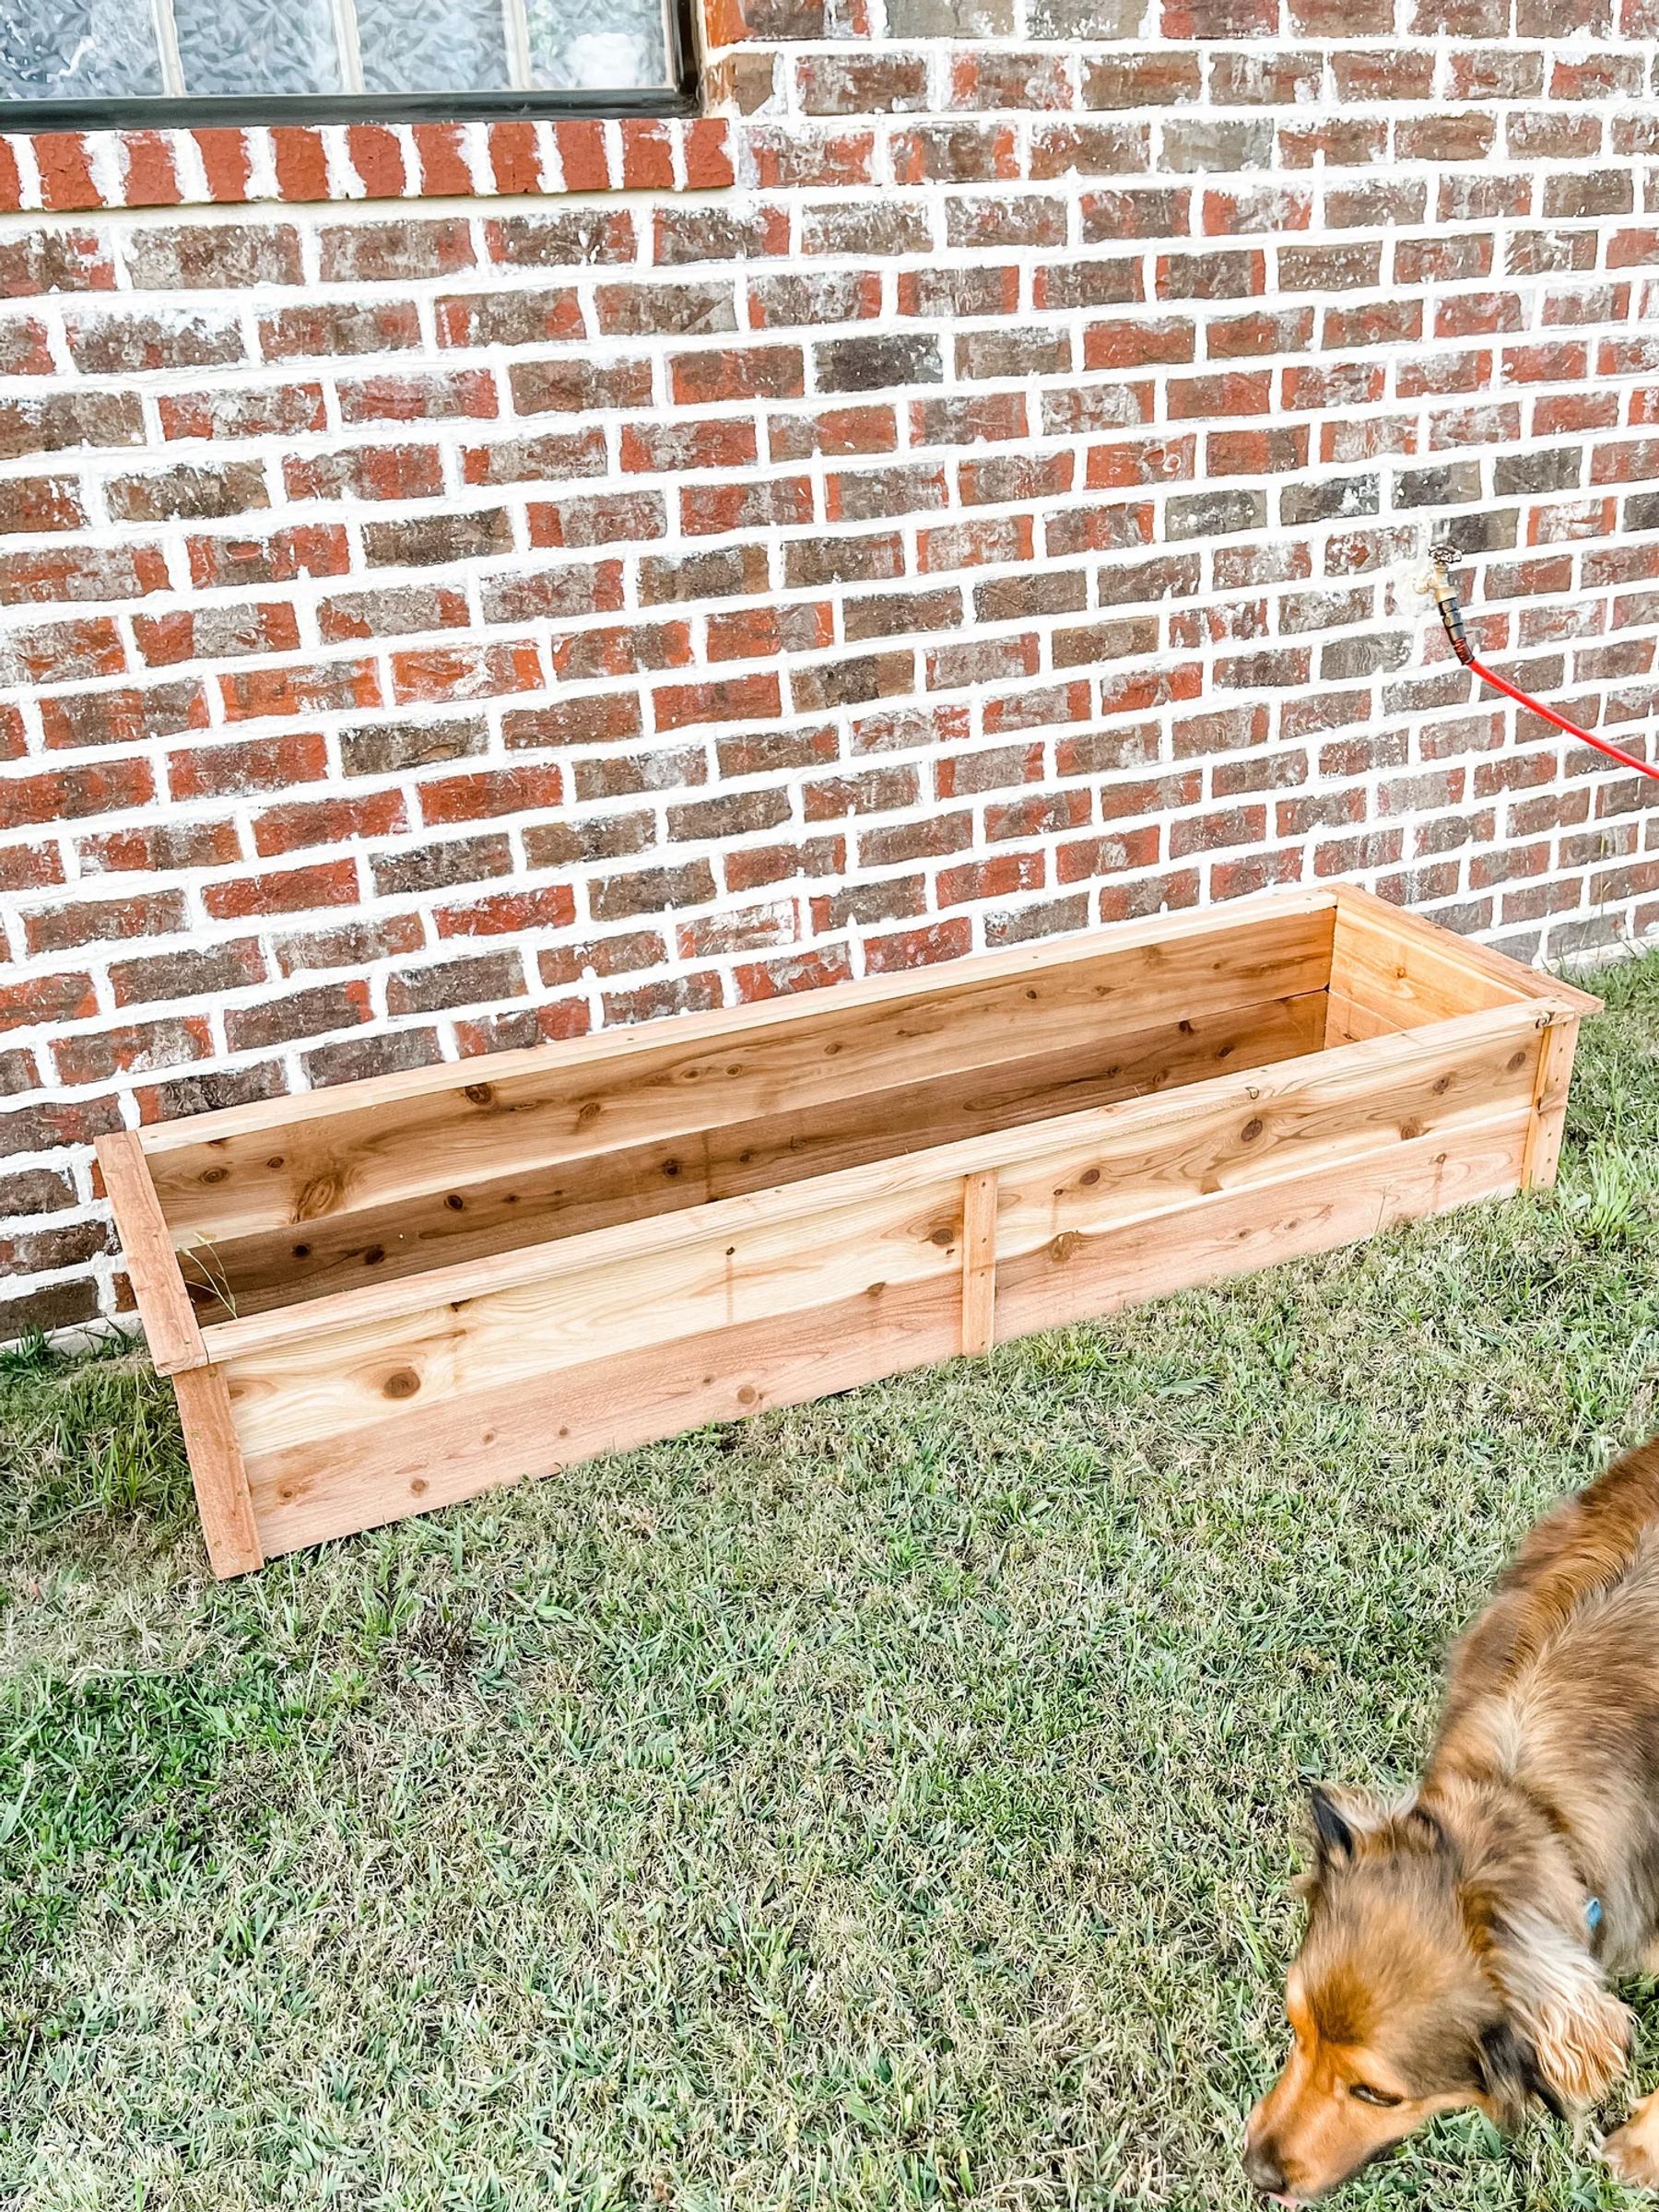
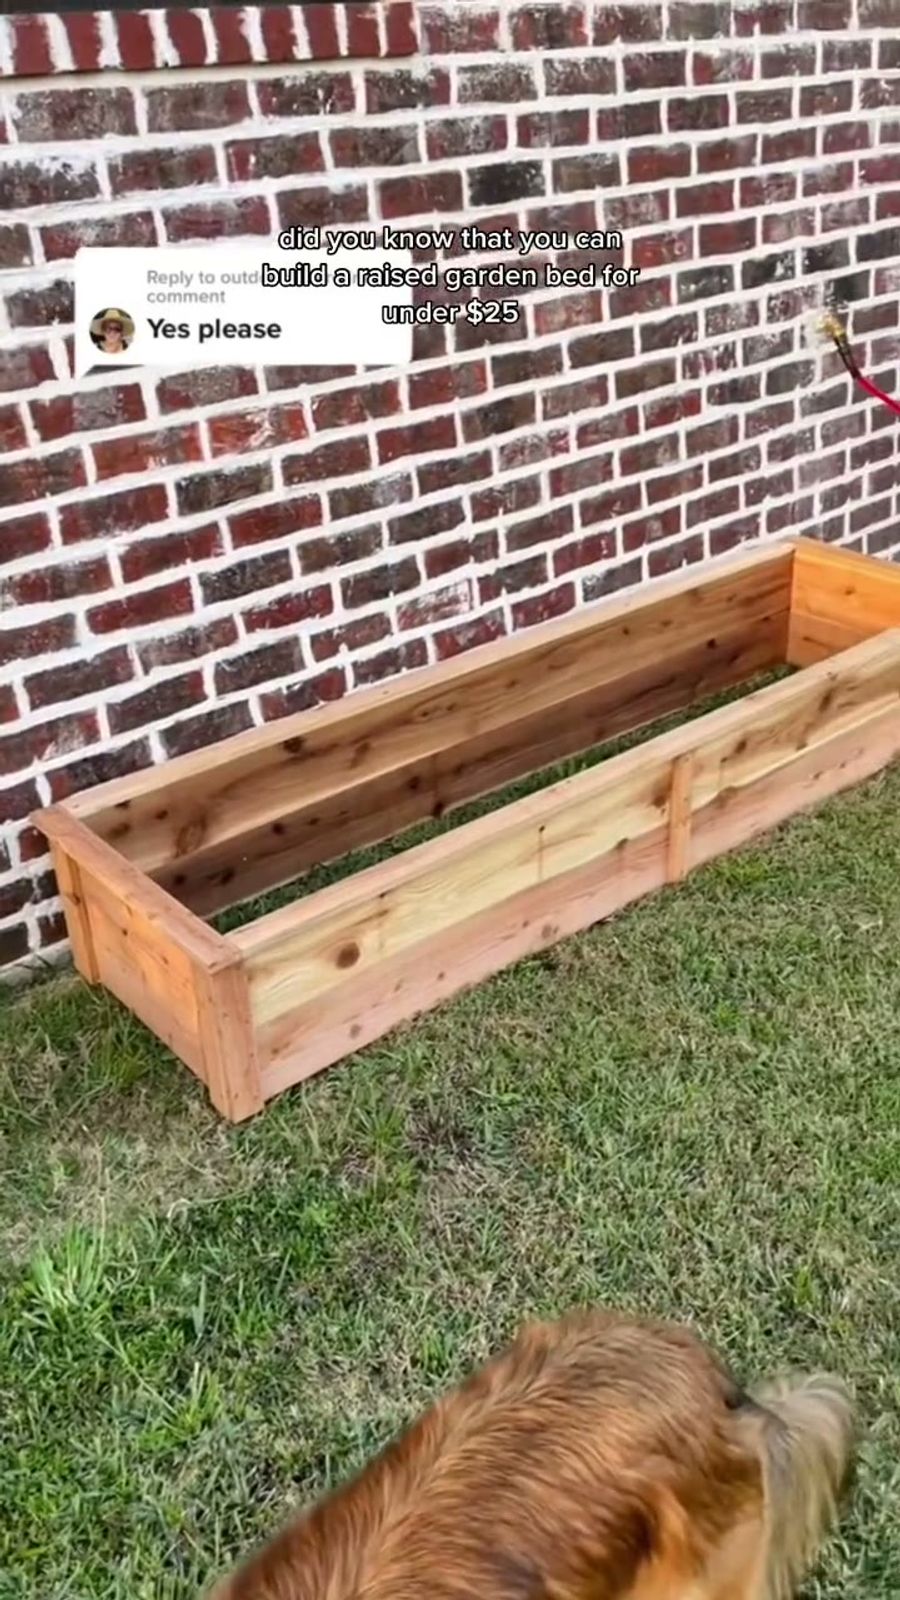
Last spring, I made it my mission to learn some gardening. I've never had a green thumb. In fact, I usually kill everything I plant, so there was a lot of room to learn. But I wanted to use the skills I do have and build myself some raised garden beds to get started. I'm still working on the gardening part (a lot of my plants didn't make it through the winter, since I live in Coastal Mississippi and we had a few freezes), but what did last? My garden beds. :)
I started by making one for myself, figuring out the cheapest, most economical way to build these without leftover scraps. I also wanted to use untreated wood. That may be a controversial choice, since untreated wood doesn't stand up to the elements like treated wood does. But it's more important to me and my family to introduce fewer toxins and chemicals to the food we grow. I'd rather rebuild these in a few years (or maybe longer, we shall see) than eat the chemicals that seep into the soil. No judgment if you decide to use treated wood, or paint or stain yours. Do what's right for you! Cedar is naturally resistant to rot and decay, and it's a deterrent for pests.
Tools and Supplies
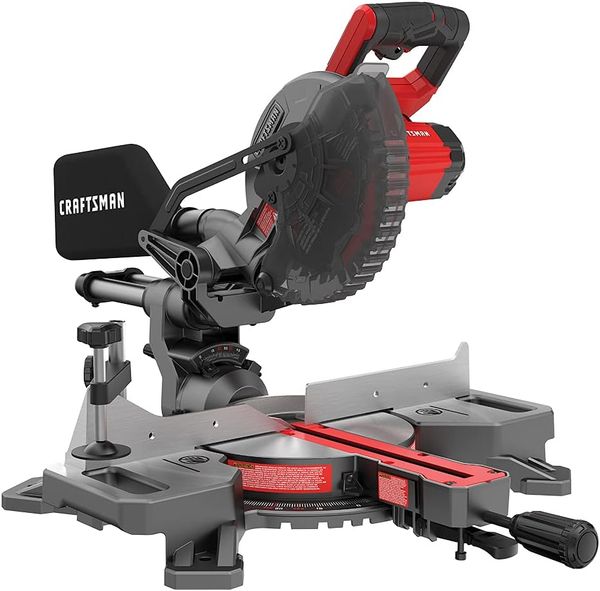
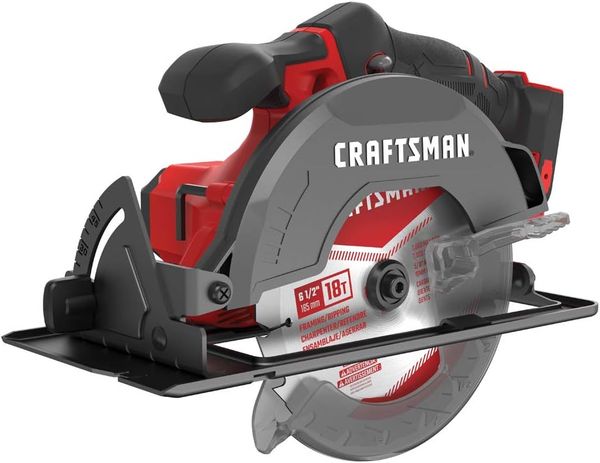
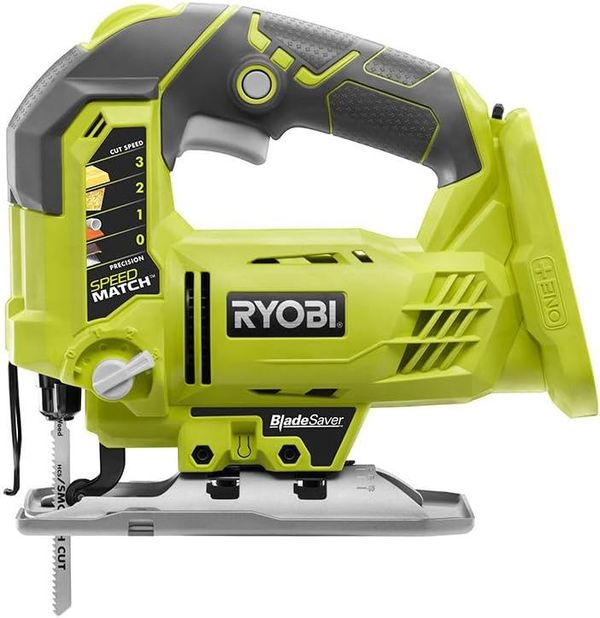
- Saw (a miter, circular, or jig saw will do)
- Table saw (if you don't have one, see the note below)
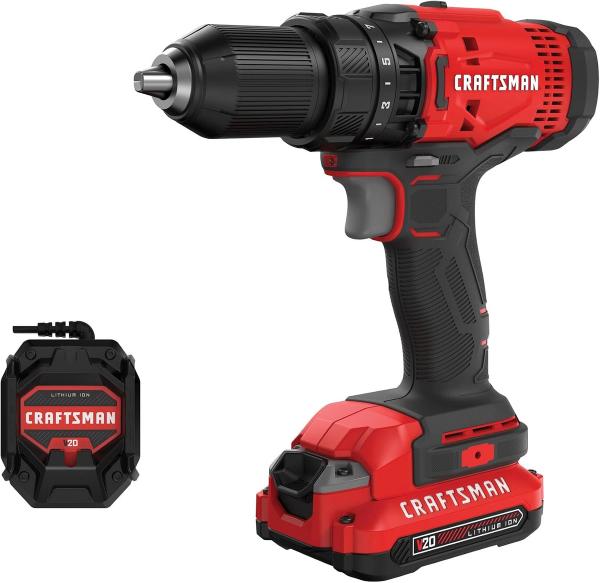
- Drill
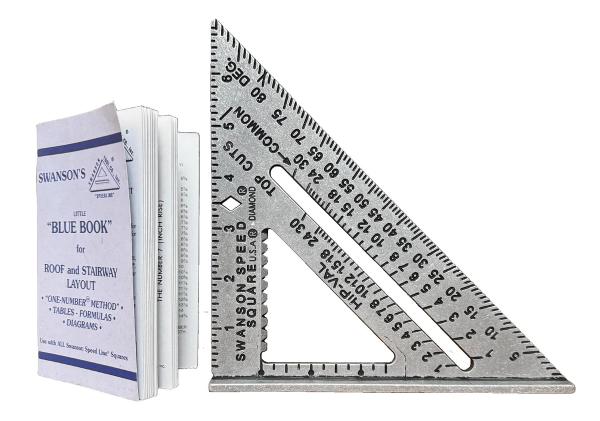
- Square
- Exterior wood glue
- 2-inch wood screws
- 1-inch wood screws
- Drill bit for the screws (the package usually comes with one)
- Pencil or pen
- Tape measure
Materials
- (7) untreated cedar pickets at 6 ft. I get mine at Lowe's in the garden section. These are the dog-eared fence pickets, and they should run about $3.98 each (or less if the price of lumber has come down in your area).
Cut List
- Long sides - (4) 1x6 pickets at 6 ft
- Short sides - (4) 1x6 pickets at 17.75 in
- Corner supports - (8) 1x2 at 11 in
- Middle supports - (2) 1x1.5 at 11 in
- Long trim - (2) 1x2 at 72 in
- Short trim - (2) 1x2 at 19 in
Step 1
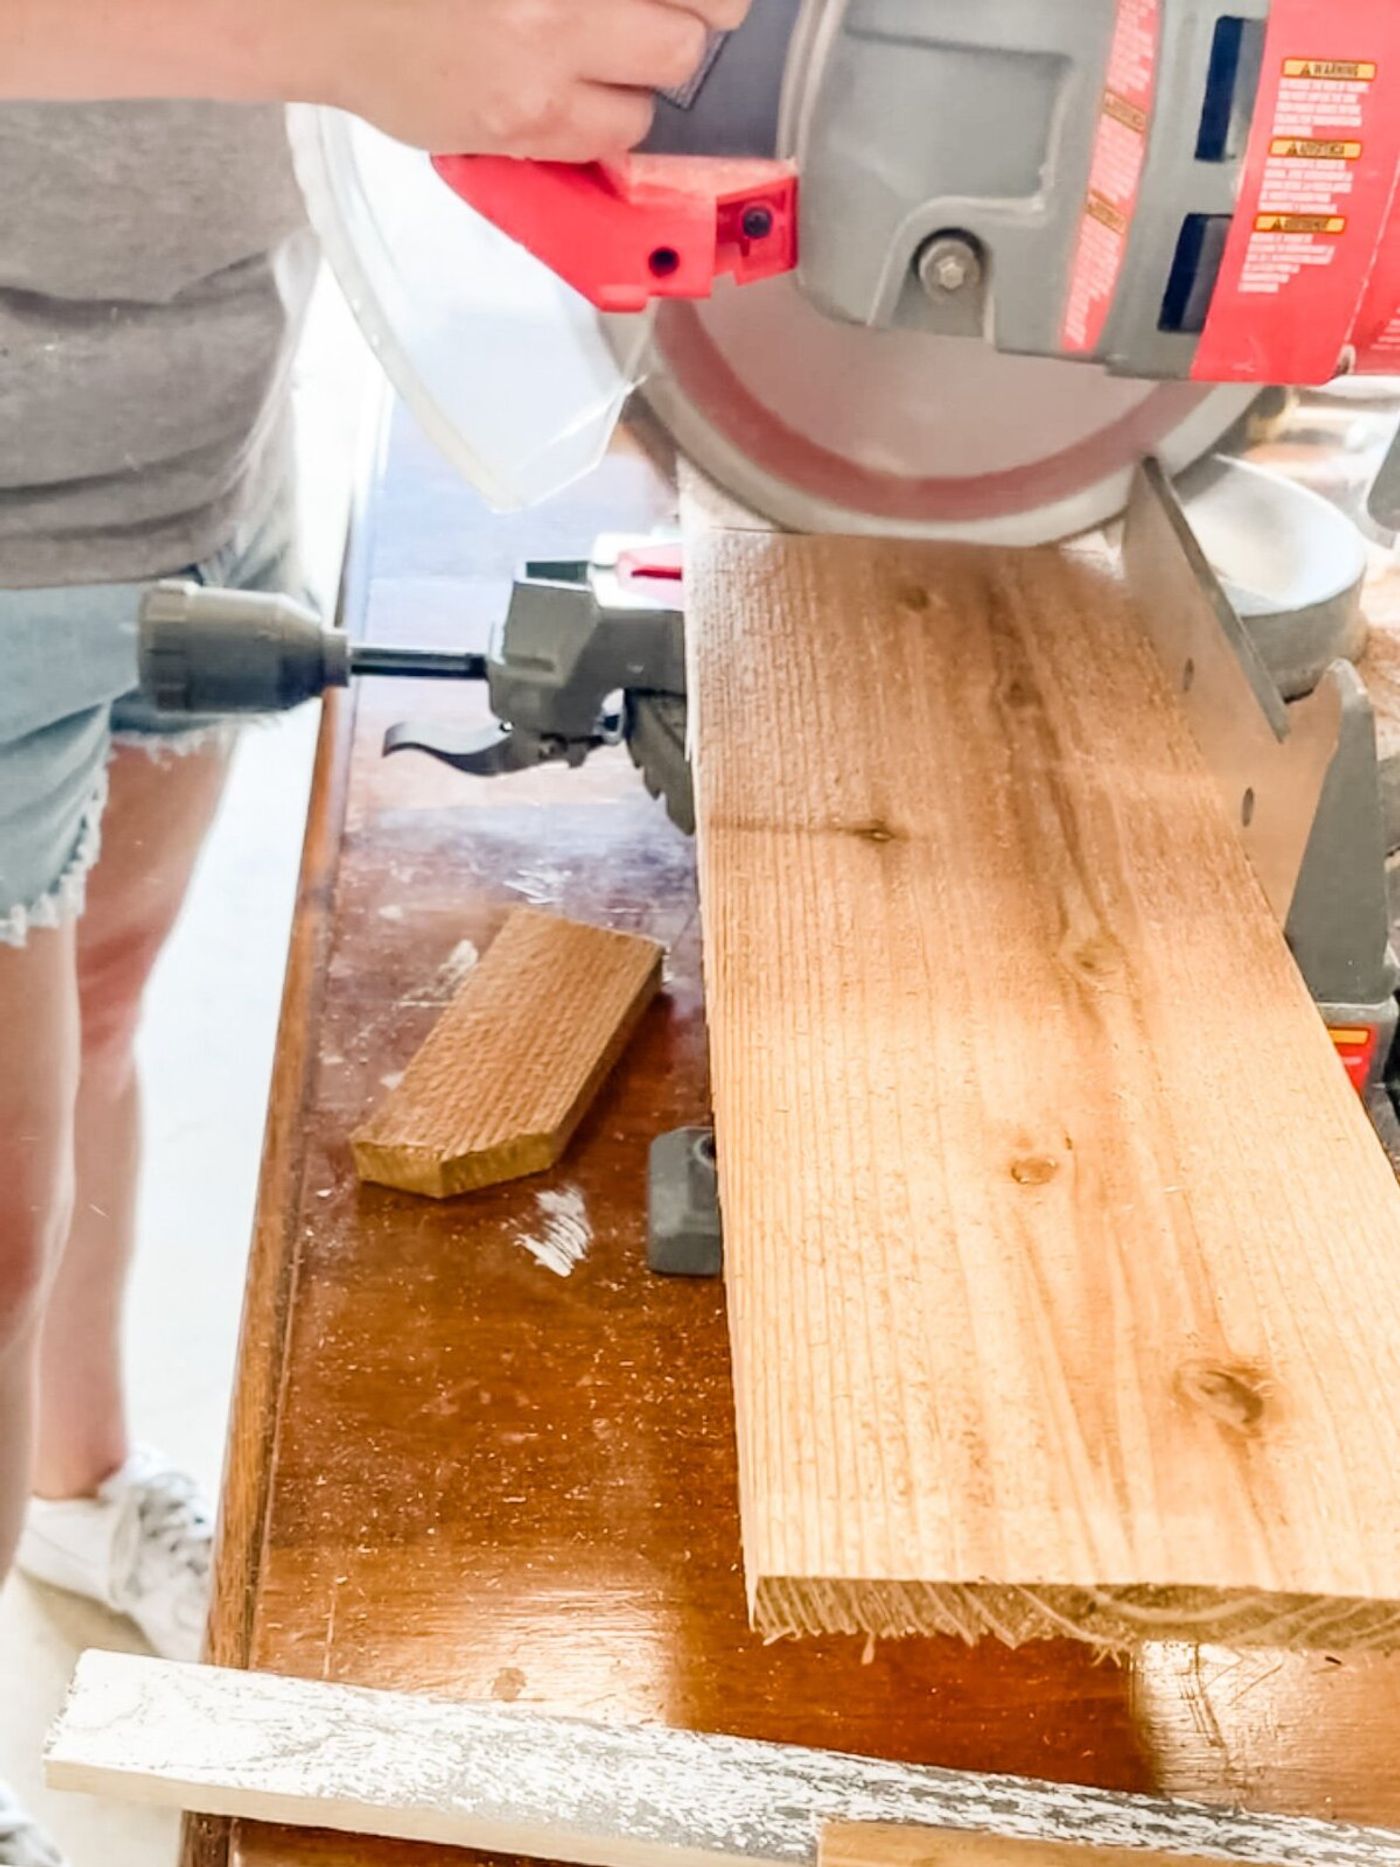
Make your cuts according to the cut list above. You can leave the dog-eared side on or cut it off and adjust accordingly. Rip 2 of the pickets into 3 sections each (1x2, 1x2, and 1x1.5) to use for trim, corner braces, and middle braces. The remaining 5 pickets make up the long sides (4 pickets) and short sides (1 picket).
Step 2
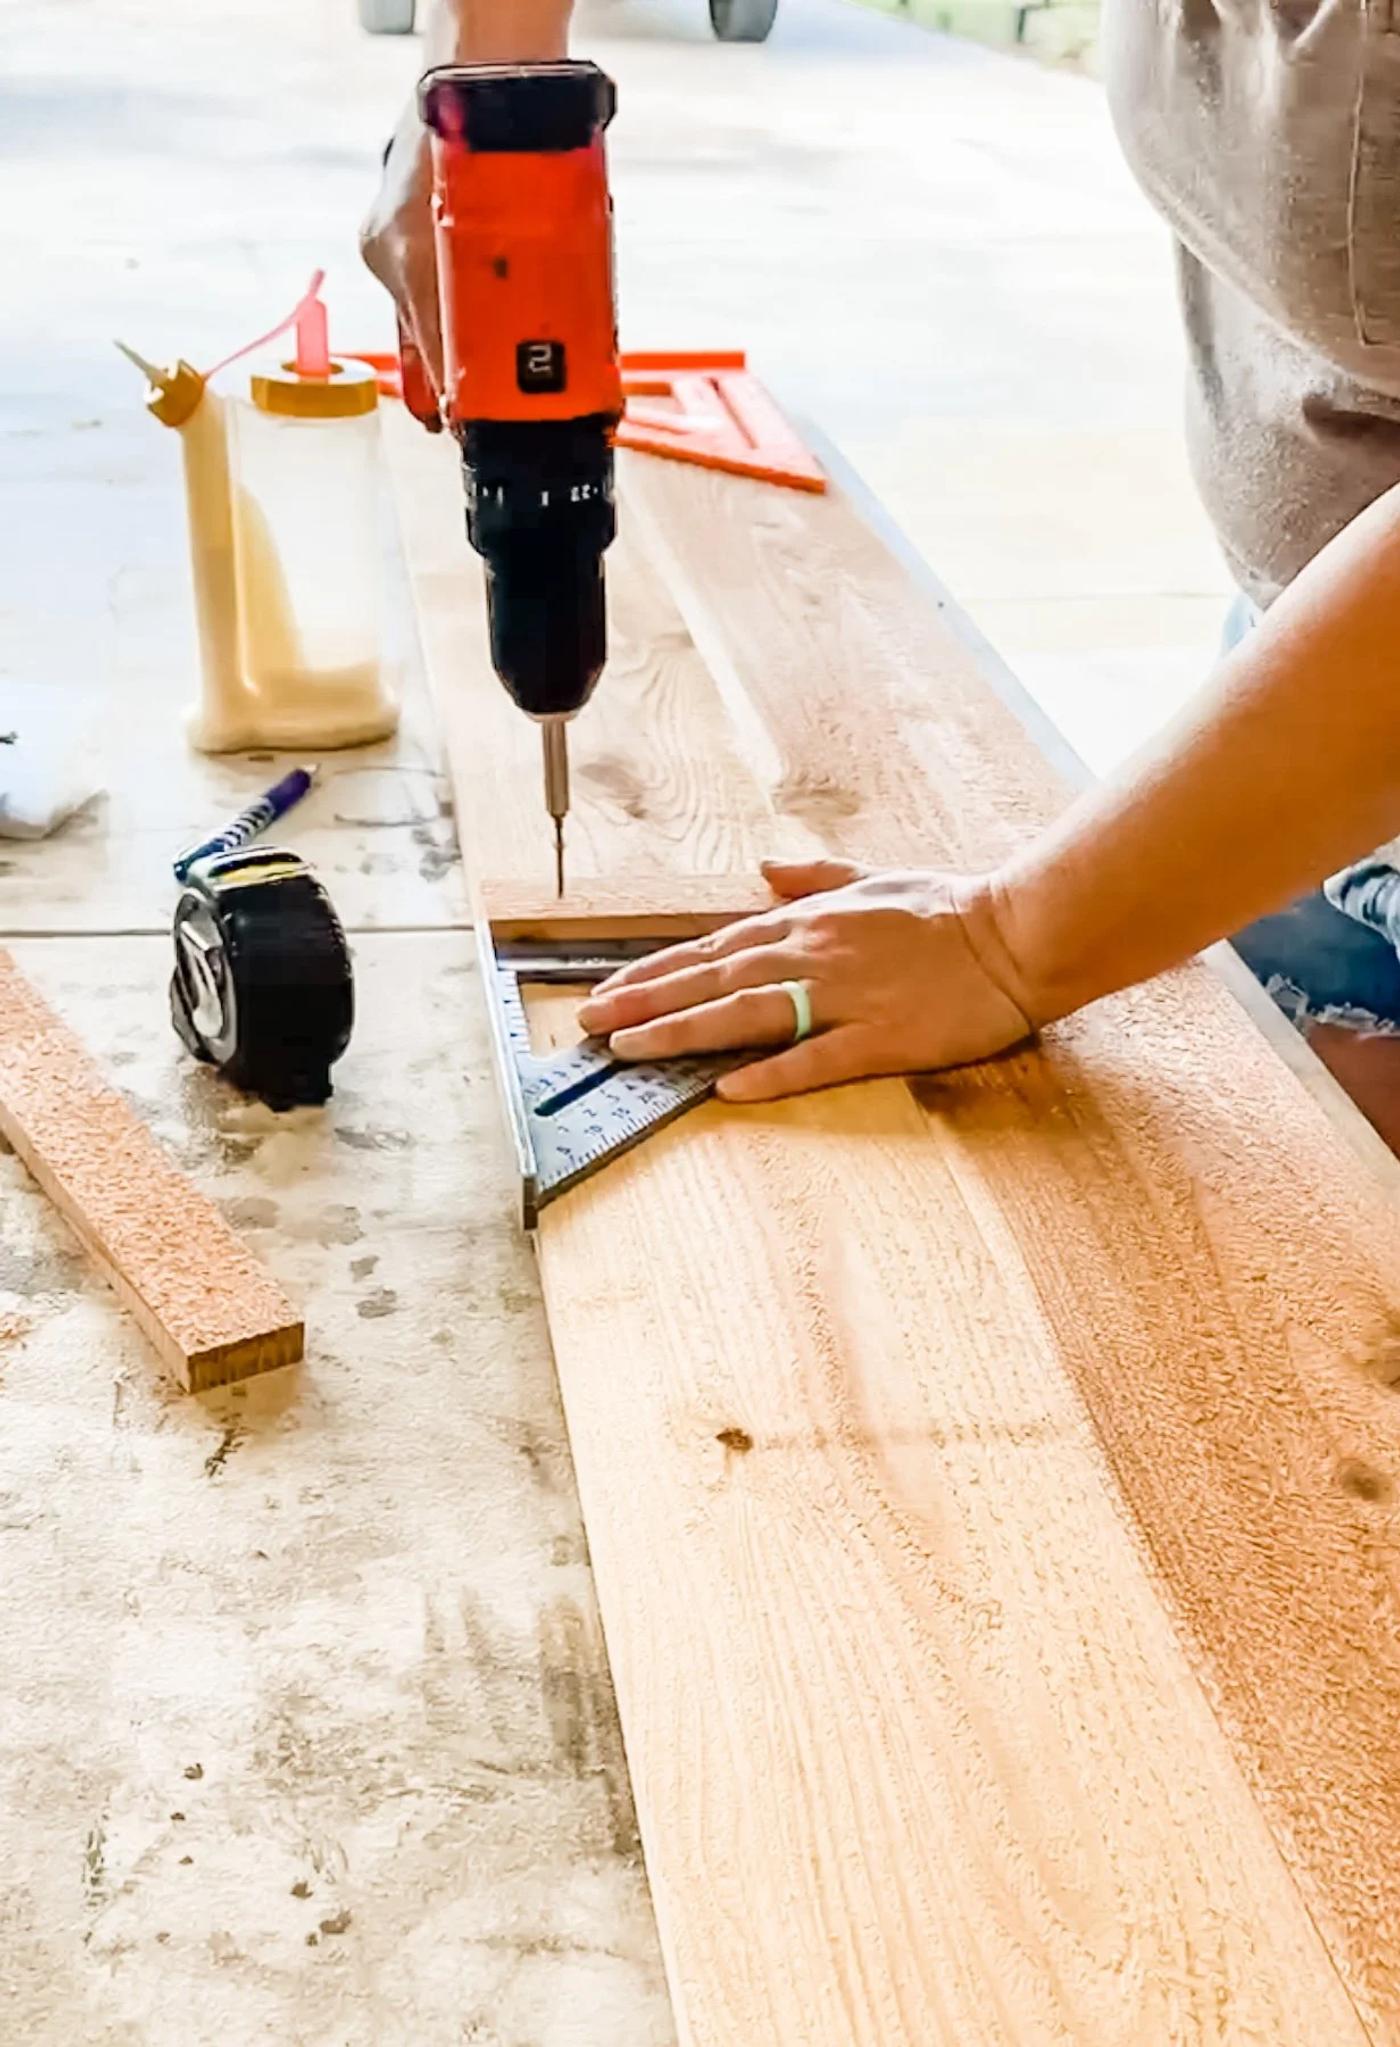
Once all your cuts are made, start assembling. Begin with the short sides. Add one corner support to the edge of two short-side pieces, with enough overhang to screw into the long pieces: that's 5/8 in if you want it perfectly aligned. Using a square will help you line everything up. Press down as you drive the 1-inch screws in. Repeat for the other corners on the short sides, then again for the long sides. Lastly, add your 2 middle supports to the middle of the long sides.
Step 3
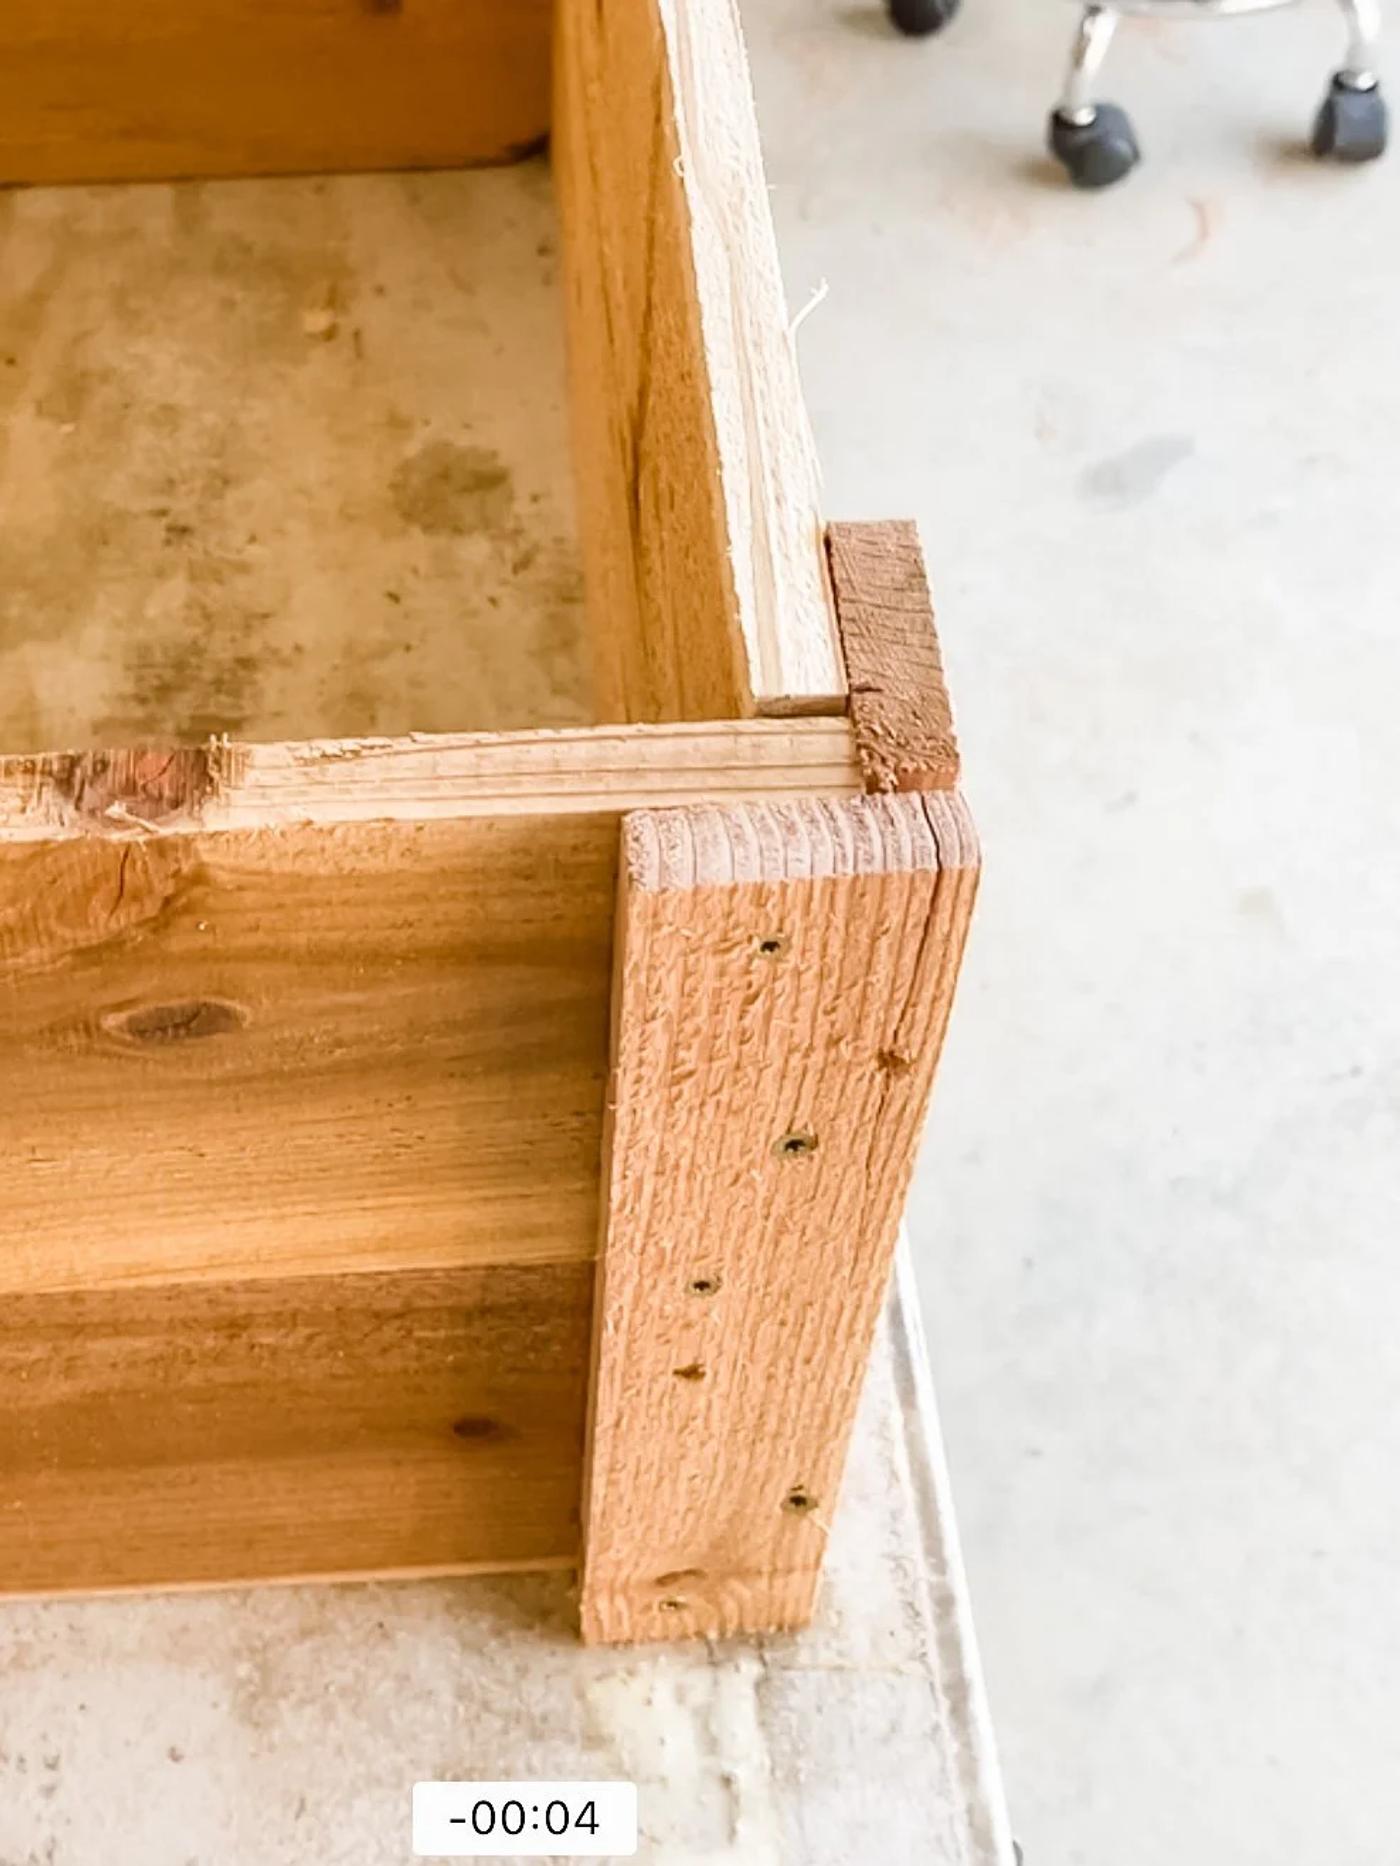
You should now have four sides with corner supports: two short, two long. Lay a long side flat on a table so the corner pieces are on the back, closest to the table. Screw a short side into the long side, and repeat the screws on the long side for added security. This should make an L shape. Now that it stands up on its own, add the second long side, screwing in the same places. Then add your last short side, making sure to overlap the corners the same way you did on the first side. Now you have a rectangular box. You can add glue along the way.
Step 4
Add your trim around the top. This gives the box a nice finish and a lip to grab onto. Use the 2-inch screws to attach it, making sure to screw into the base.
Step 5
You can add a base to this if you want, but I designed mine to sit directly on the ground and I use garden cloth on the bottom.
If you don't have a table saw
You can buy 1x2x8s in lumber. This size works for the middle and corner supports as well as the trim around the edge. If you go this route, you can probably get by with just 5 cedar pickets instead of 7.
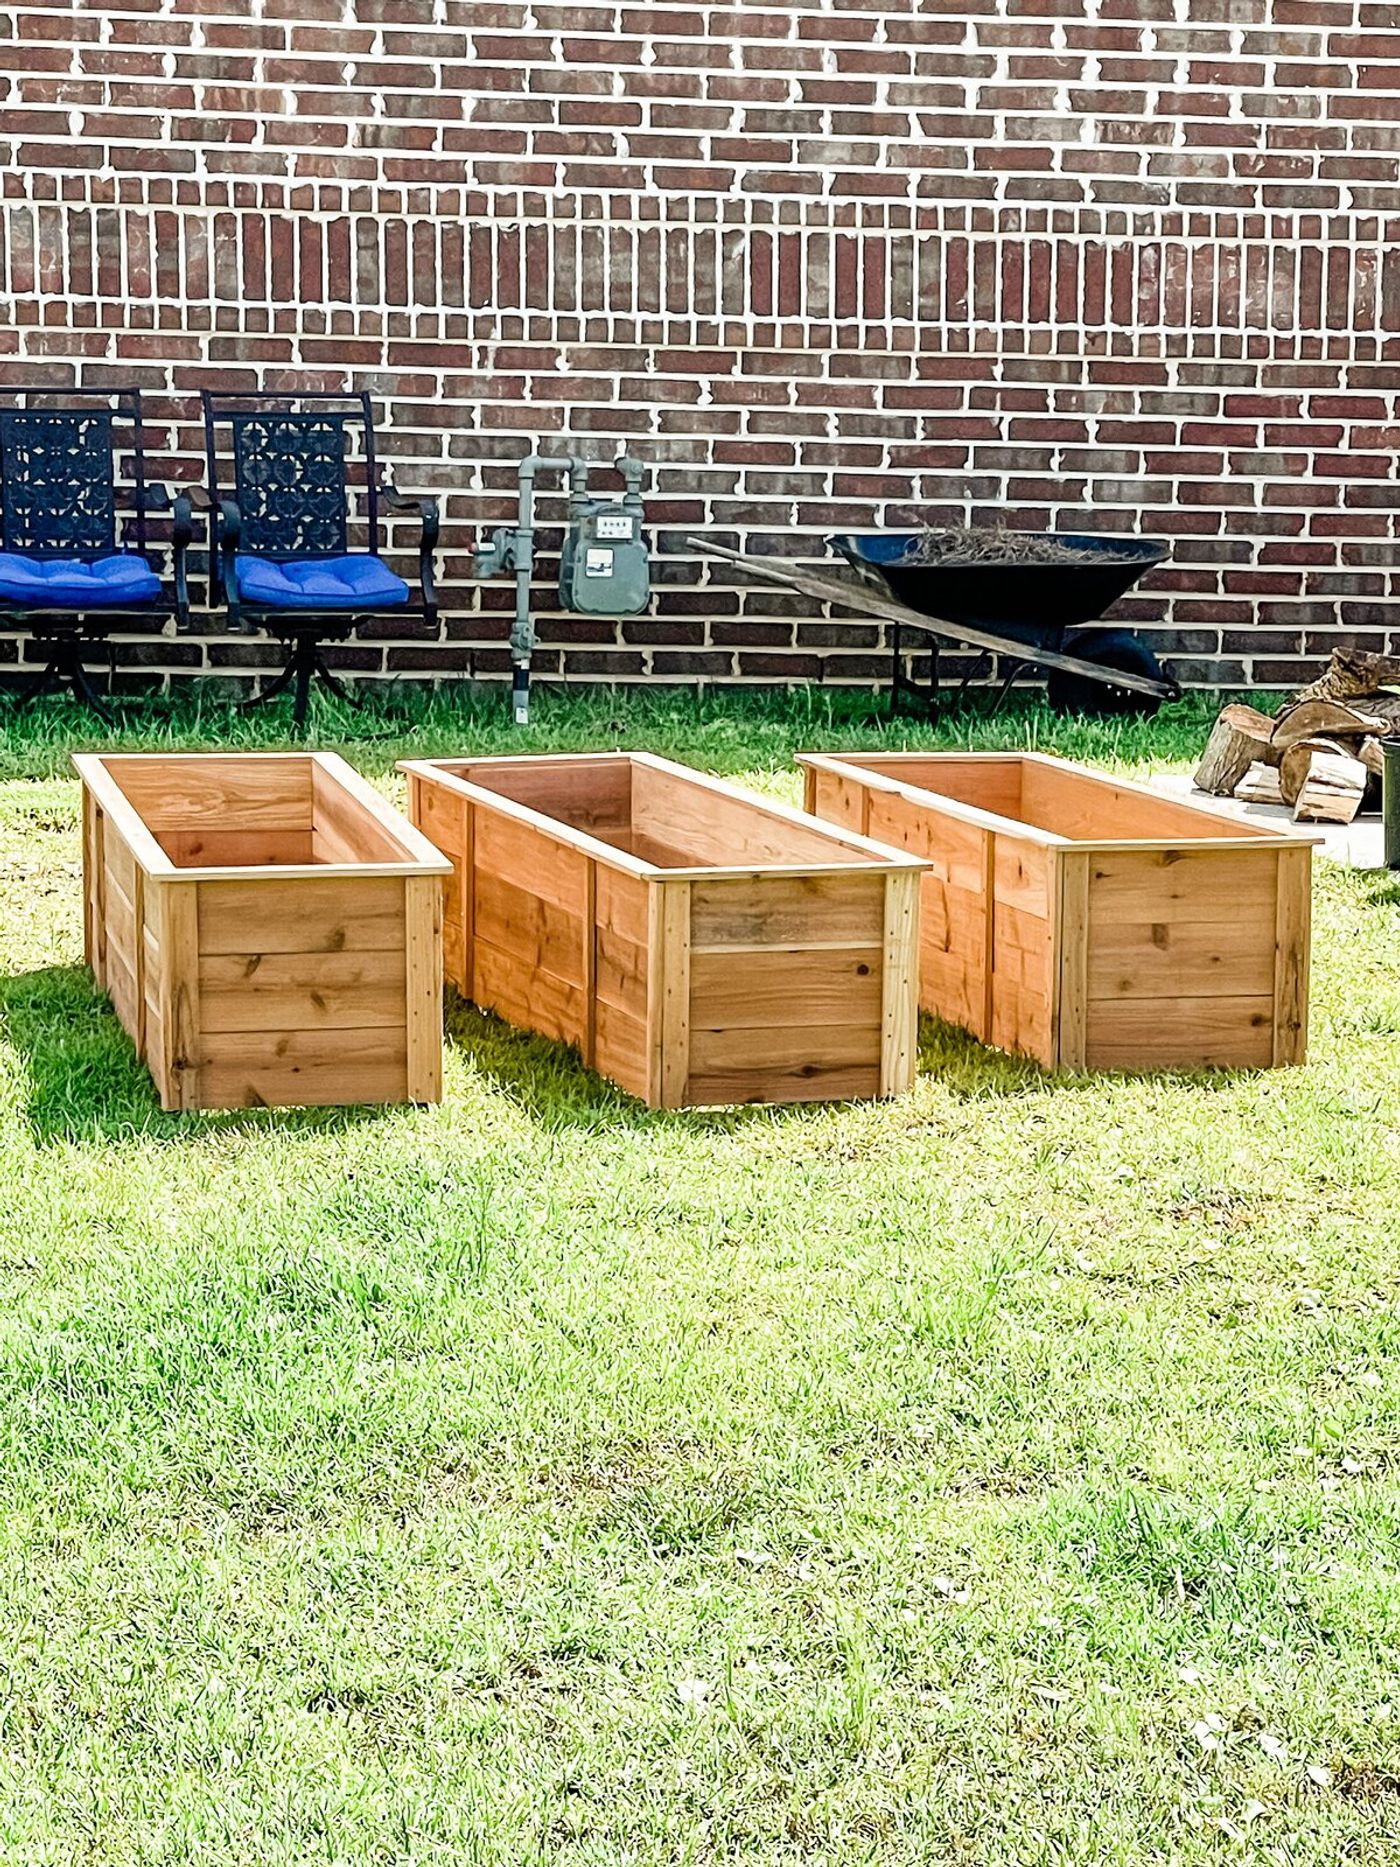
Here are some slightly bigger ones I made, using the same method scaled up: