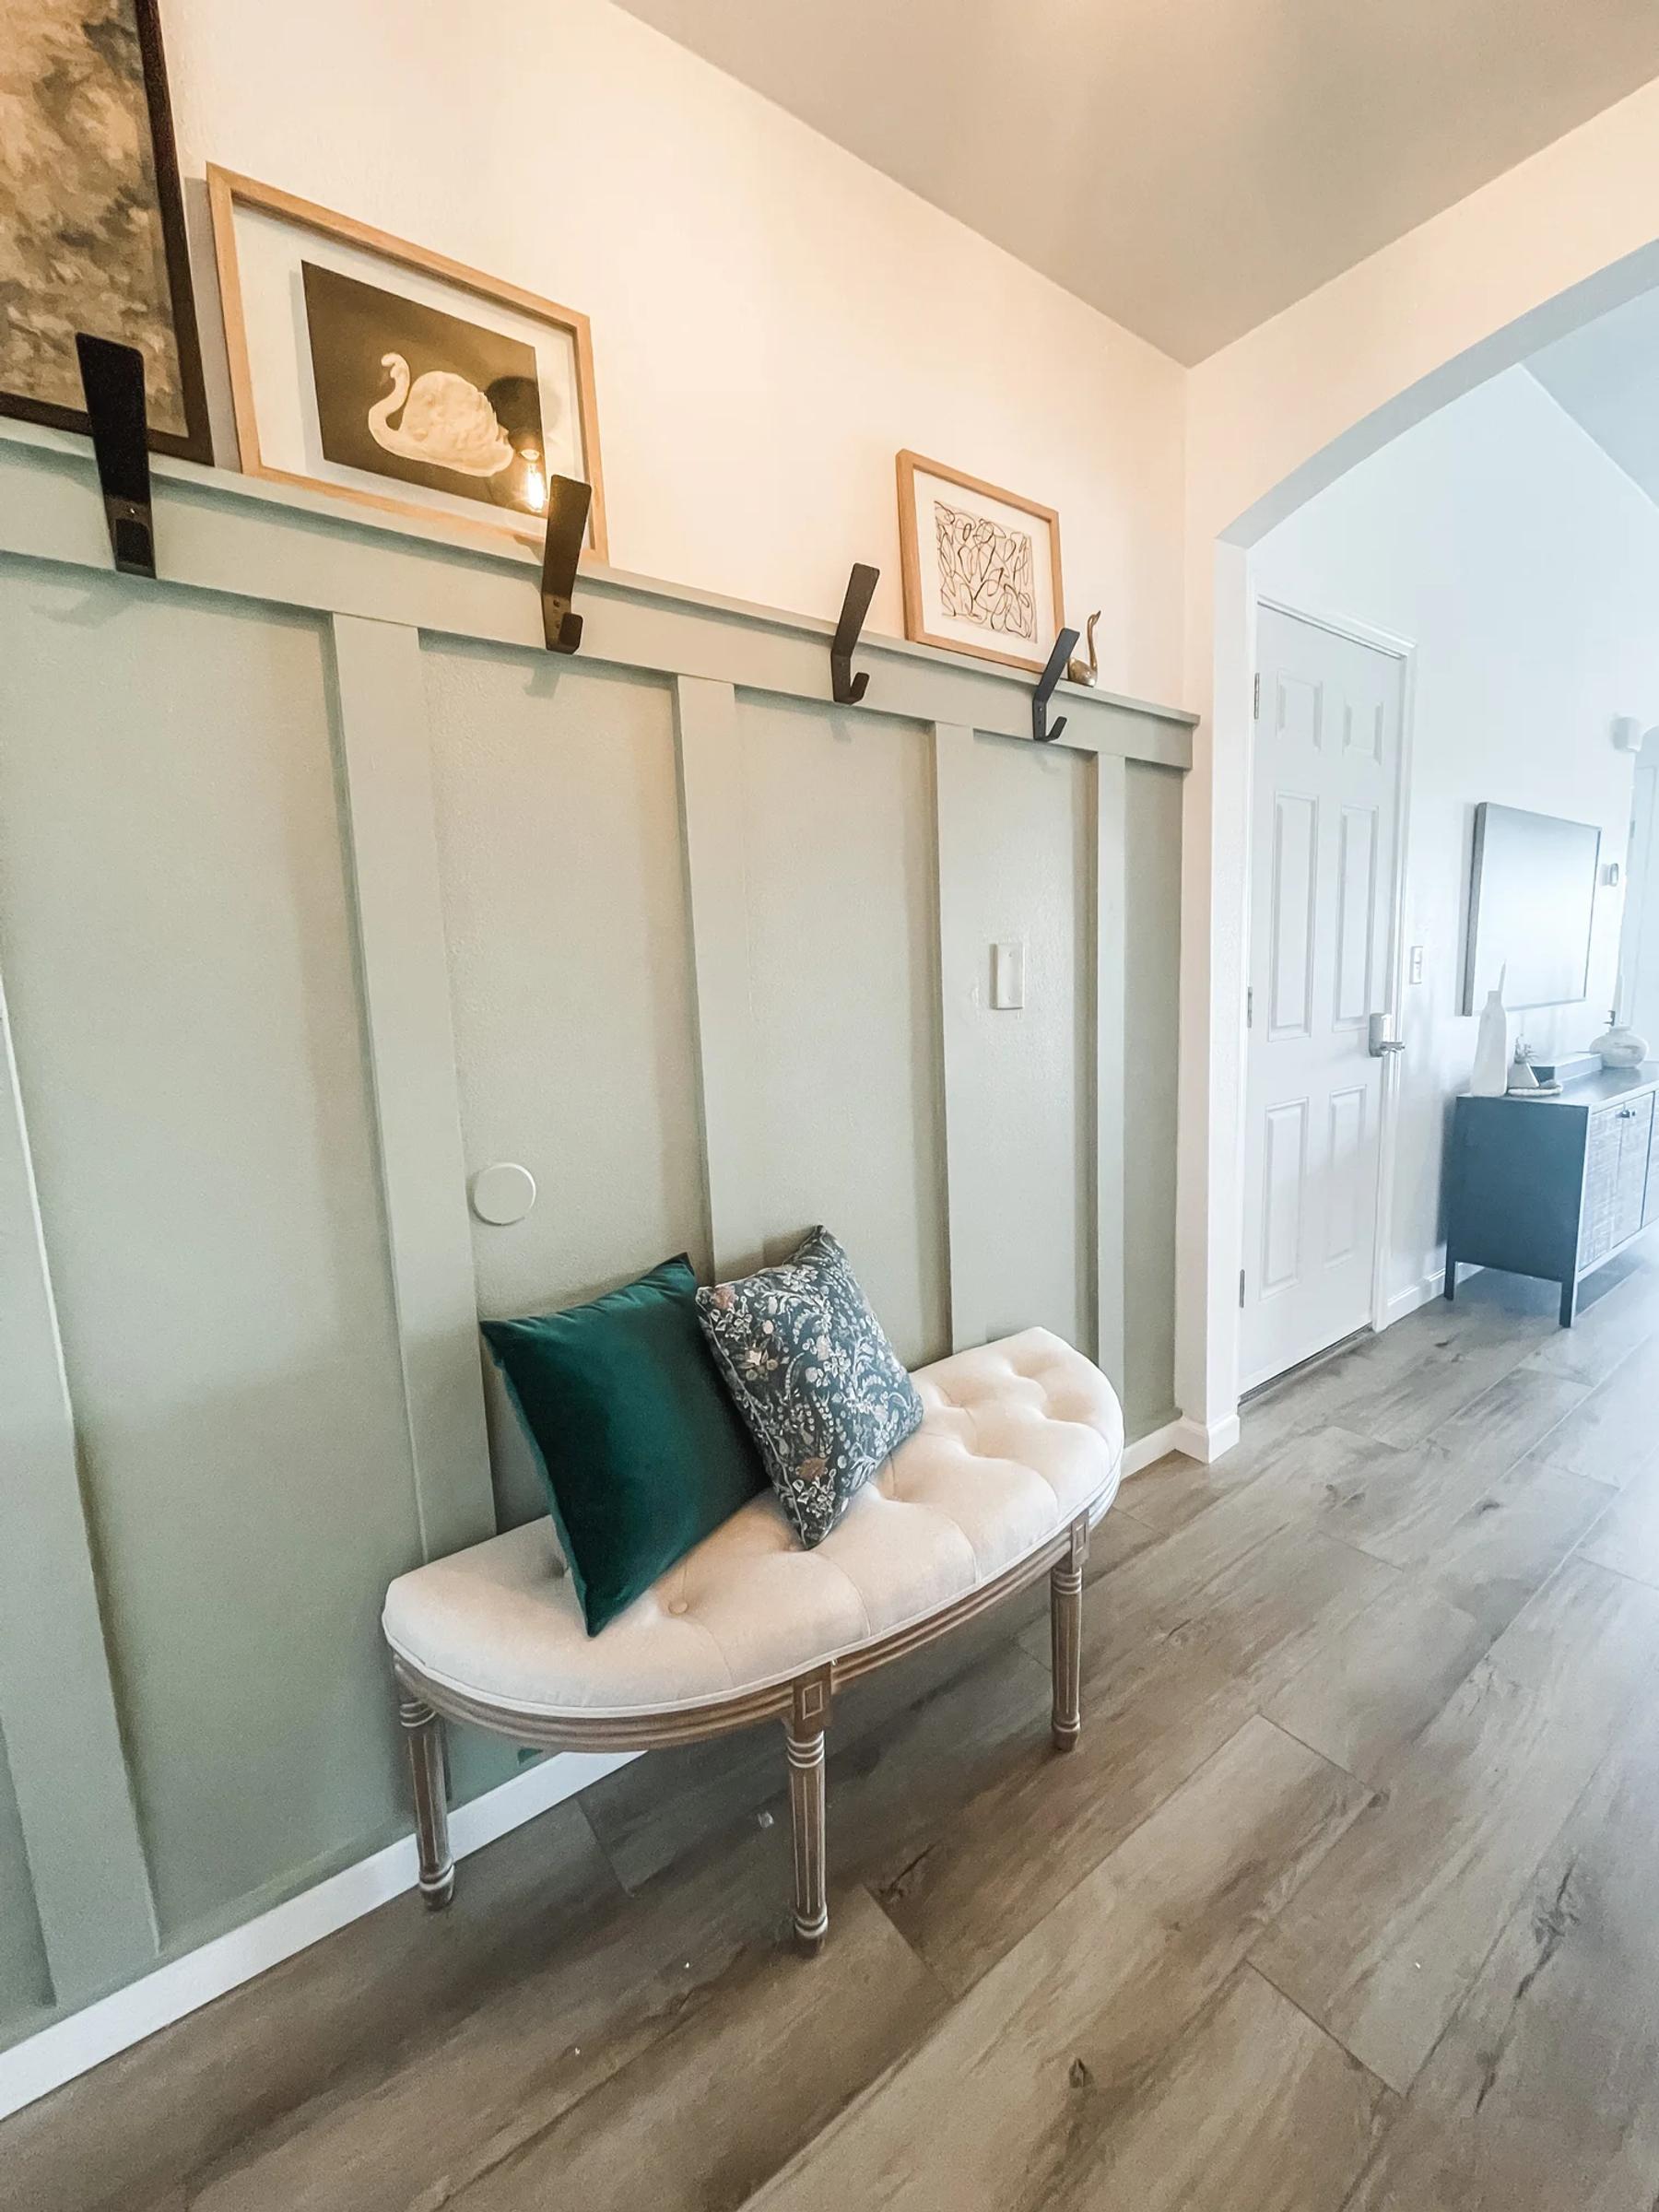
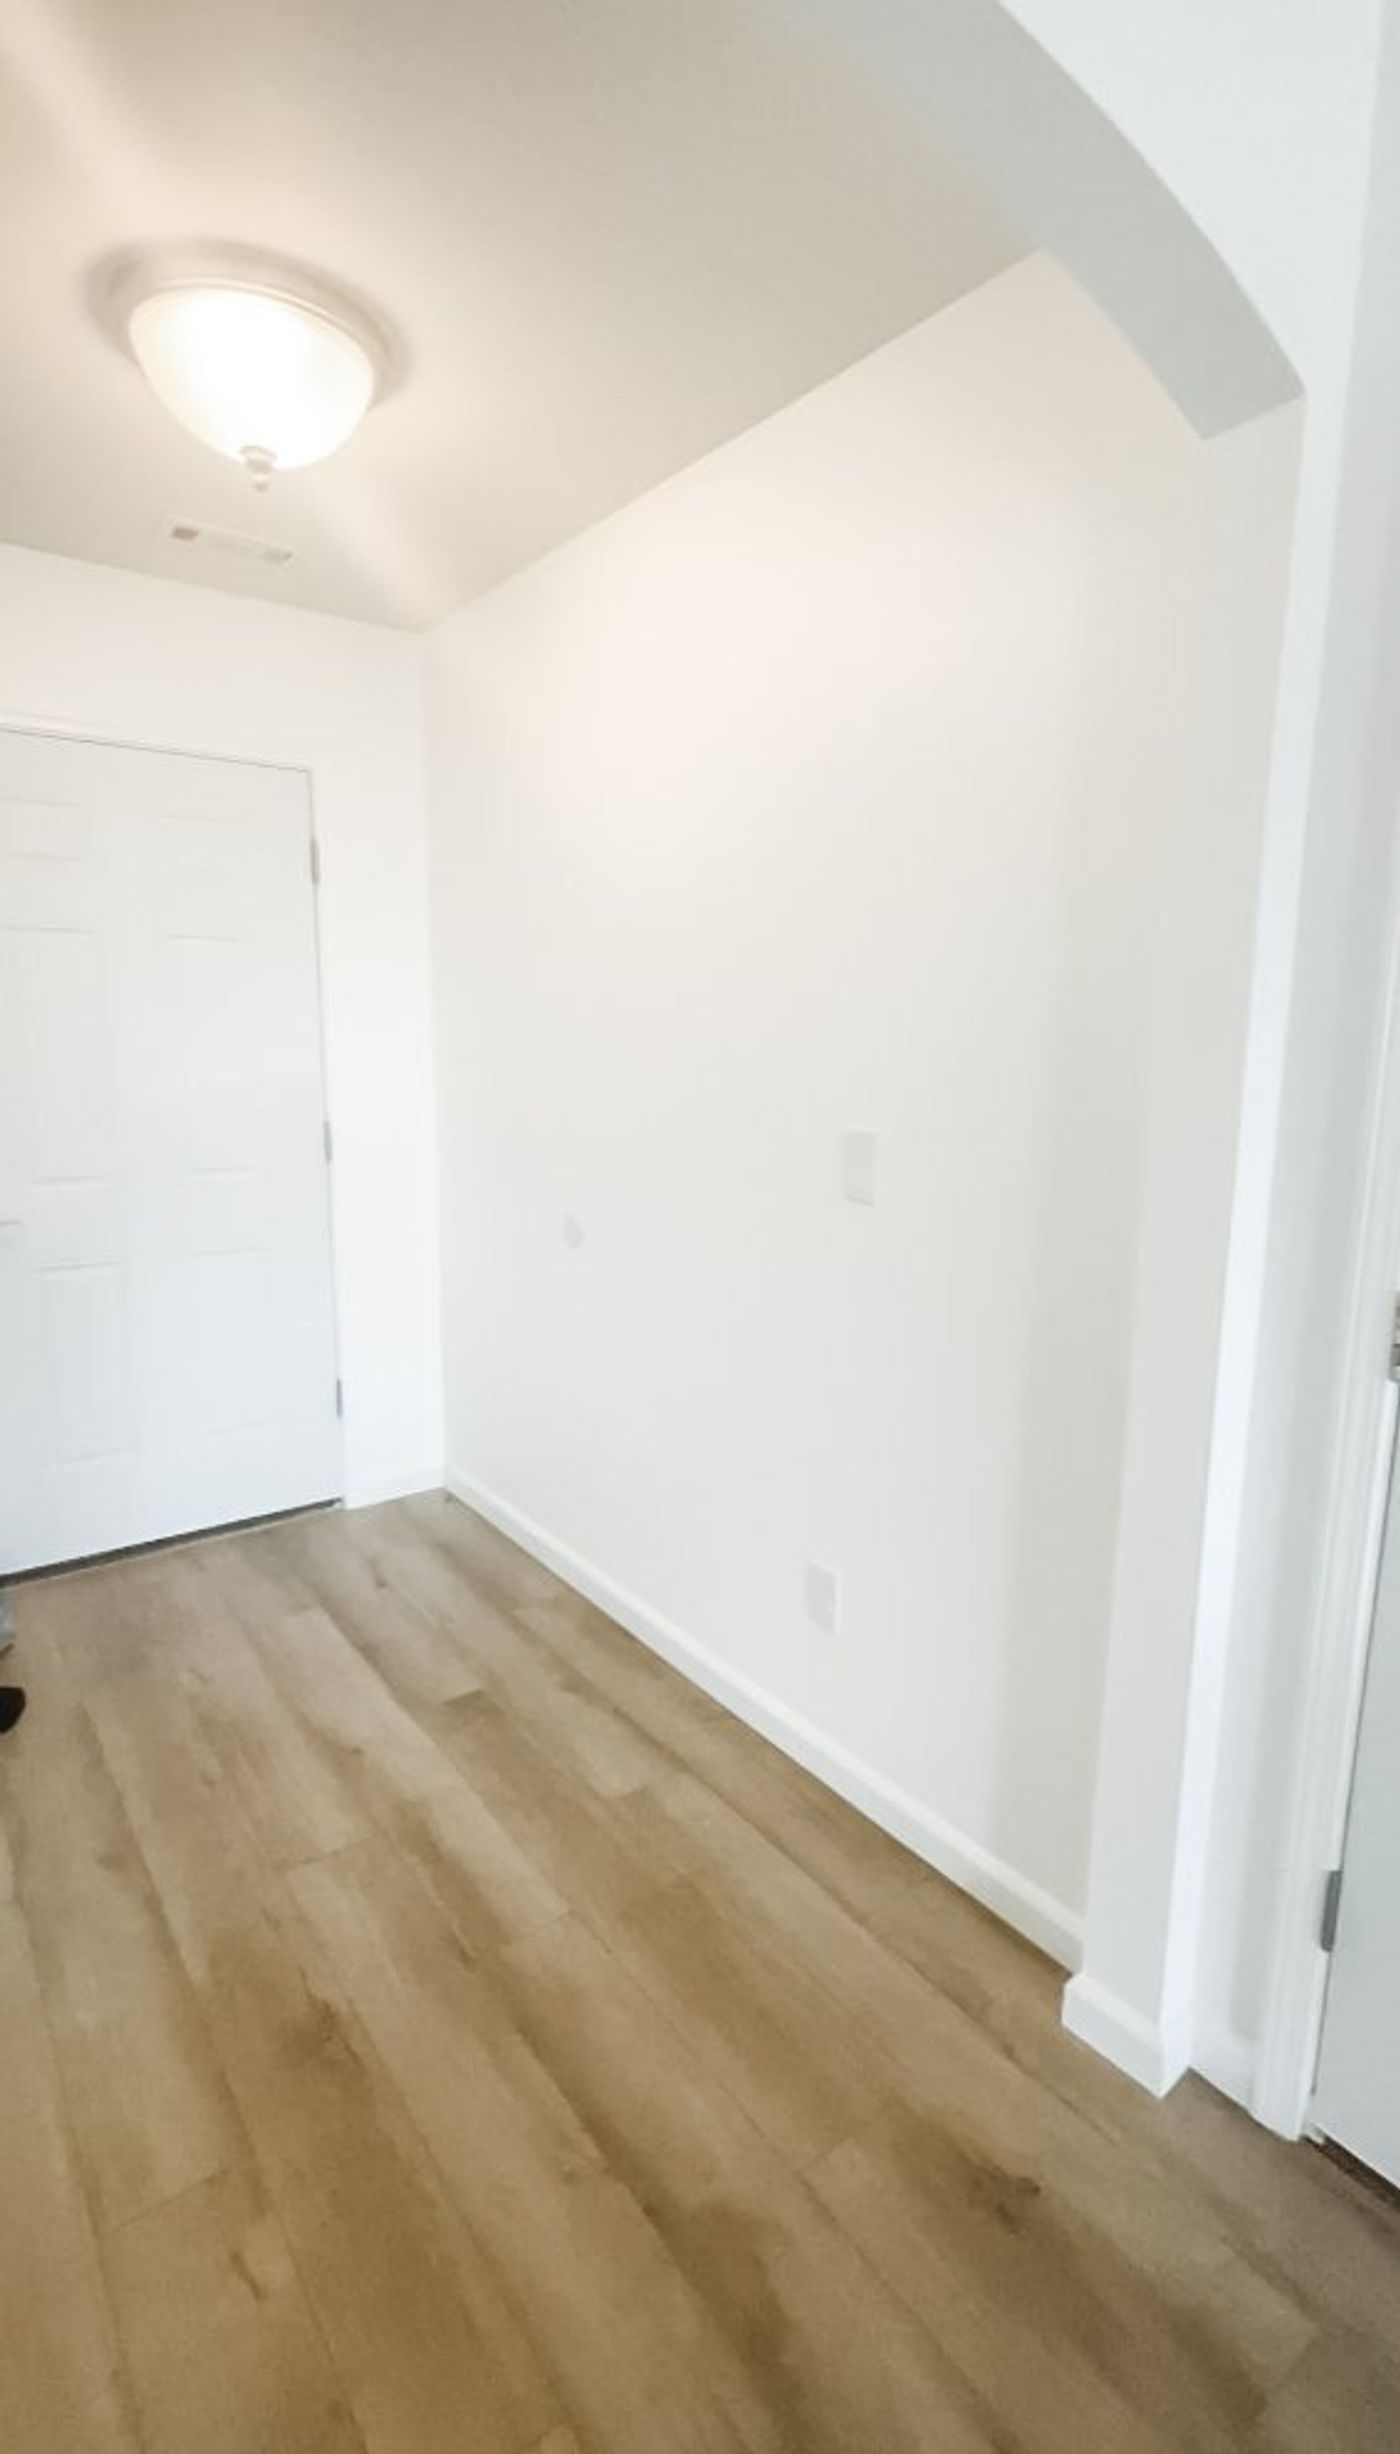
Revamping your entryway is one of the easiest ways to add a few DIY touches that make a home feel upscale and welcoming. There are tons of ways to do it, but here's how I recently helped my bestie DIY hers. I'll walk through the steps below, and for more ideas and tips, check my TikTok and Instagram.
Tools
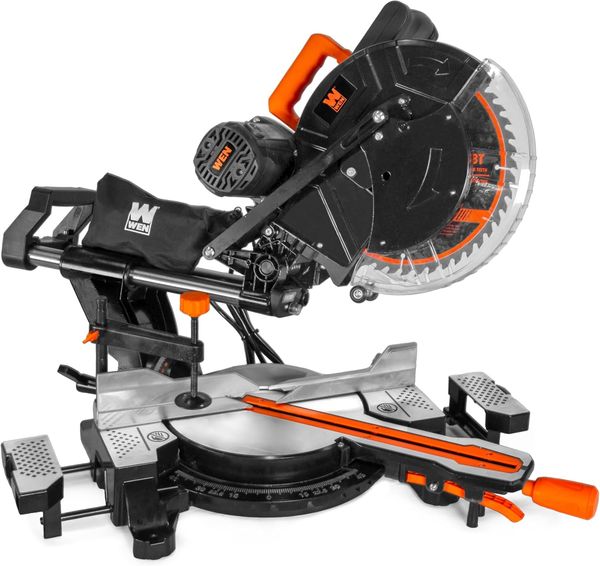
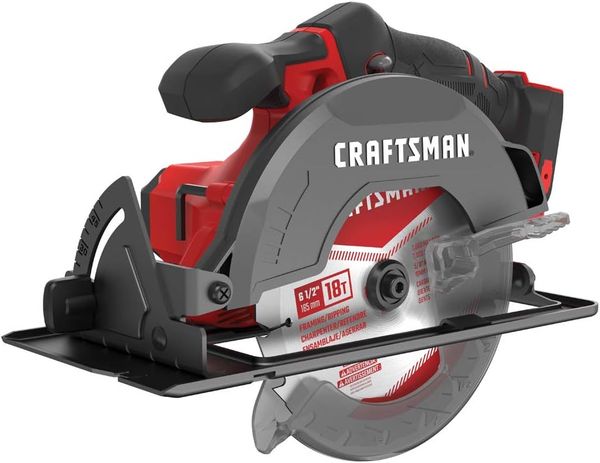
- Saw (miter or circular saw)
- Tape measure
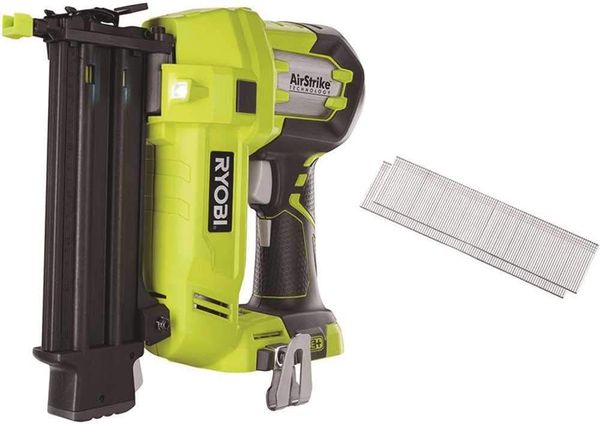
- Brad nailer
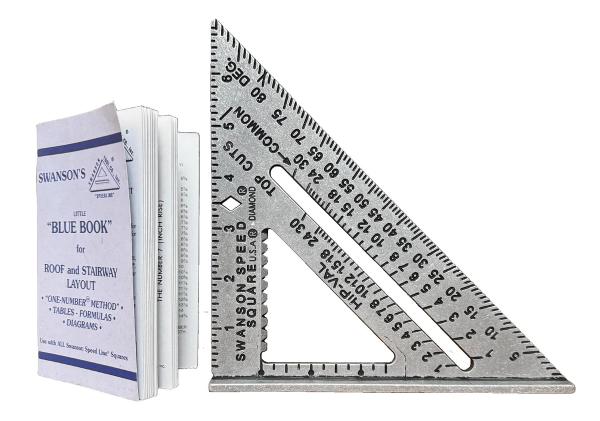
- Speed square
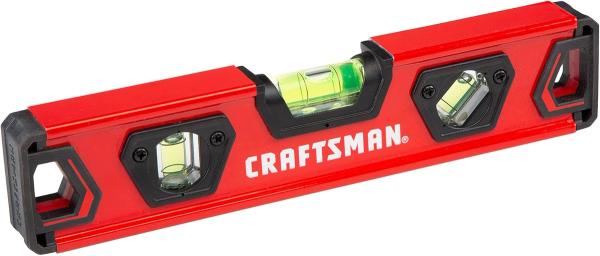
- Level (a laser level is a nice upgrade)
- Sandpaper
- Pencil
Supplies
- Lumber: 1x1's, 1x4's, and a 1x2 for the ledge
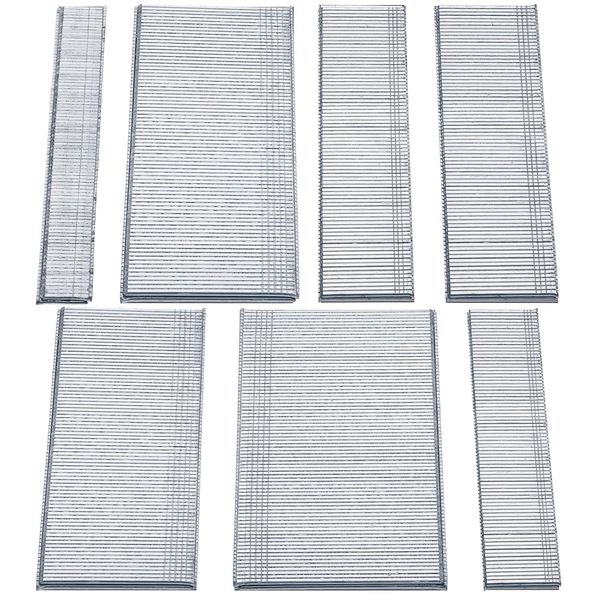
- Brad nails
- Liquid Nails
- Caulk
- Spackle
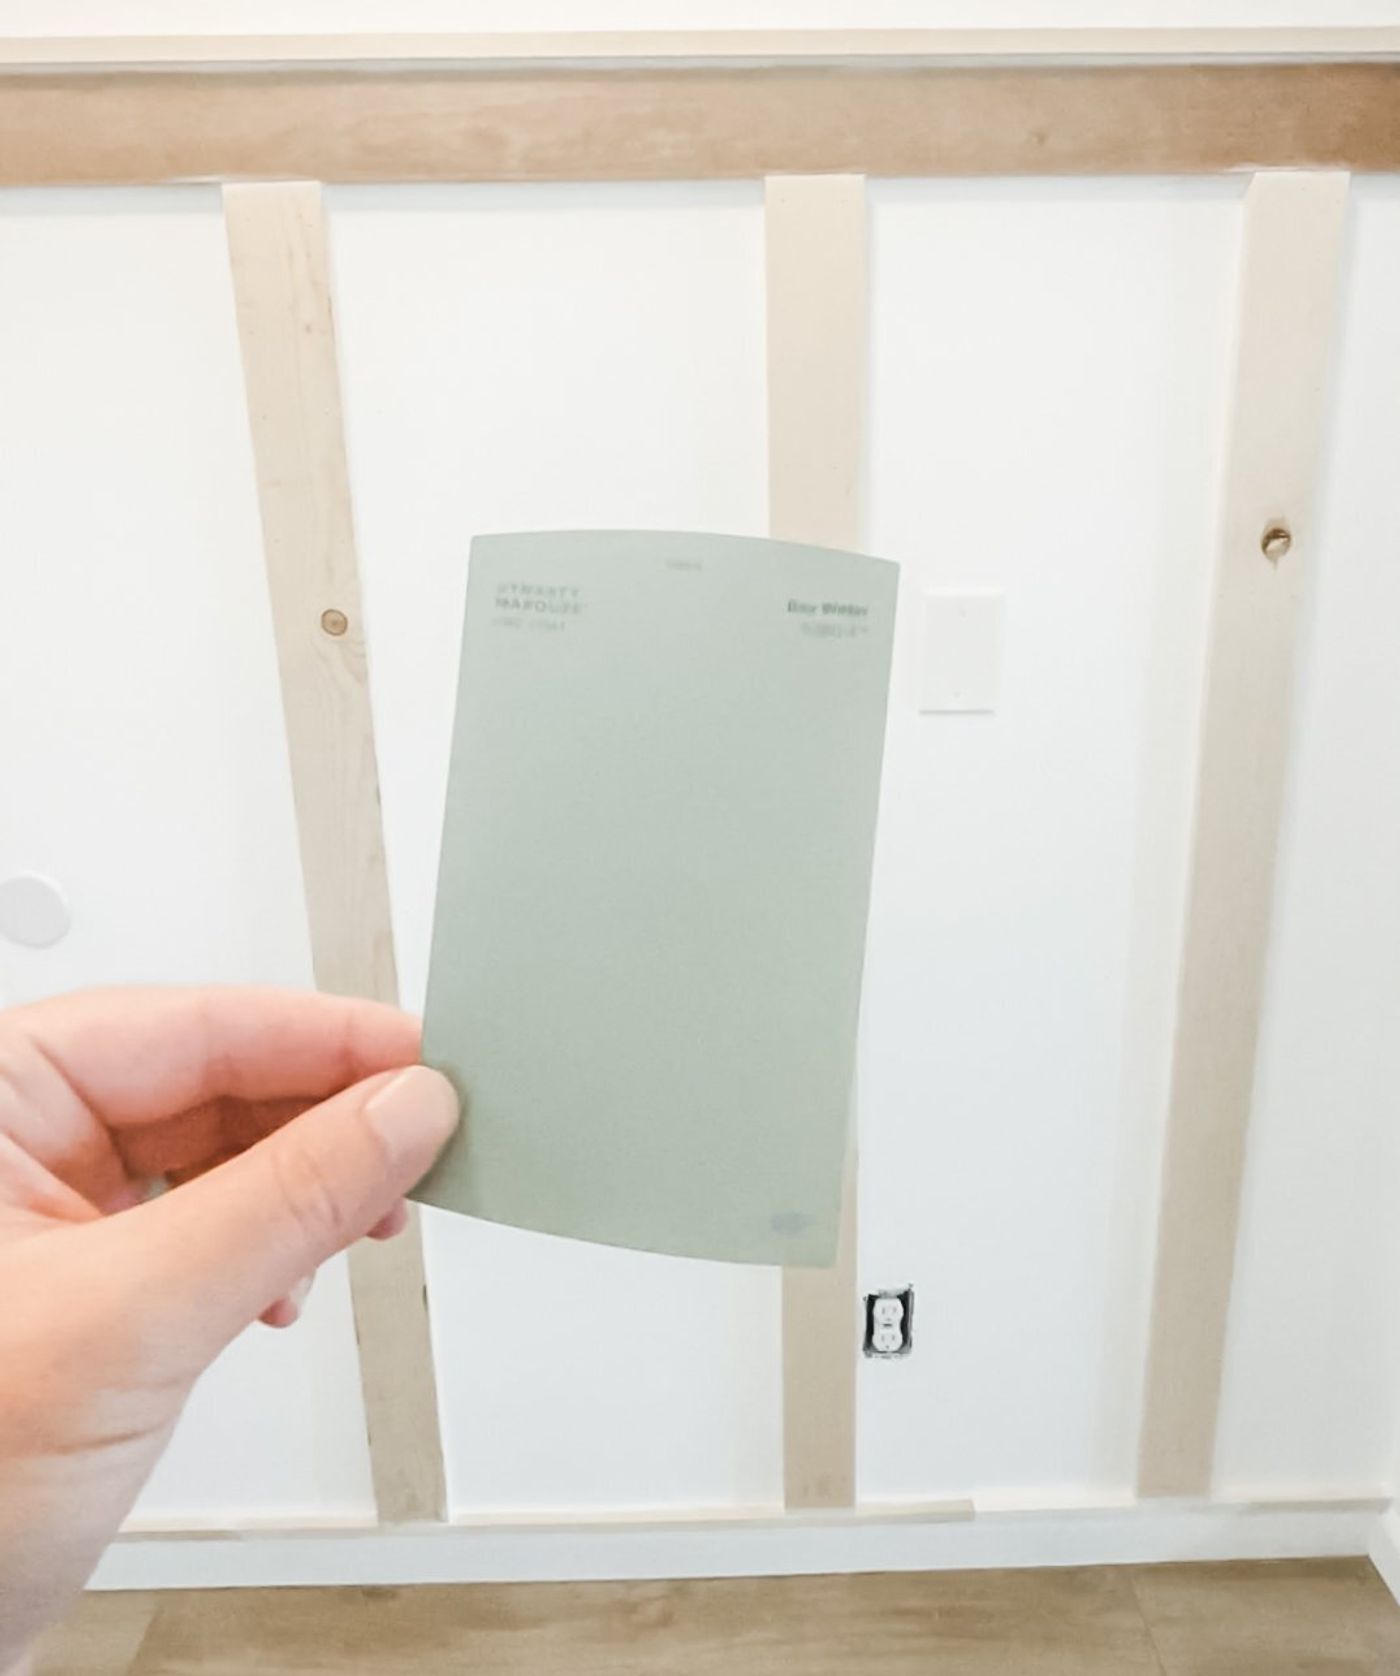
- Paint (we used Bay Water by Behr in eggshell)
- Paint brush and roller
- Painter's tape
Step 1: Measure your space
Measure before you do anything else. Figure out how many vertical slats you'll need and how high you want the ledge, and plan your spacing around any outlets so nothing lands in an awkward spot.
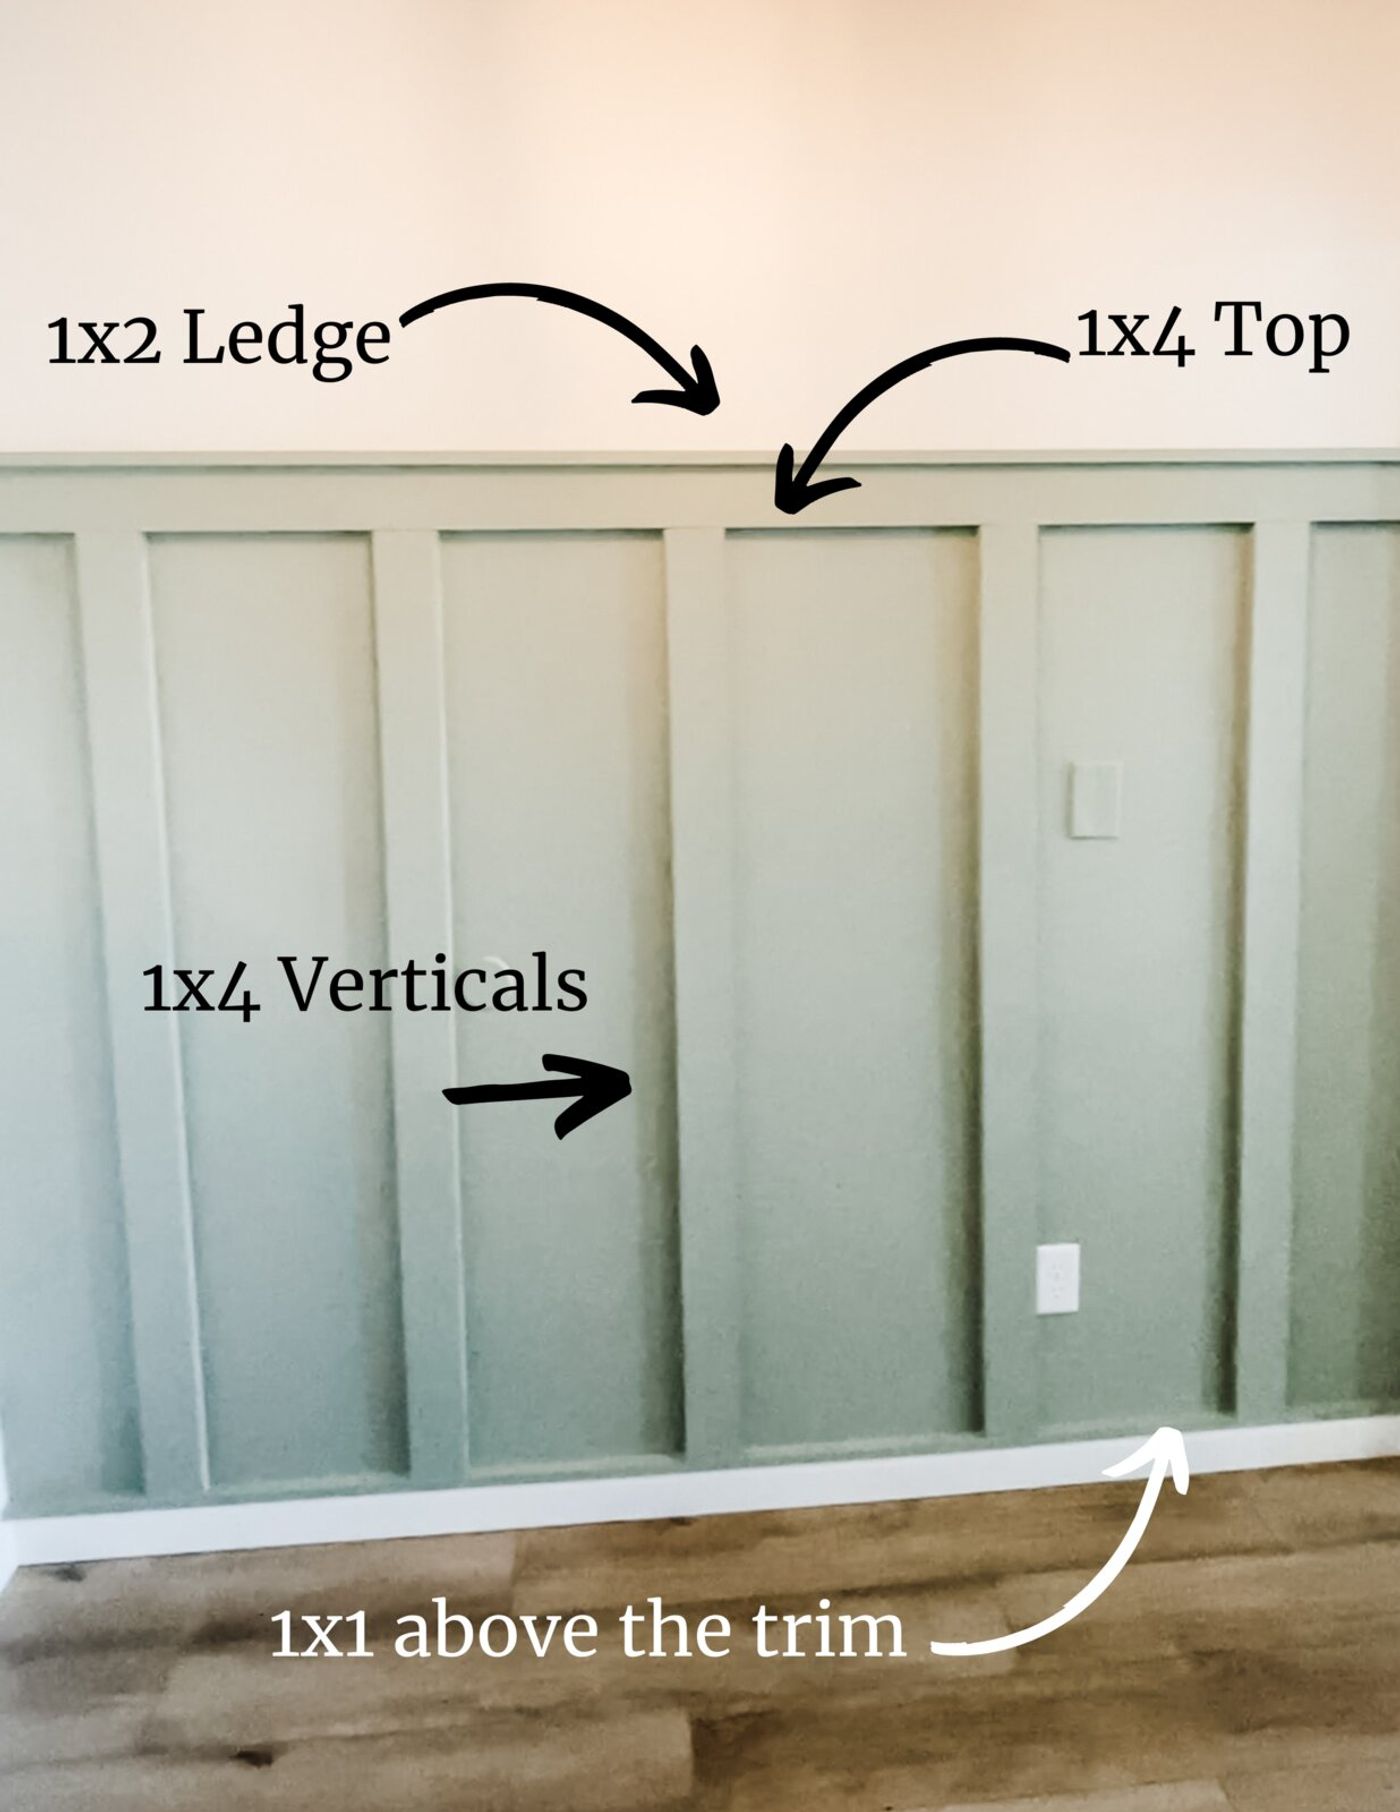
Step 2: Add a bottom border
Run a bottom border using the 1x1's, attached with Liquid Nails and brad nails. This gives you a clean, finished separation from your existing baseboard trim.
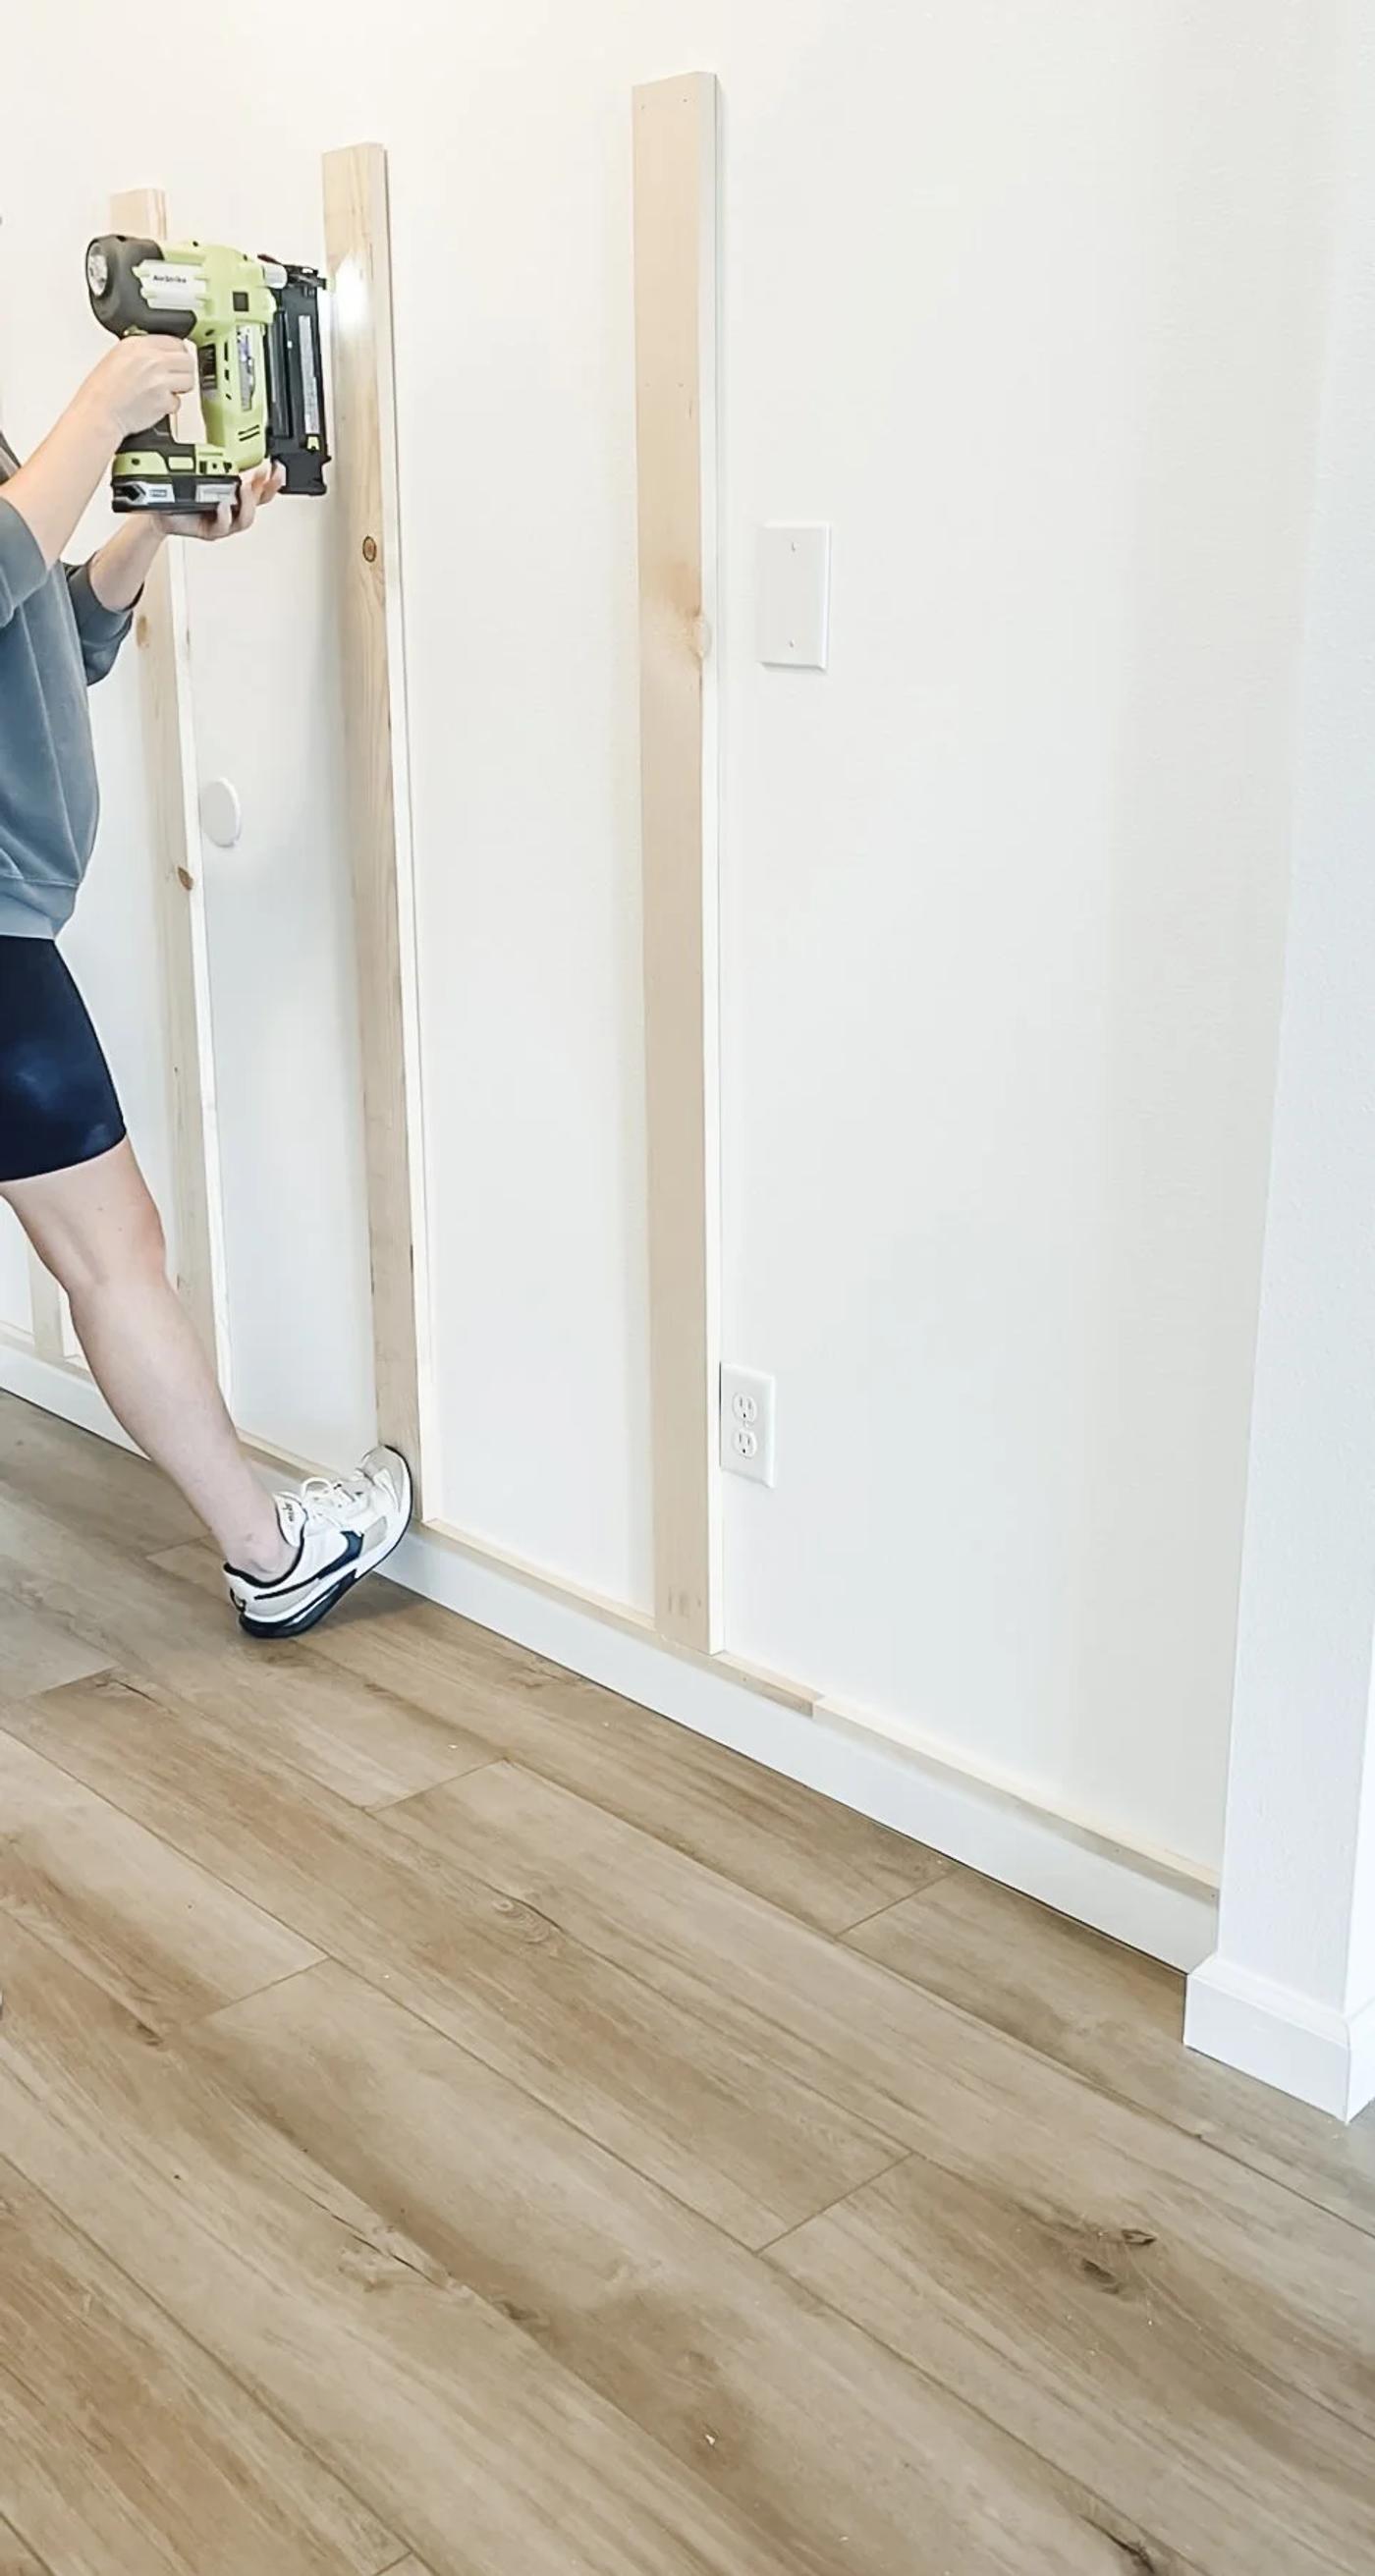
Step 3: Install the vertical slats
Cut your vertical slats to identical heights and attach them with Liquid Nails and brad nails, keeping each one level and evenly spaced. A spacer block cut to your gap width makes this go fast and keeps everything consistent.
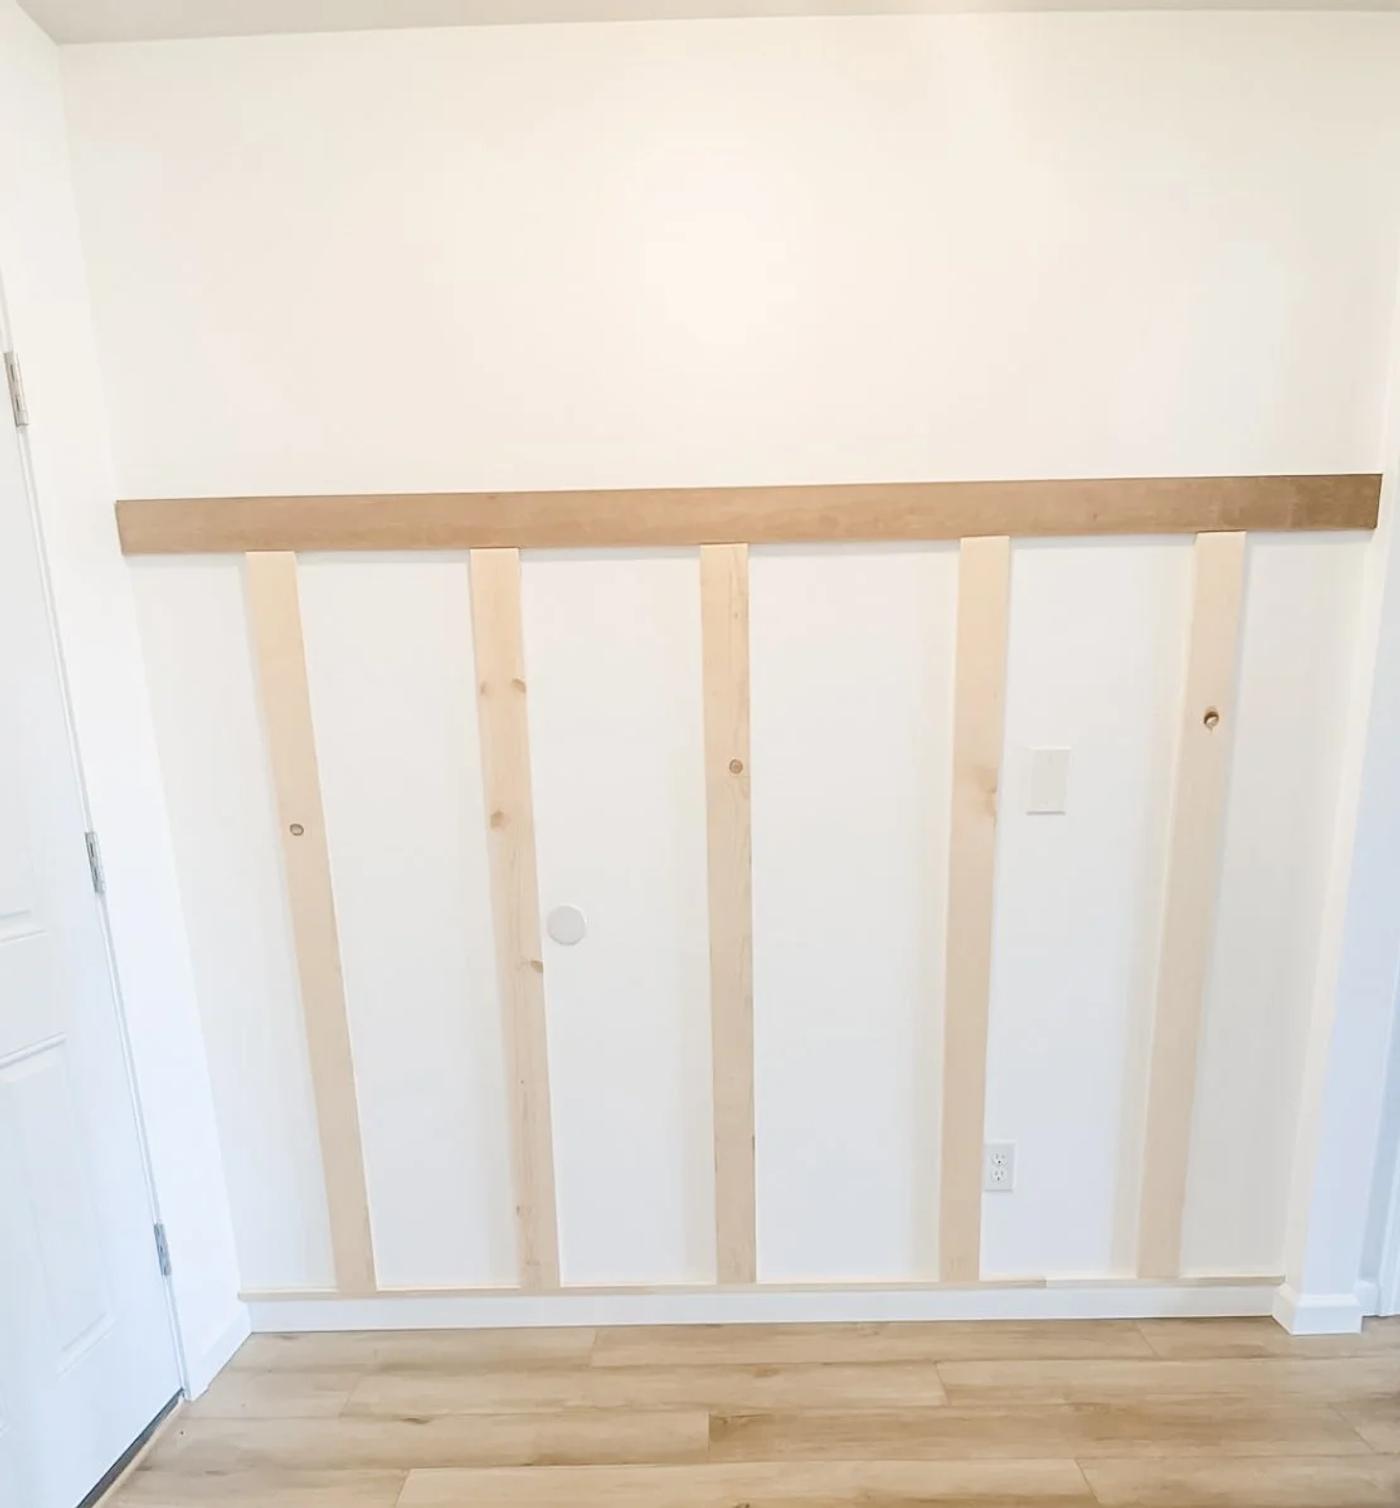
Step 4: Add the top piece and ledge
Install the horizontal top piece, then attach the ledge (the 1x2) with Liquid Nails. Keep it level so anything you set on it sits nicely.
Step 5: Fill and smooth
Caulk the seams, spackle the nail holes, then sand everything smooth once it's dry and wipe away the dust.
Step 6: Paint
Paint with two coats (we used Bay Water by Behr in an eggshell finish). Then style your new ledge and enjoy an entryway that looks like it cost a whole lot more than it did.