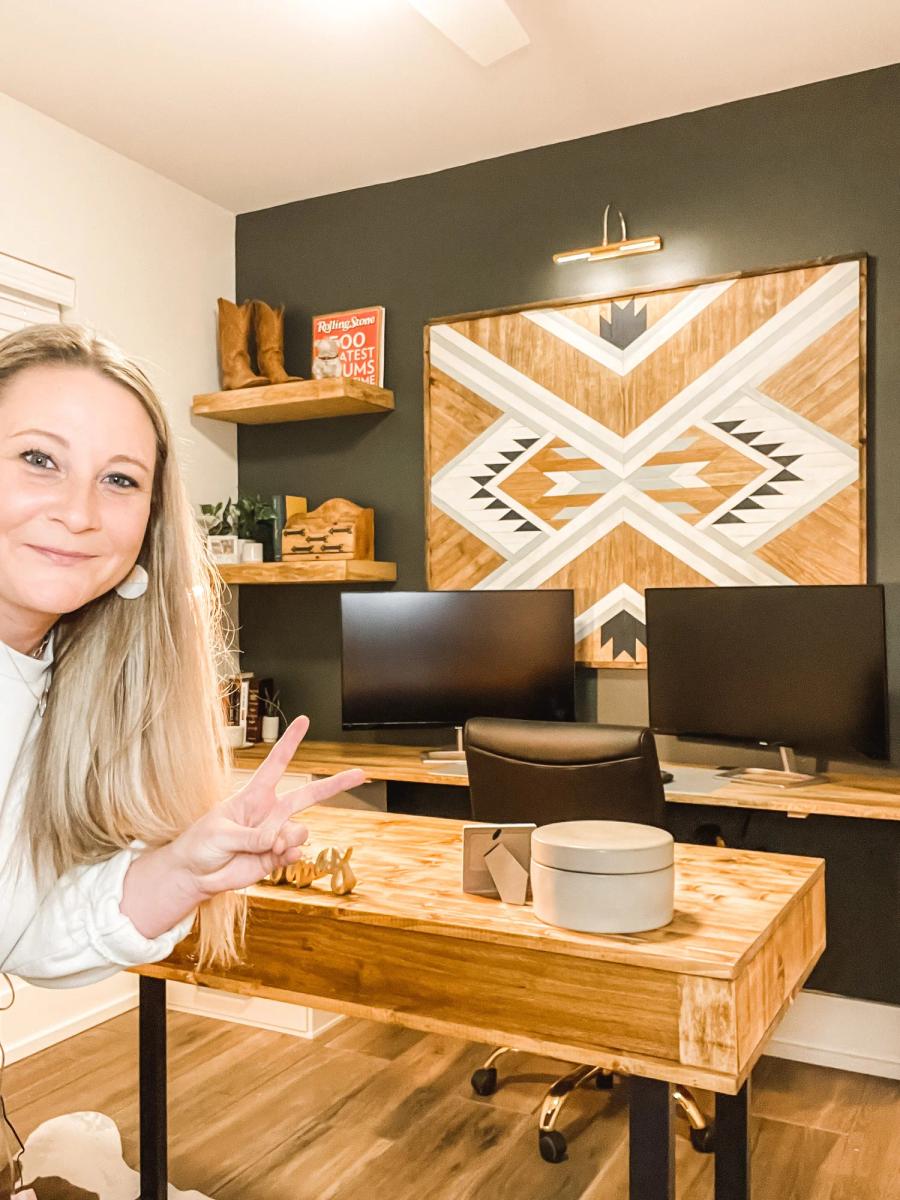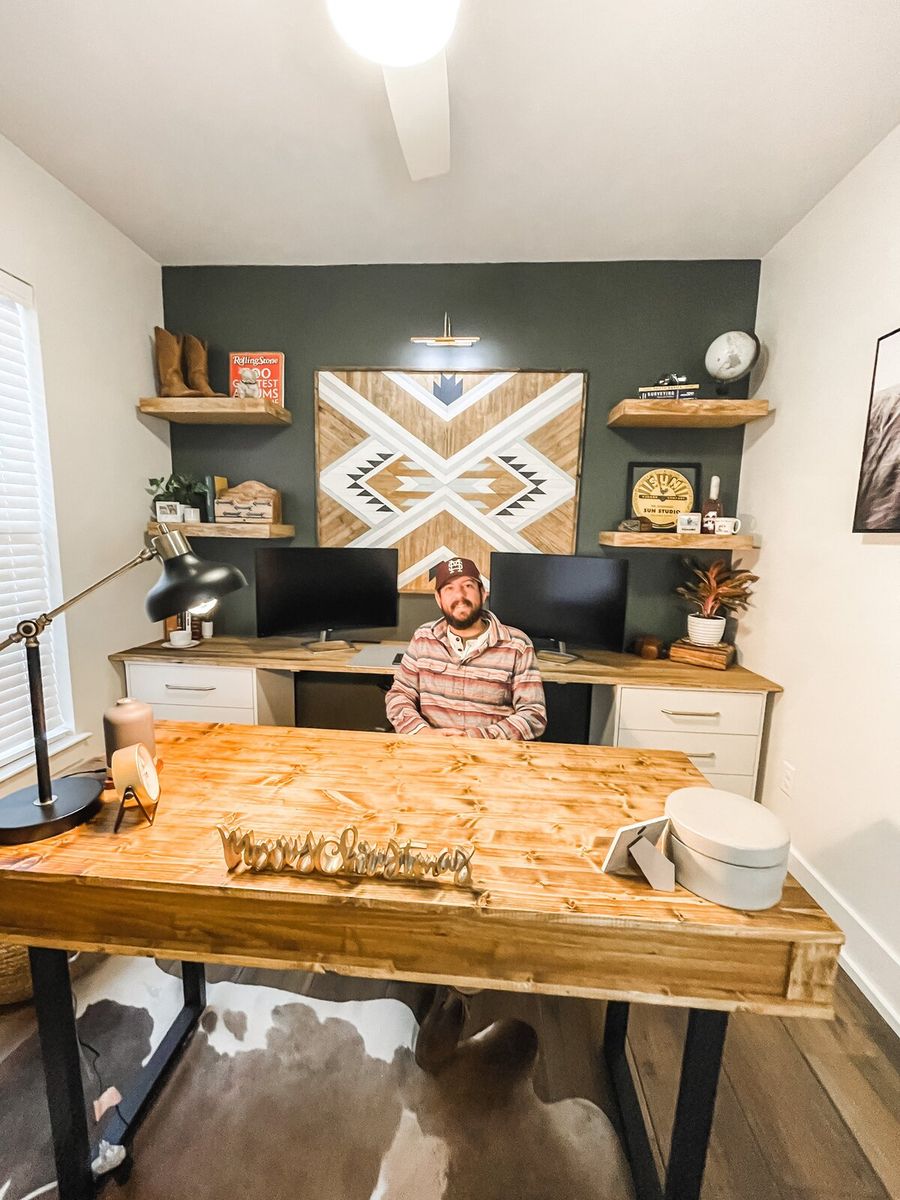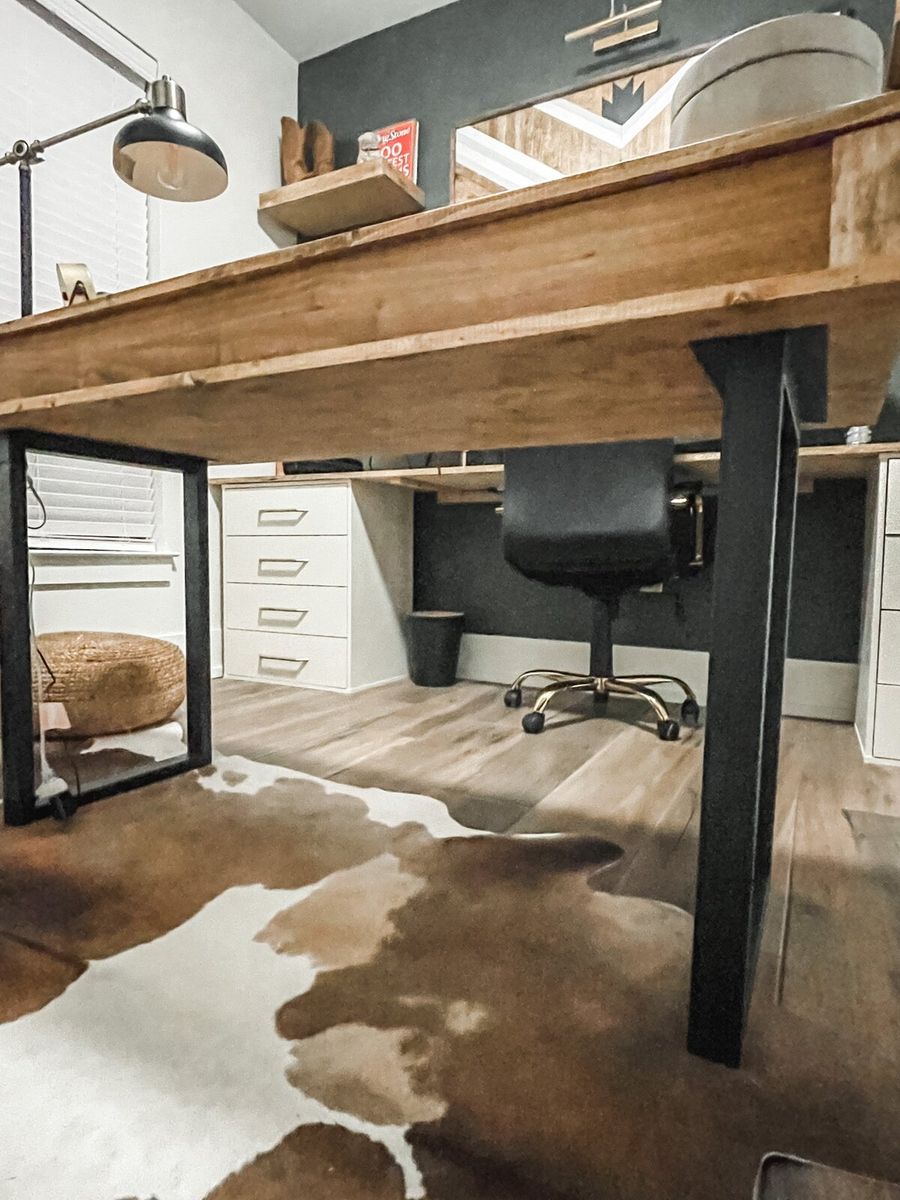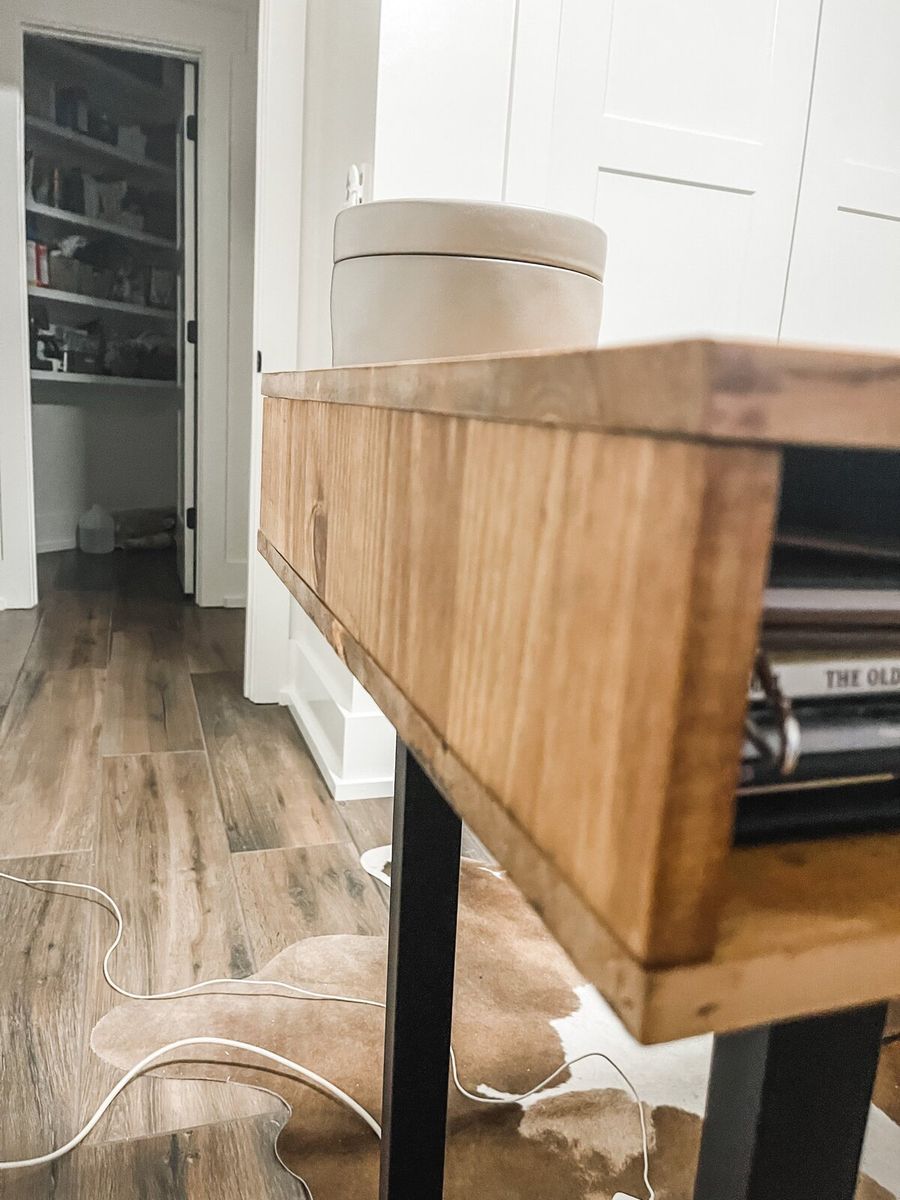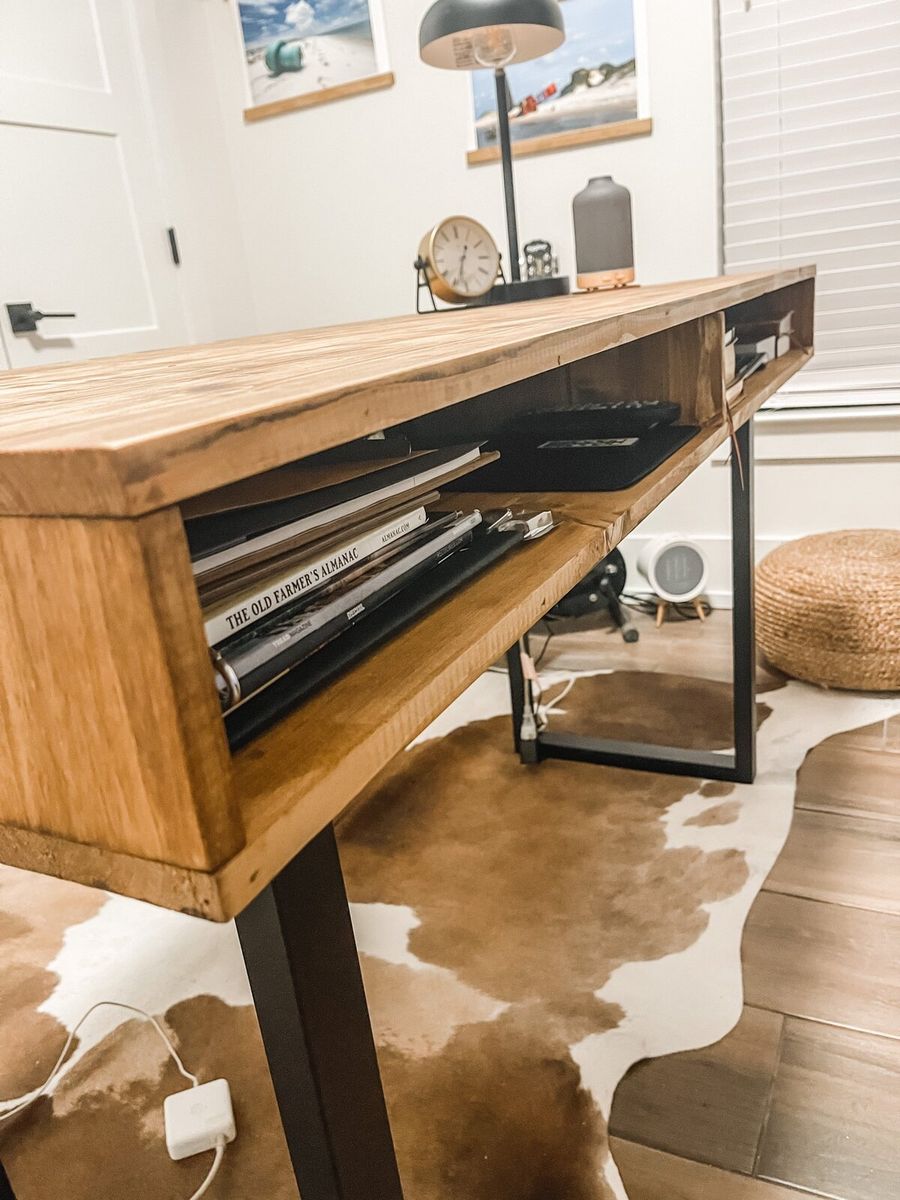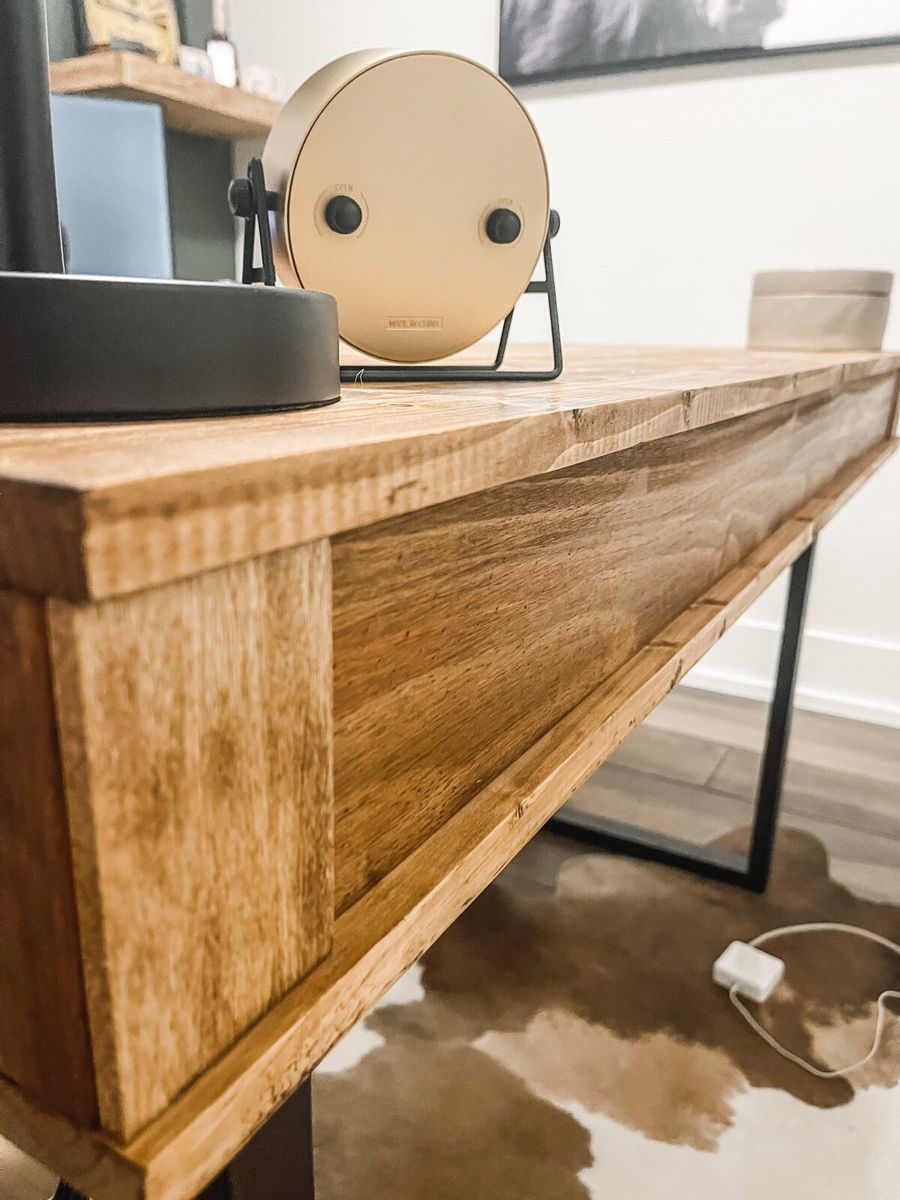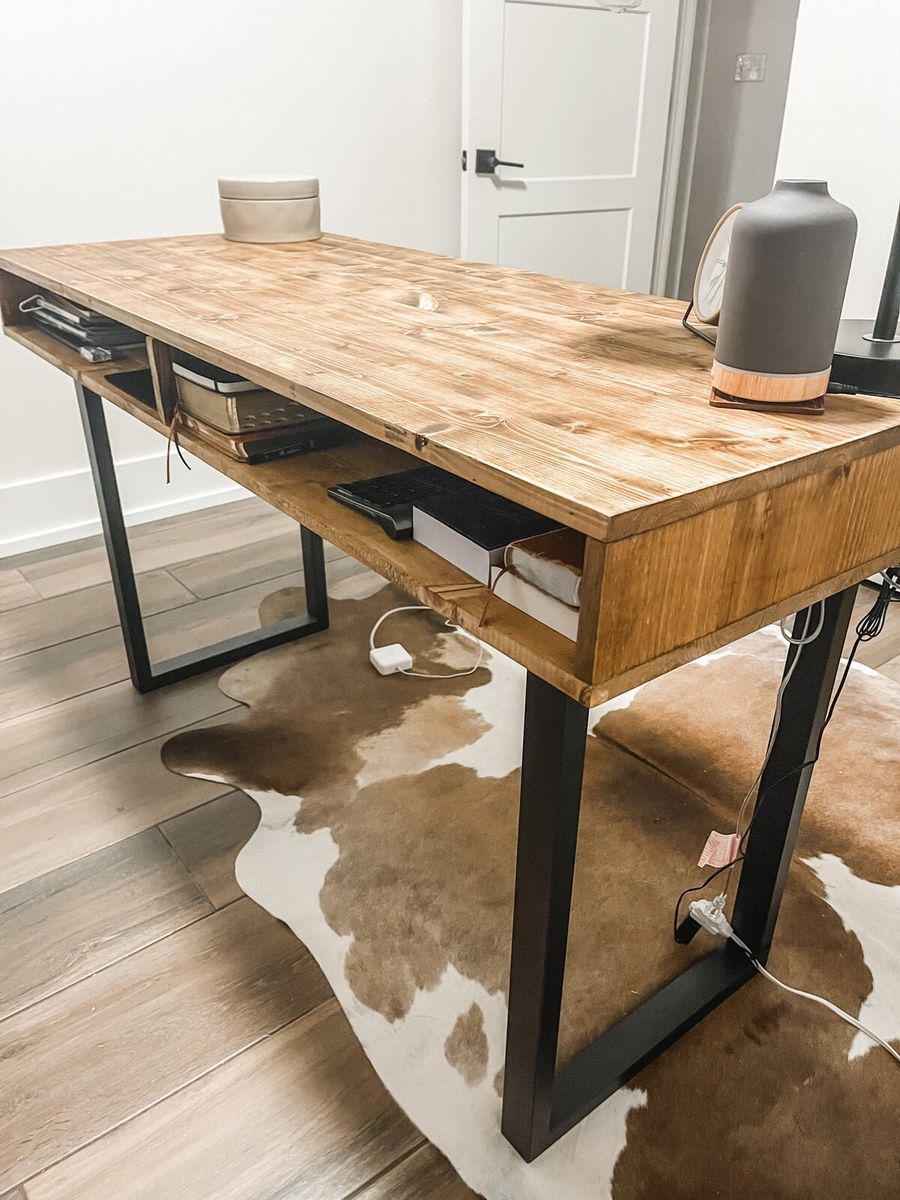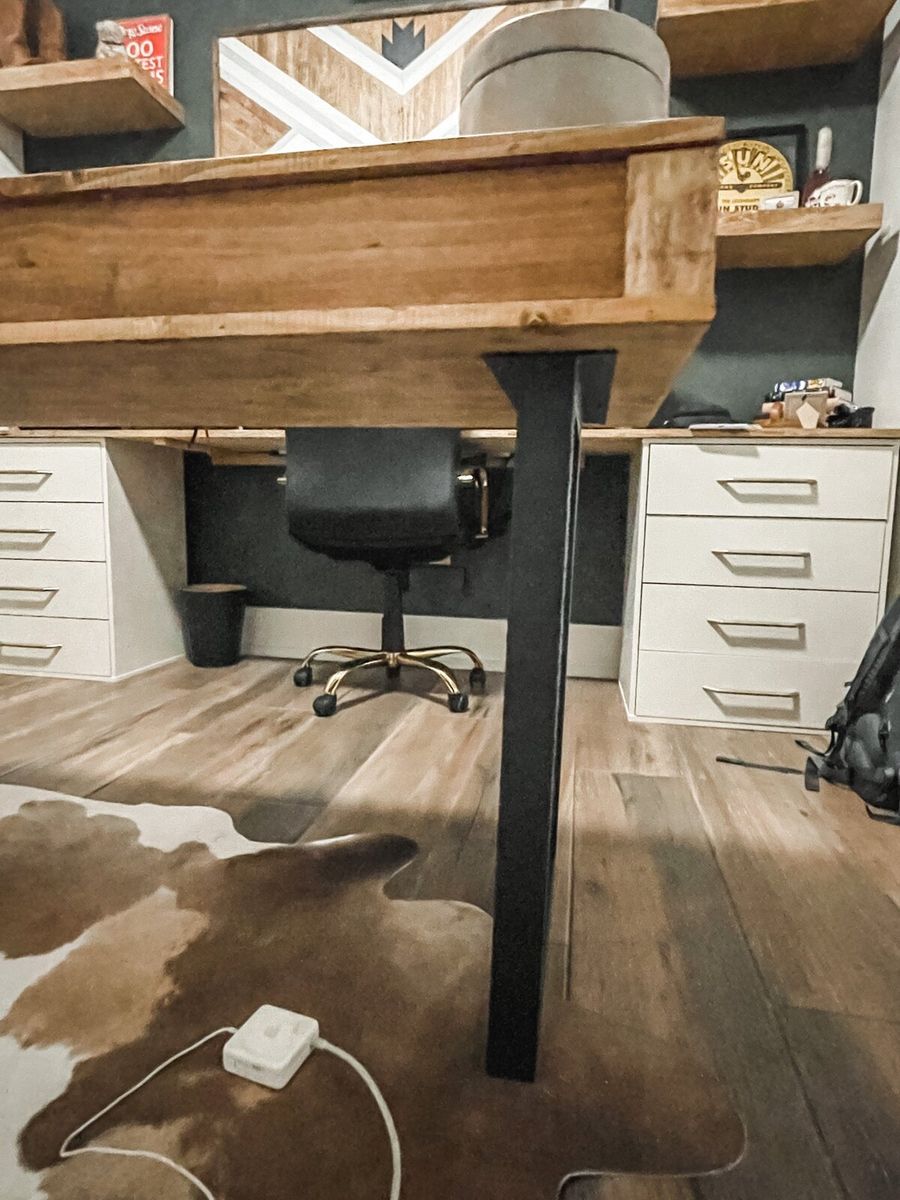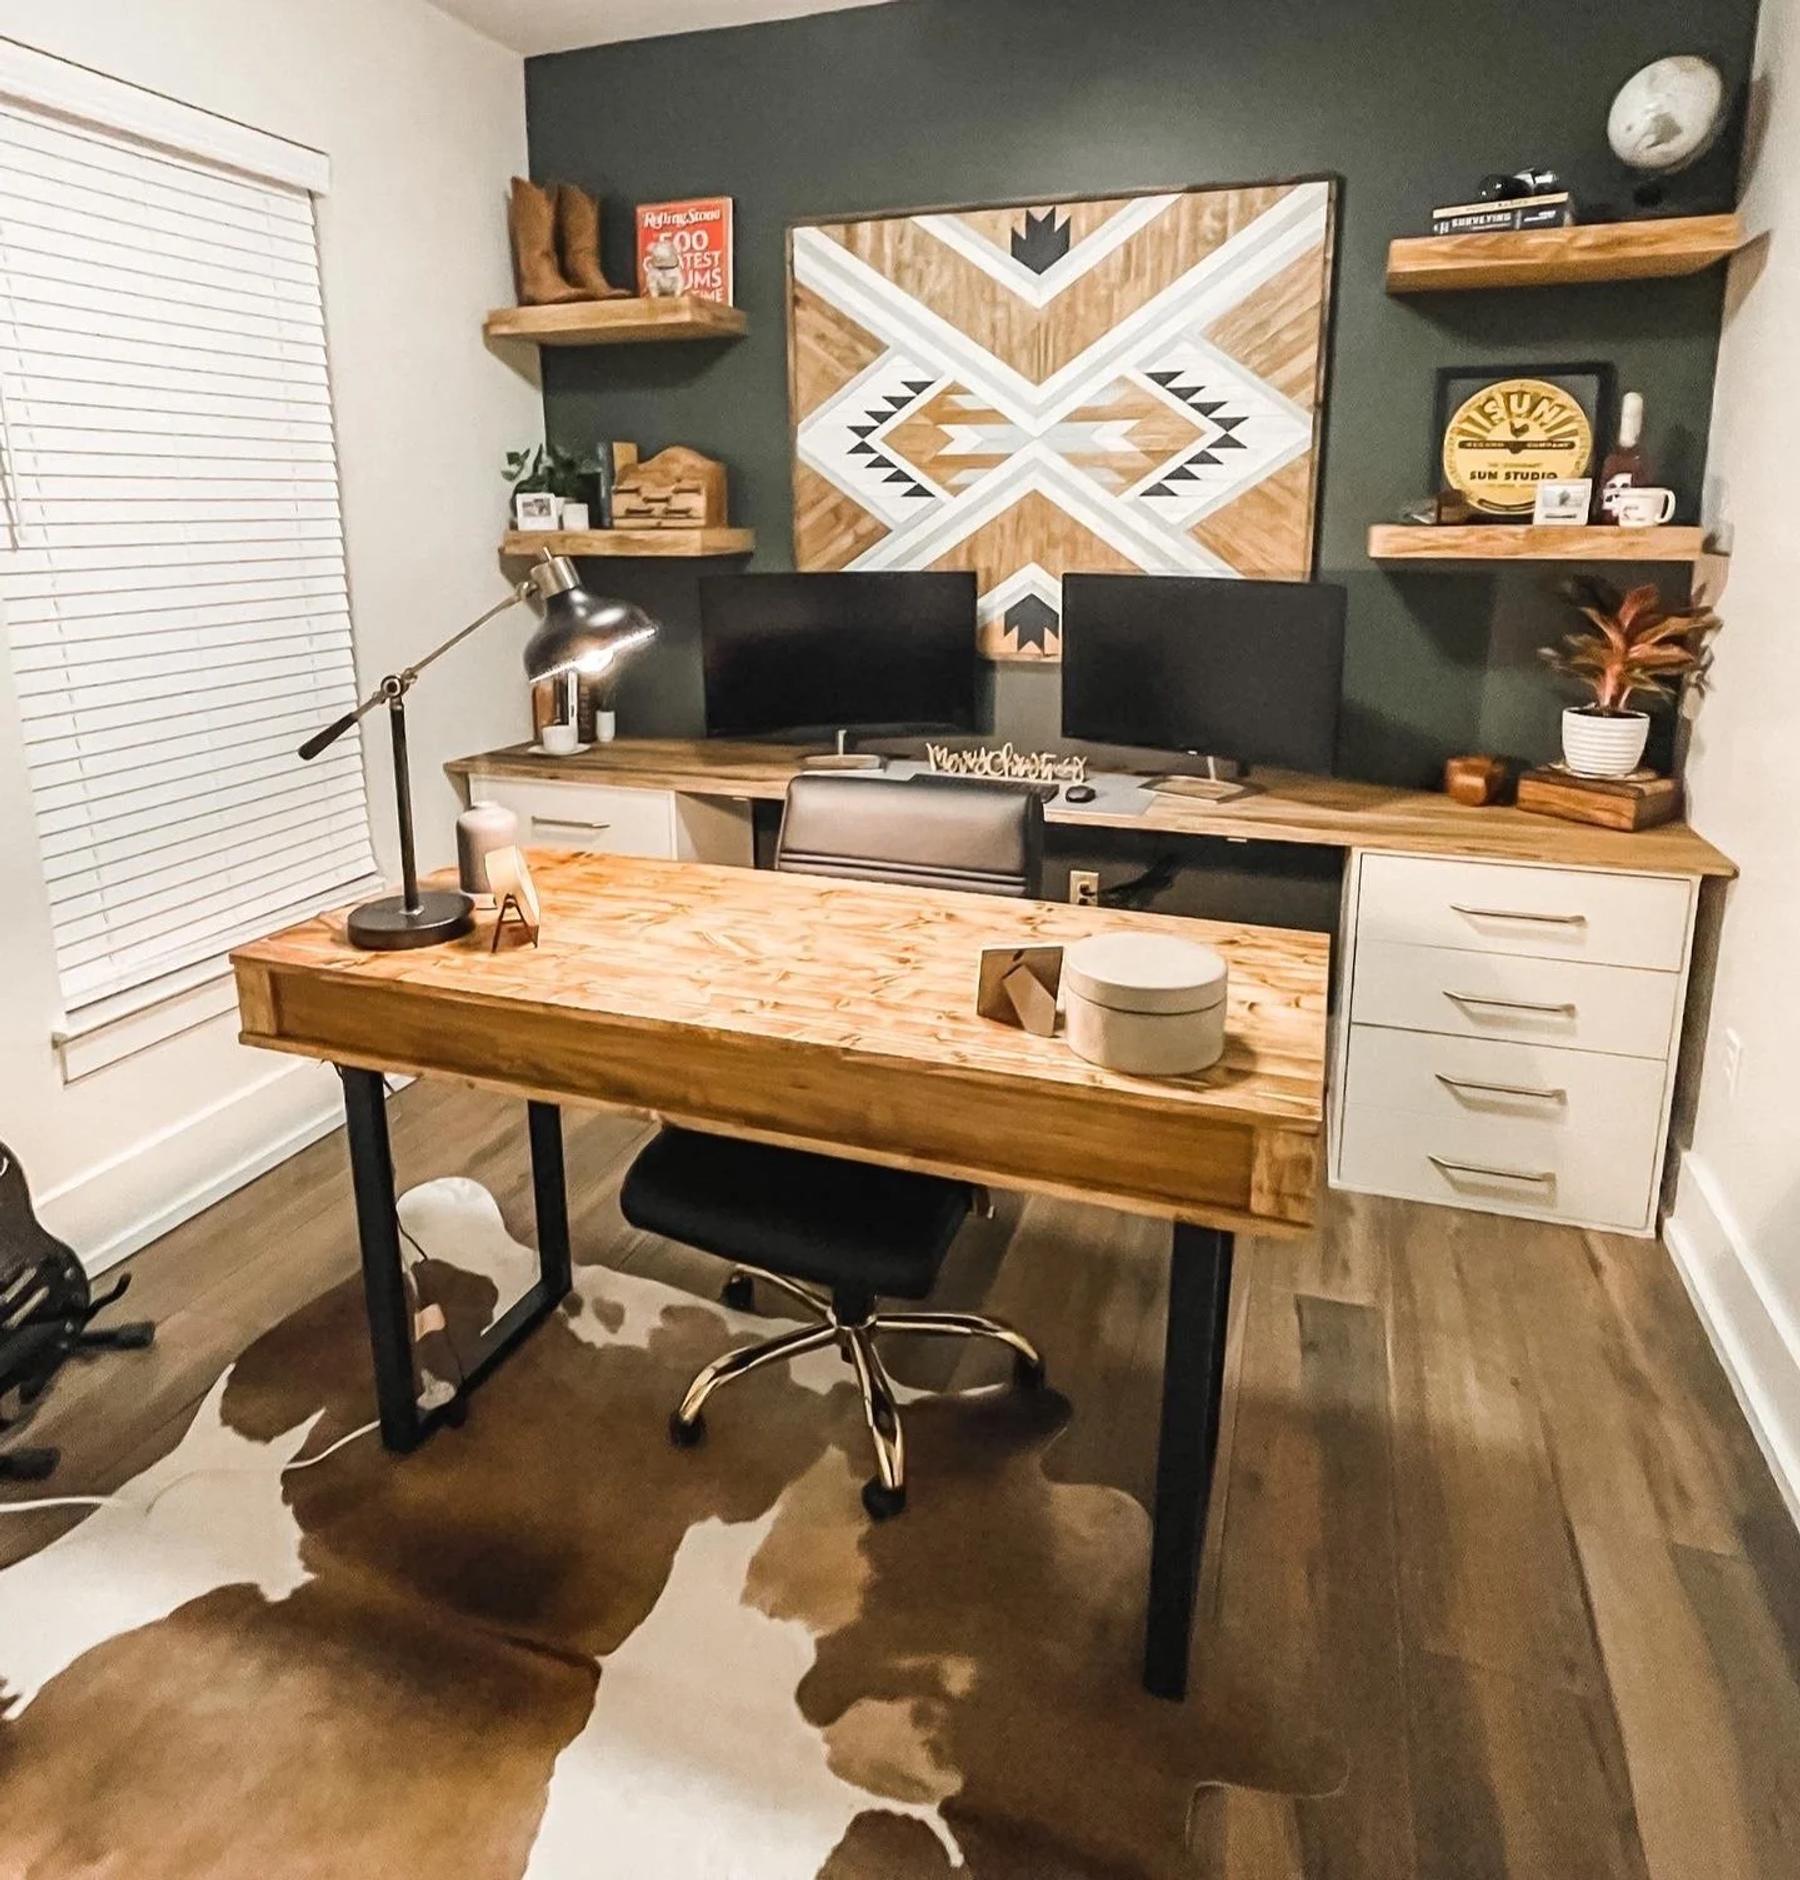
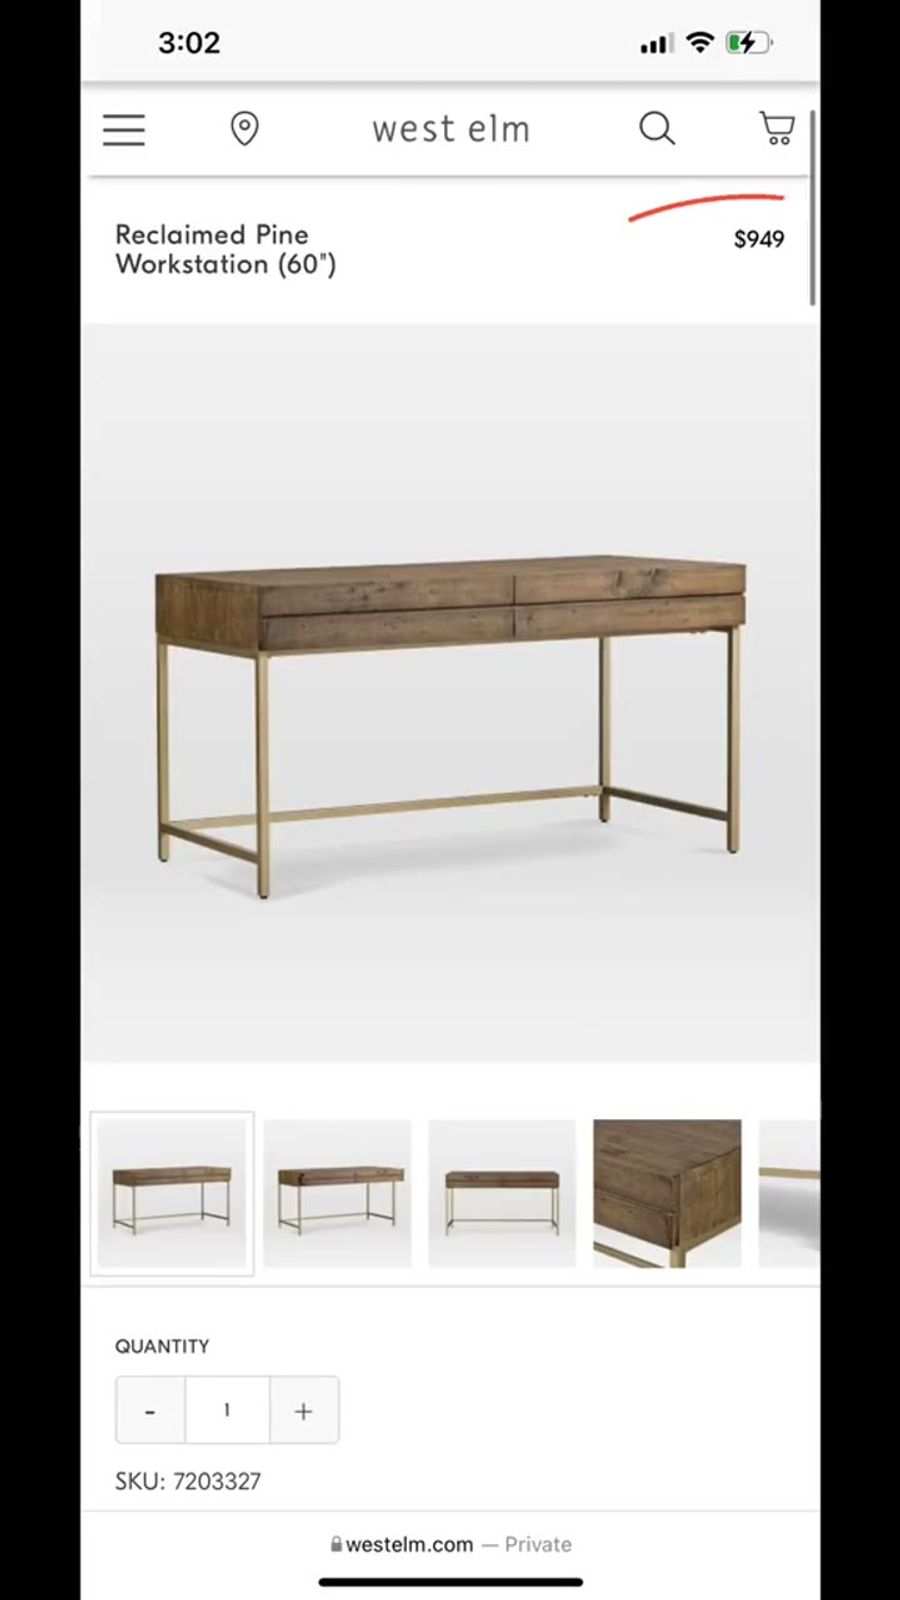
When I decided to remodel my husband's home office while he was out of town for work (a complete surprise), I knew I'd need to build a desk from scratch to sit in the middle of the room. It had to be specific dimensions to leave room to walk all the way around, deep enough for a big work surface, and offer a little storage to hide the clutter. My list for this desk:
- Look masculine and well made
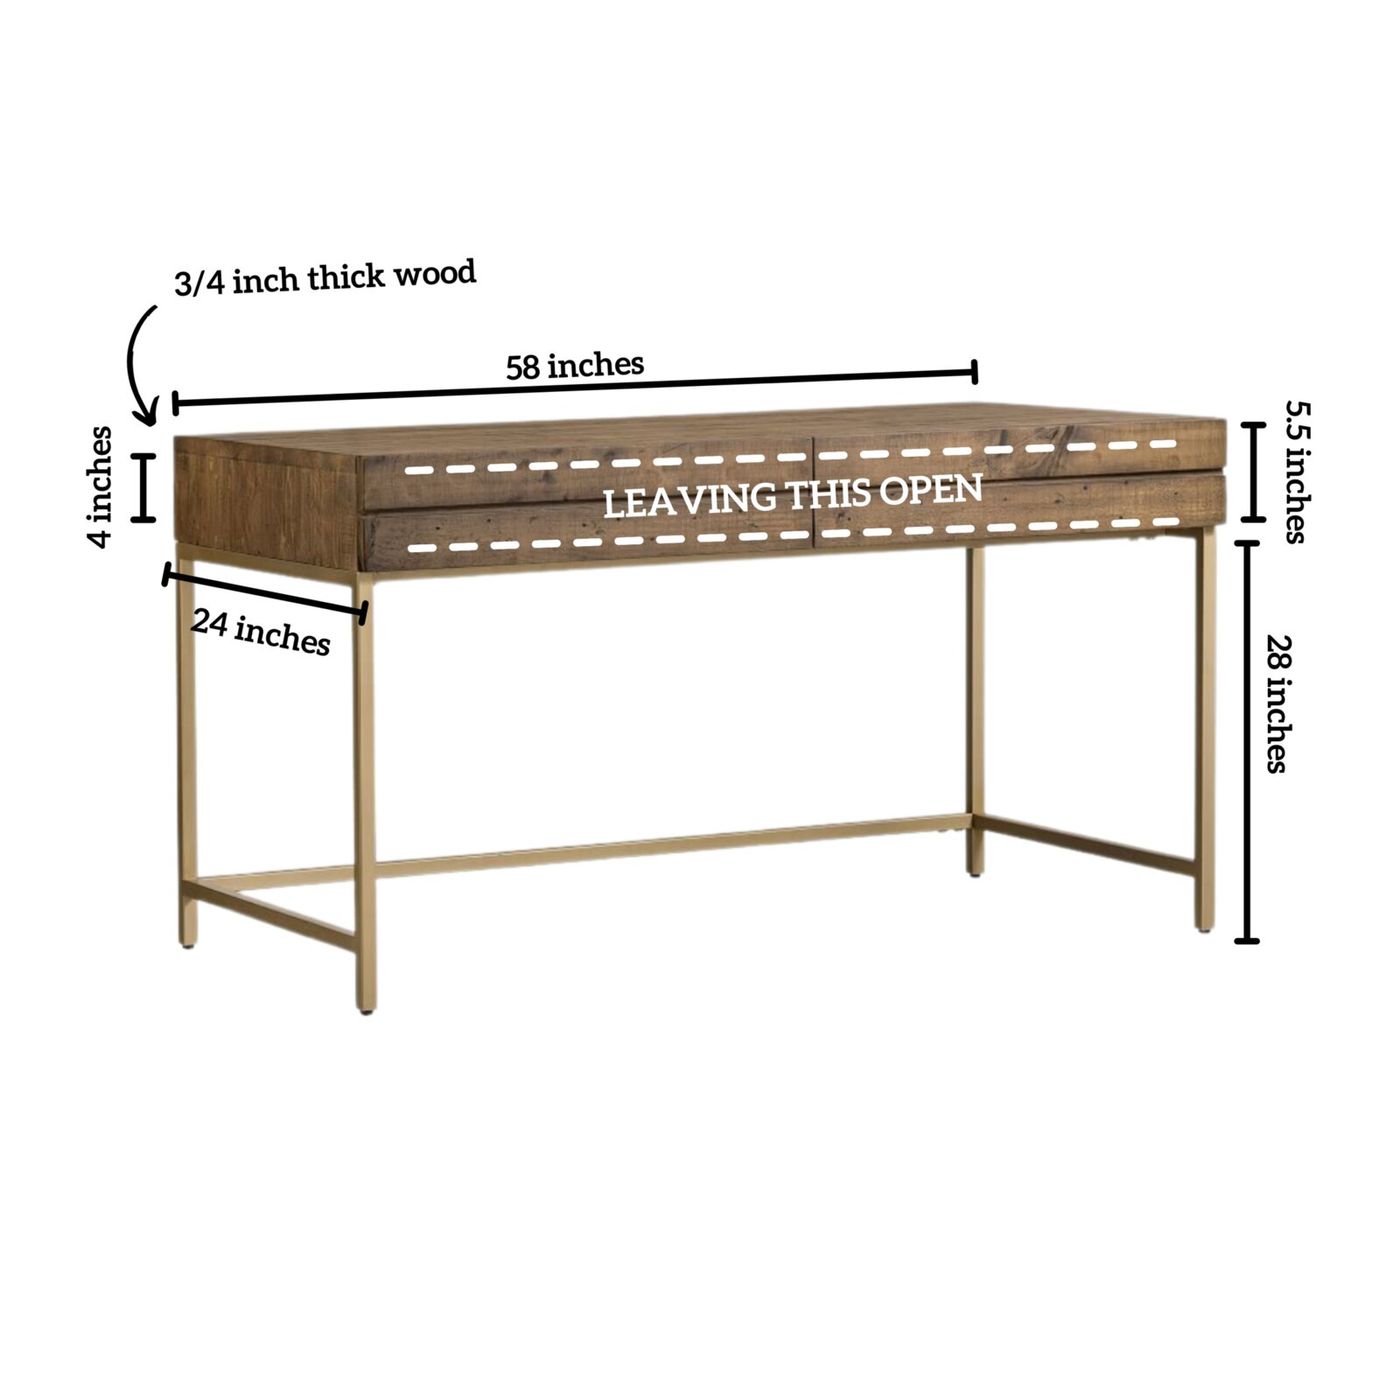
- No wider than 58 inches, at least 24 inches deep, and 28–32 inches tall (standard desk sizing)
- Extra sturdy, especially since it wasn't going against a wall
- Offer storage
- Low cost: this whole room was on a tight budget
- Repurpose old desks to save money and be resourceful
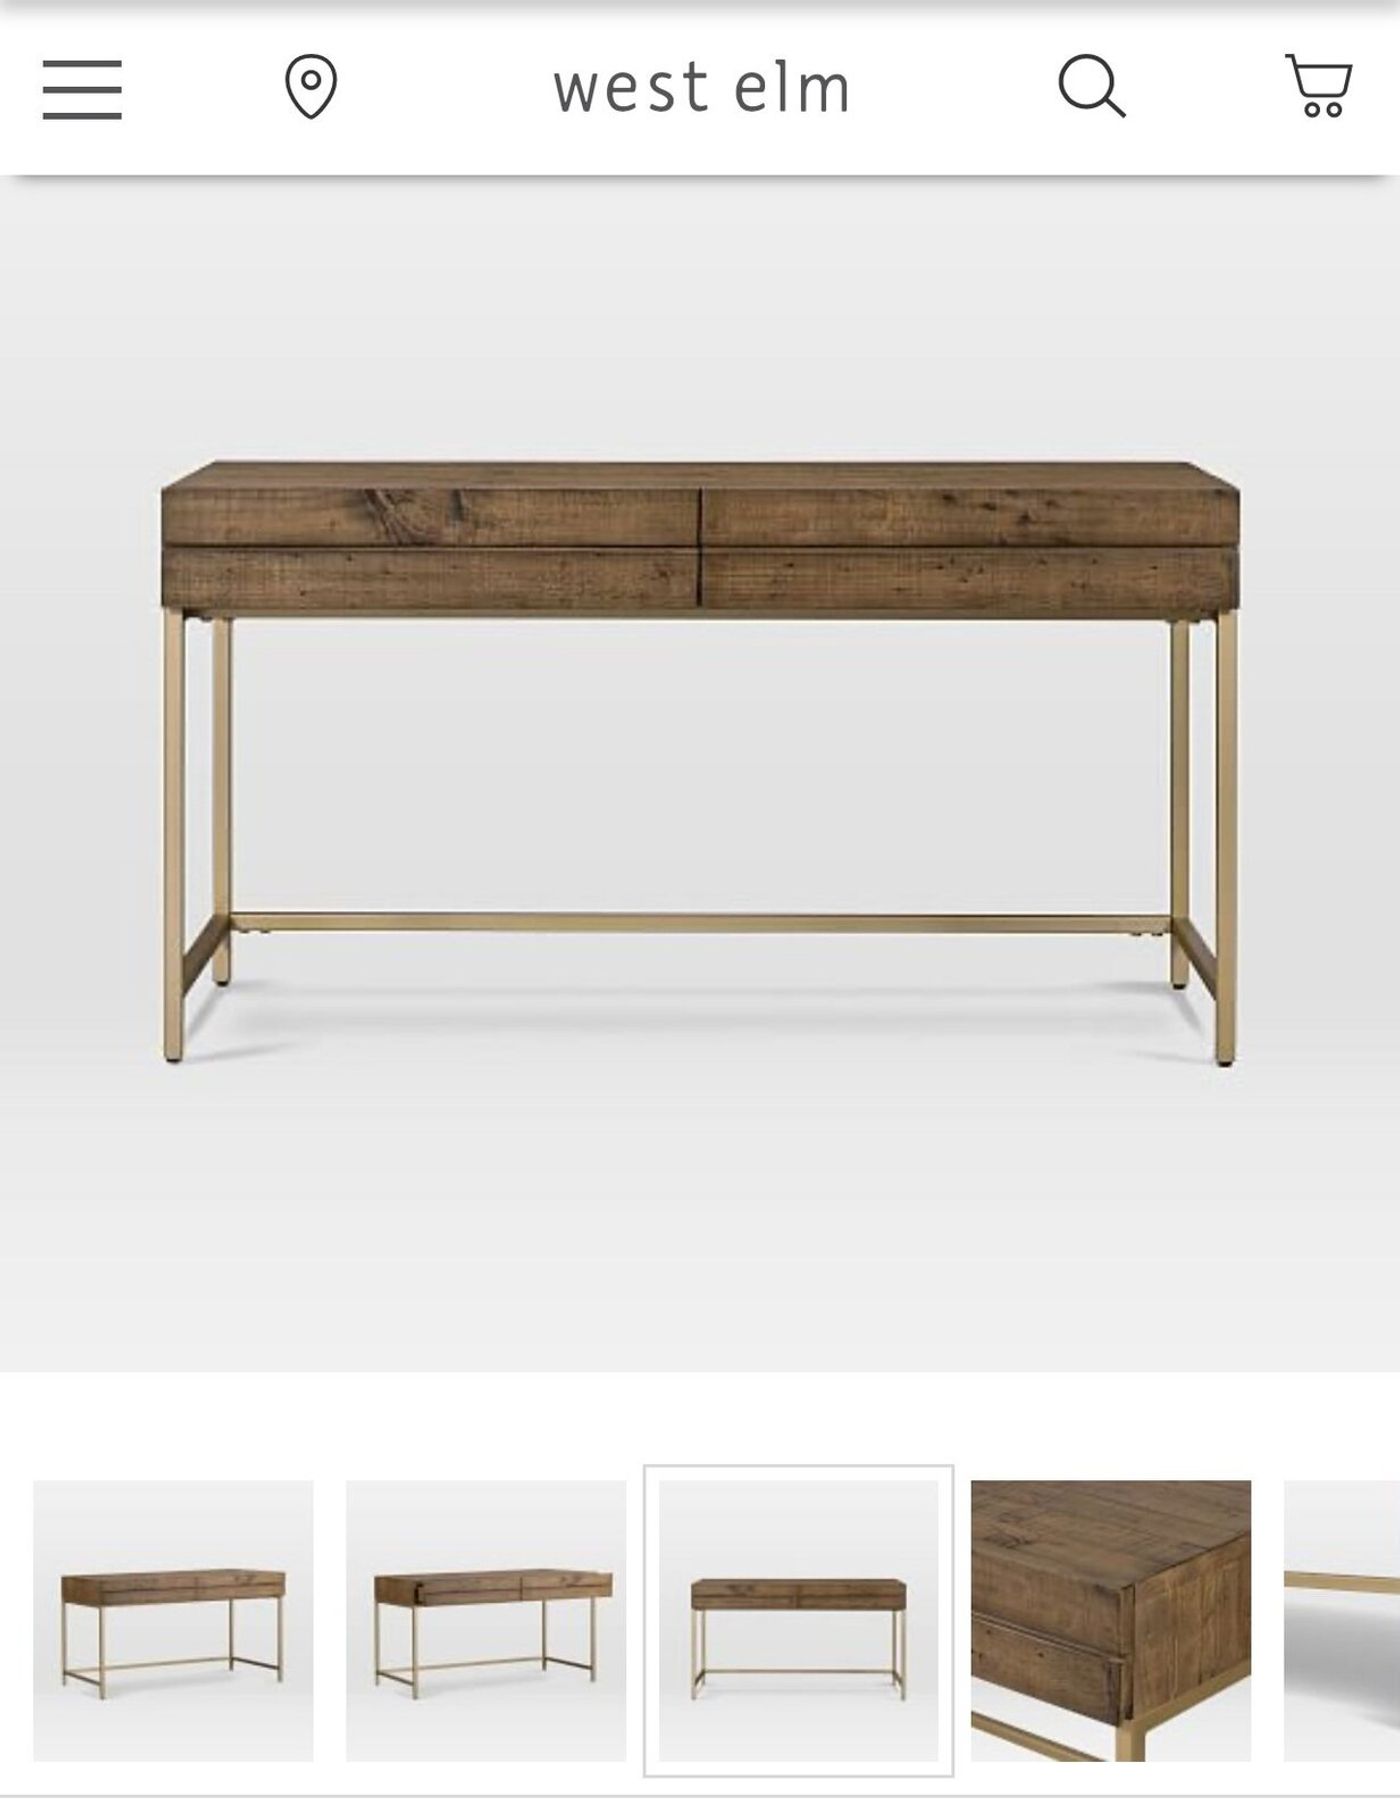
After some research I found a West Elm desk I just loved the look of, and it was nearly $1,000, definitely out of budget. I went looking for the link so I could share it, but I don't think it's sold anymore. Here's the desk that started it all:
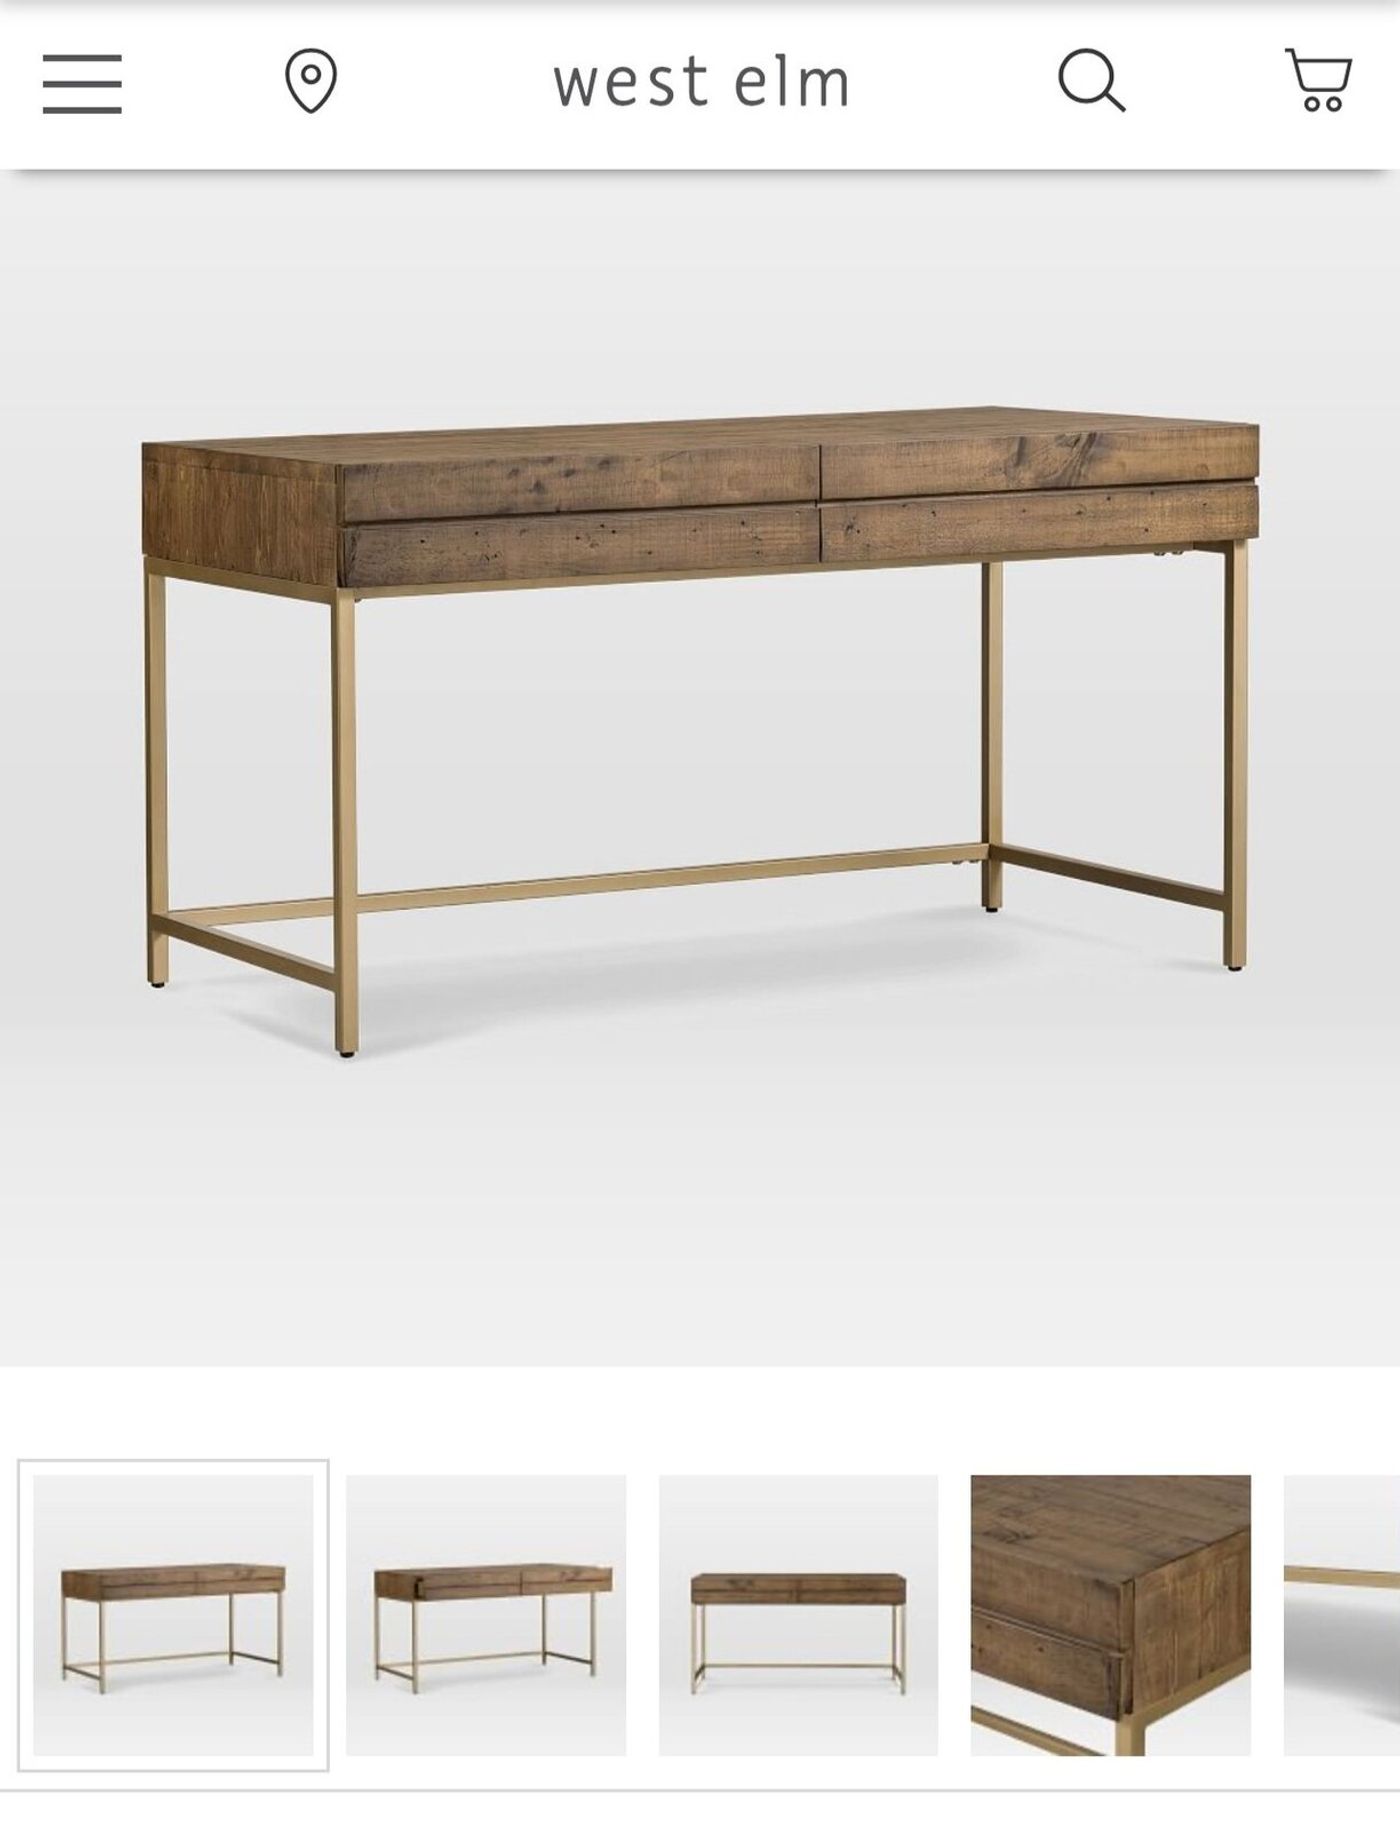
The room already had two wobbly desks I'd built quickly when we first found out he needed an office (one of my very first building projects). So I took those completely apart and reused the wood for this new one. Here's how to do it from scratch.
Tools
- Circular saw (or table saw)
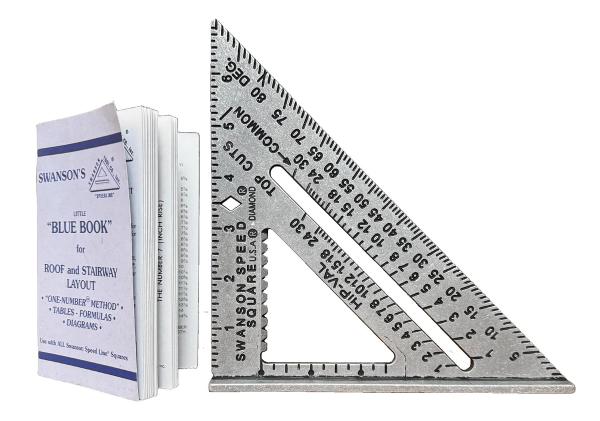
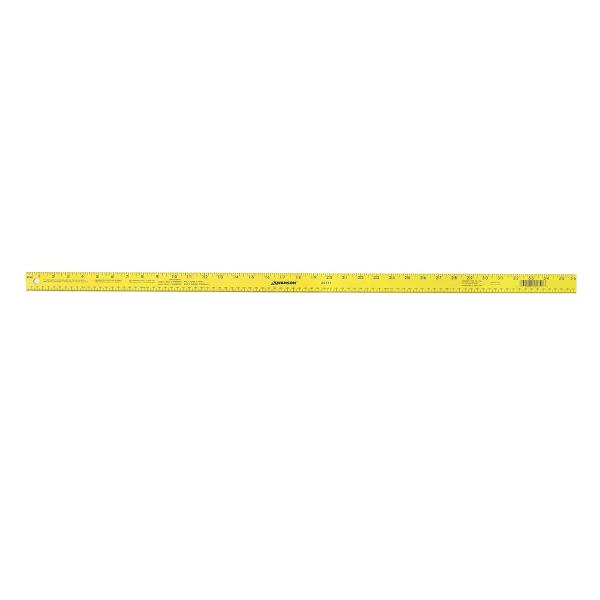
- Measuring tape, speed square, yardstick, pencil
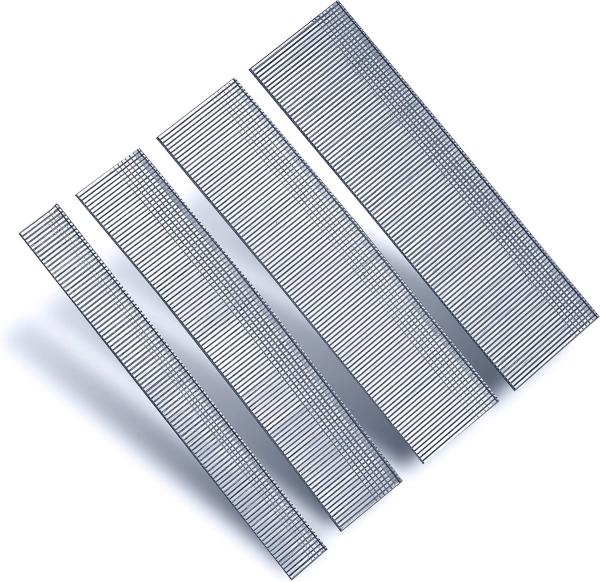
- Nail gun + 1 1/2-inch brad nails (optional)
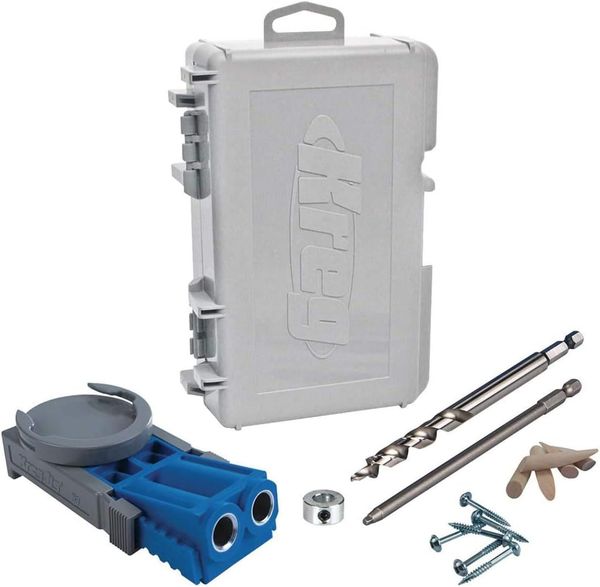
- Kreg pocket-hole system (optional)
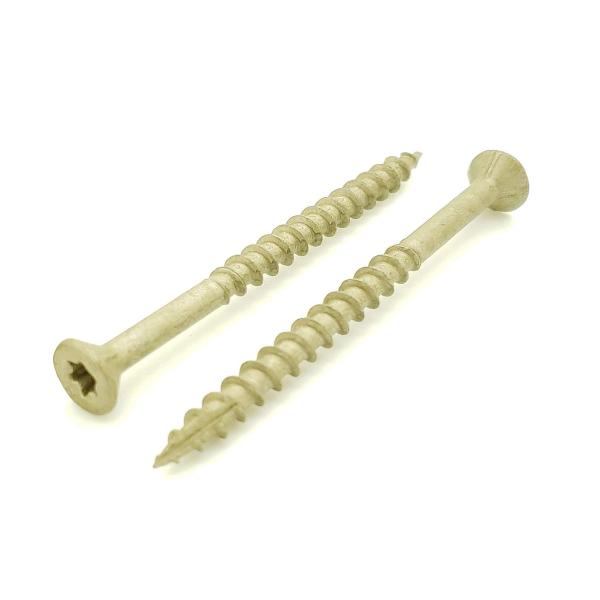
- Drill + 1 1/2-inch wood screws
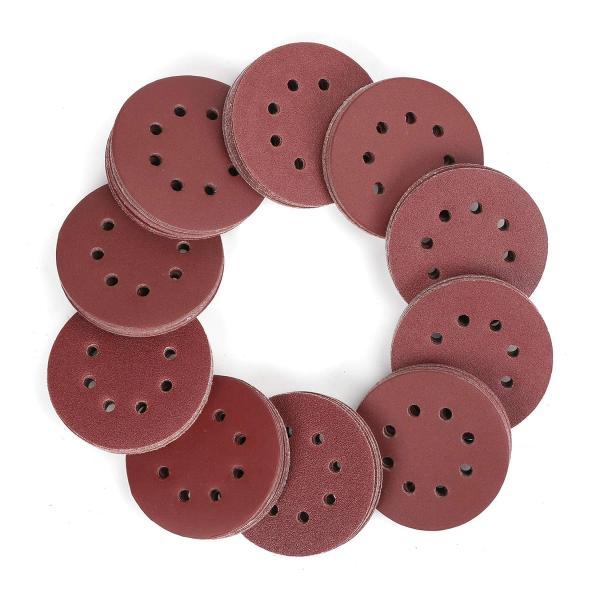
- Sander and sandpaper
Supplies
- Wood glue
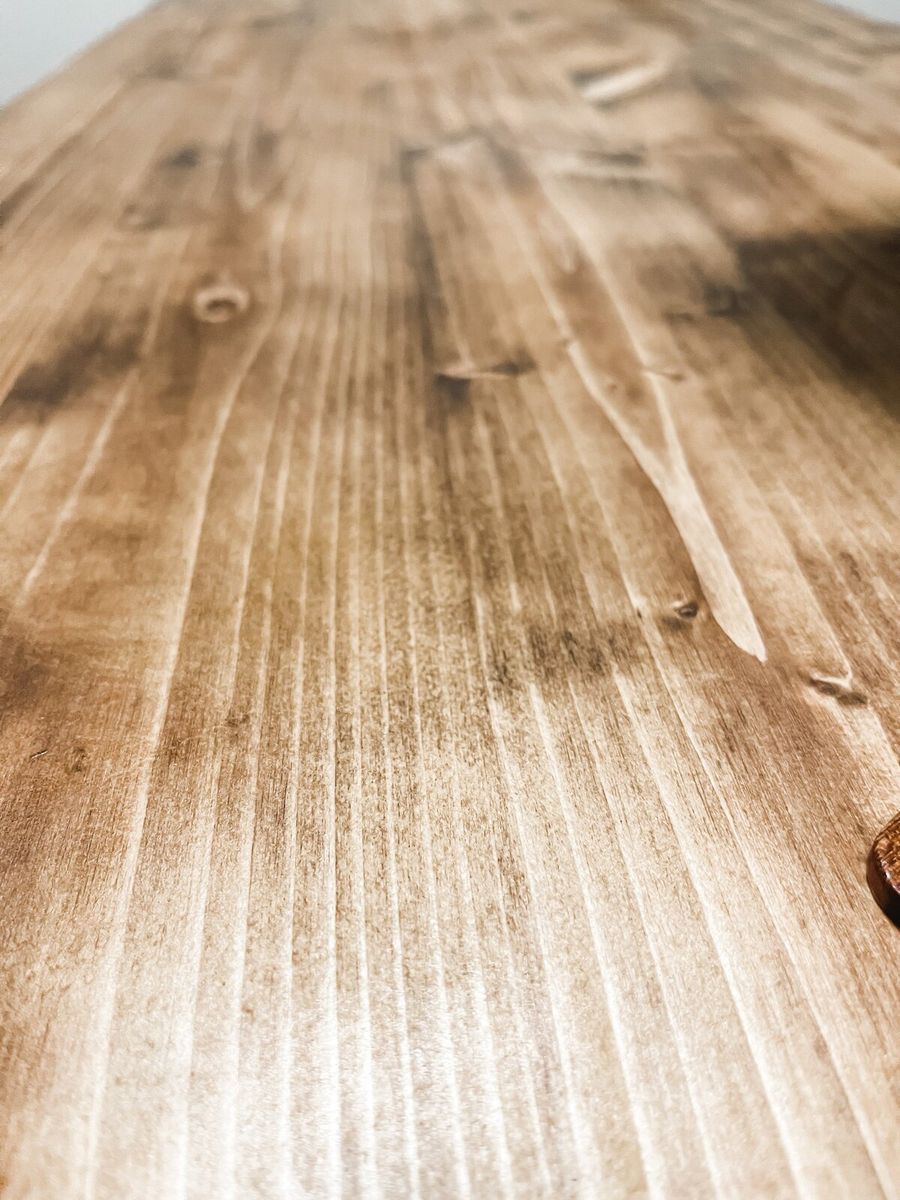
- Stain (I used Puritan Pine by Minwax)
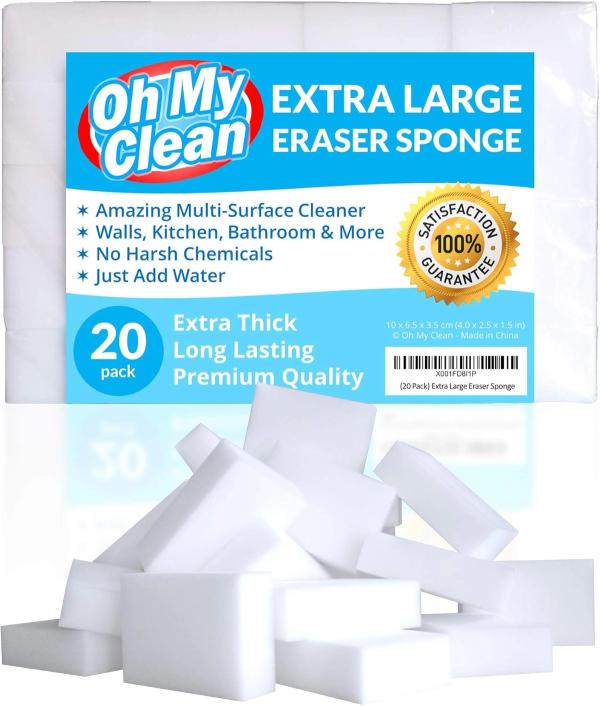
- Throwaway rag or off-brand melamine sponges, disposable gloves
- Clear coat
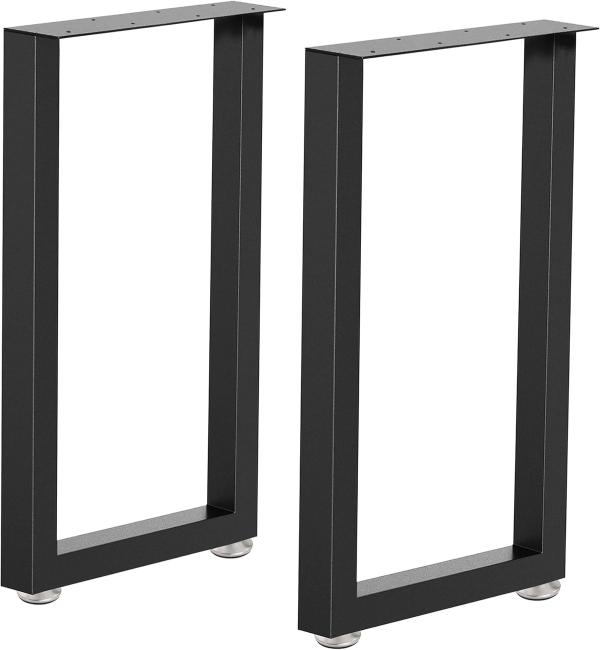
- Legs: buy your own (like I did) or build them. The cut list below does not include leg wood.
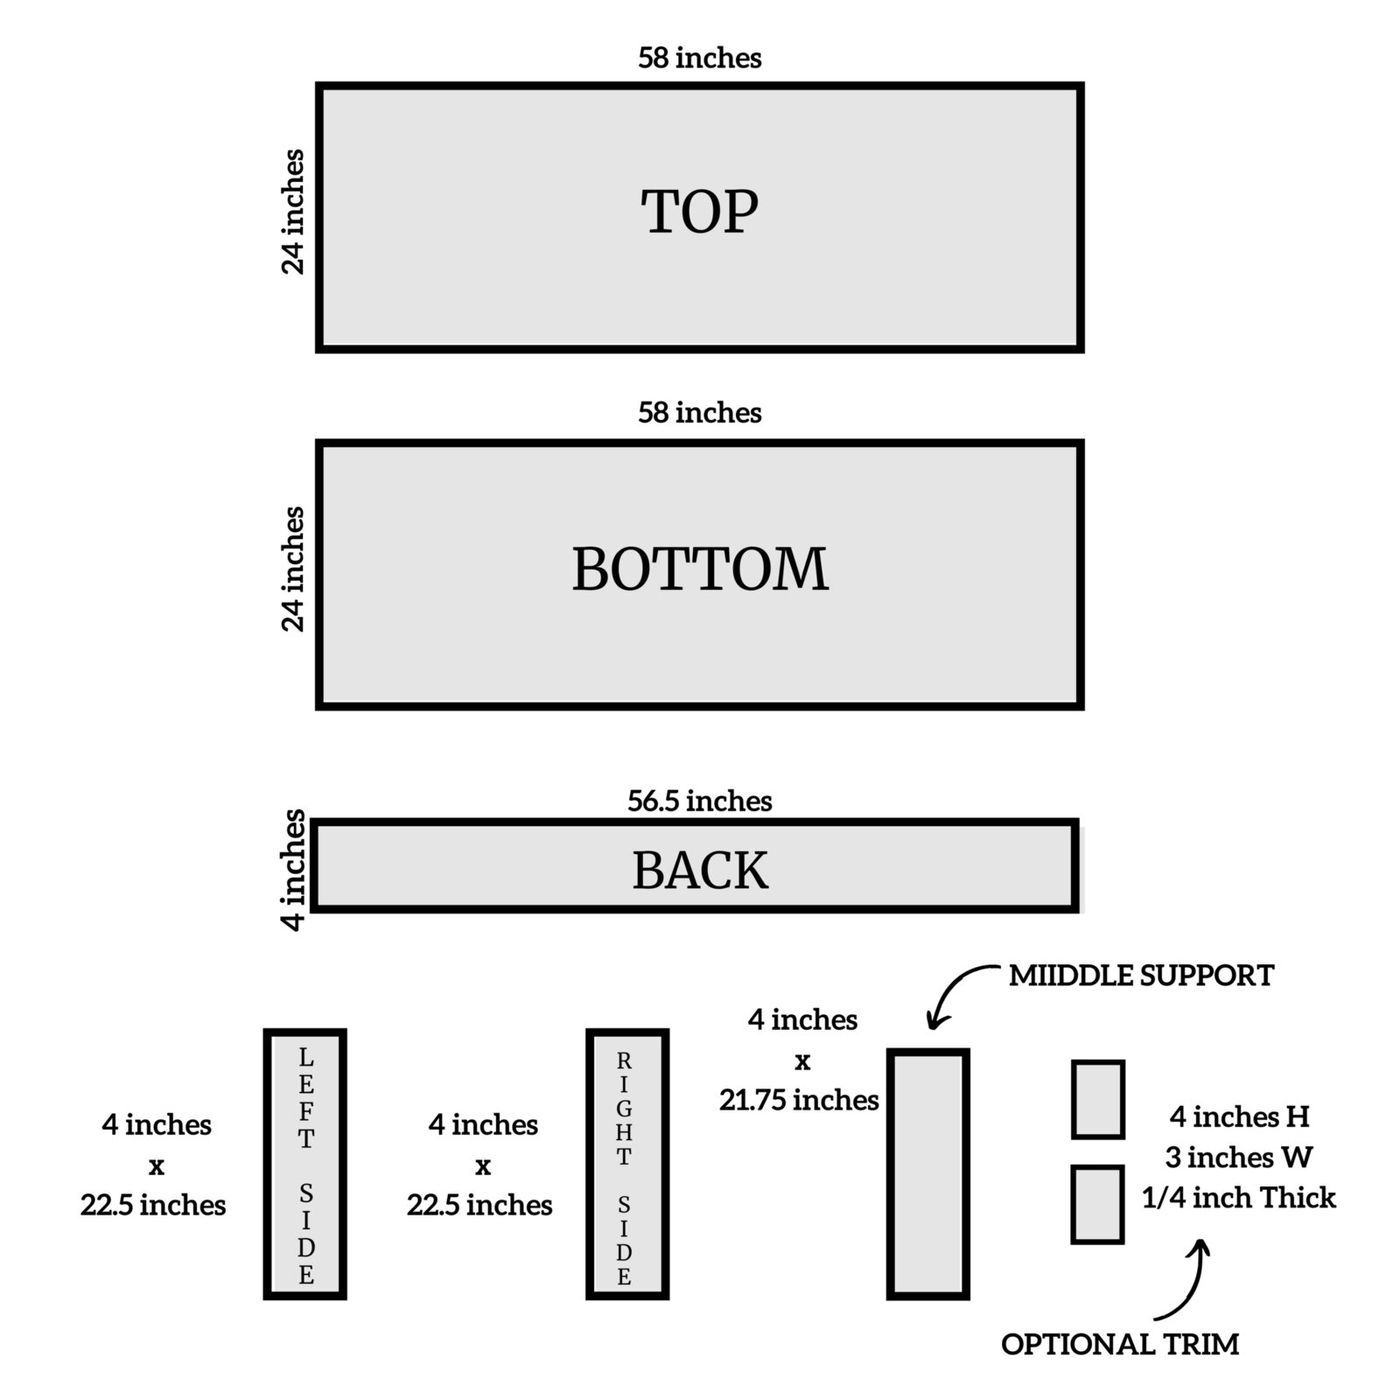
Cut List
- 2: 24" × 58" stain-grade wood panel, 3/4" thick (top and bottom; adjust if you resize)
- 1: 4" × 56.5" × 3/4" for the back (make it 3" wide instead of 4" if you want the desk shorter)
- 2: 4" × 22.5" × 3/4" for the sides
- 1: 4" × 21.75" × 3/4" for the middle support (add a second for three cubbies instead of two)
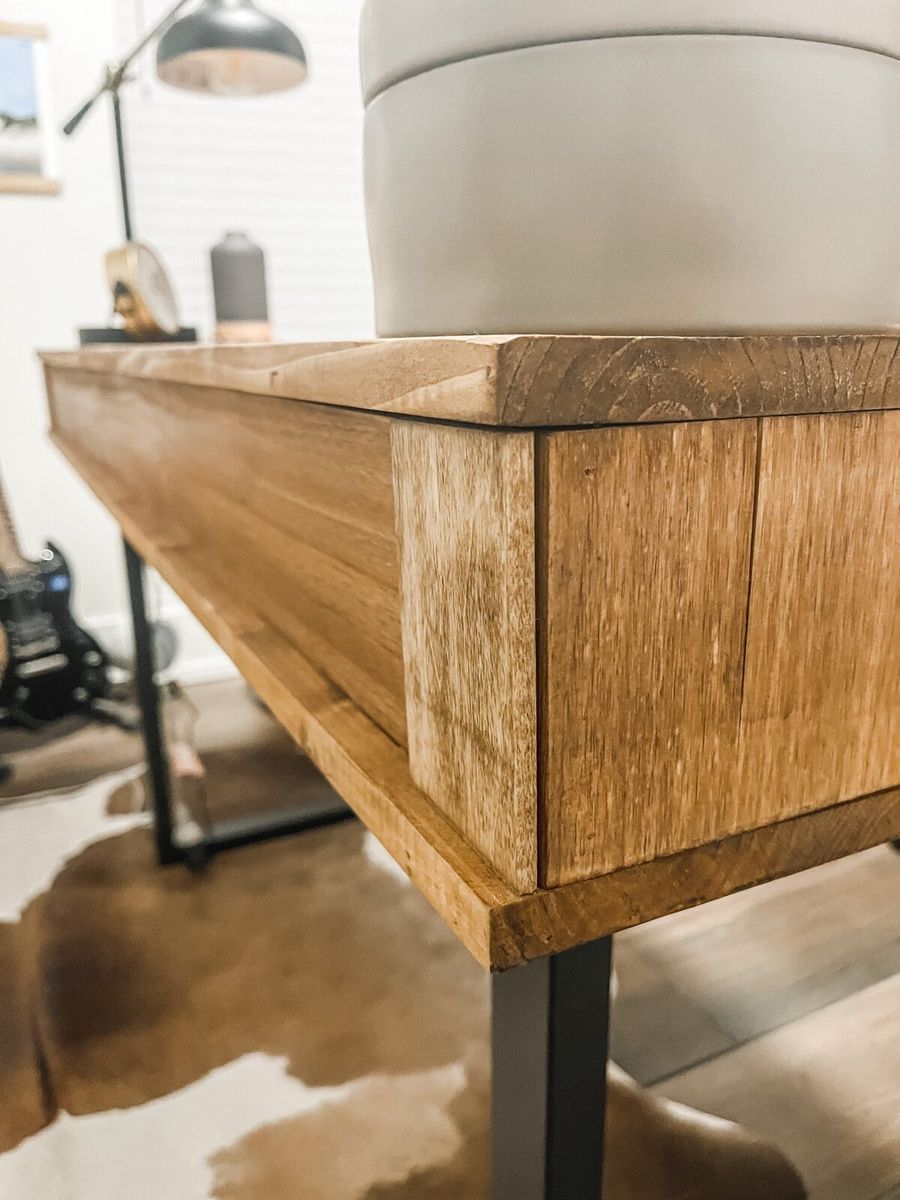
- 2: 4" × 3" × 1/4" trim for the outer edges (optional, purely cosmetic)

Step 1
Make sure you've got all your tools and supplies, then make your cuts from the list above. The desk is fully customizable. Adjust your cuts to the size and depth you want.
Step 2
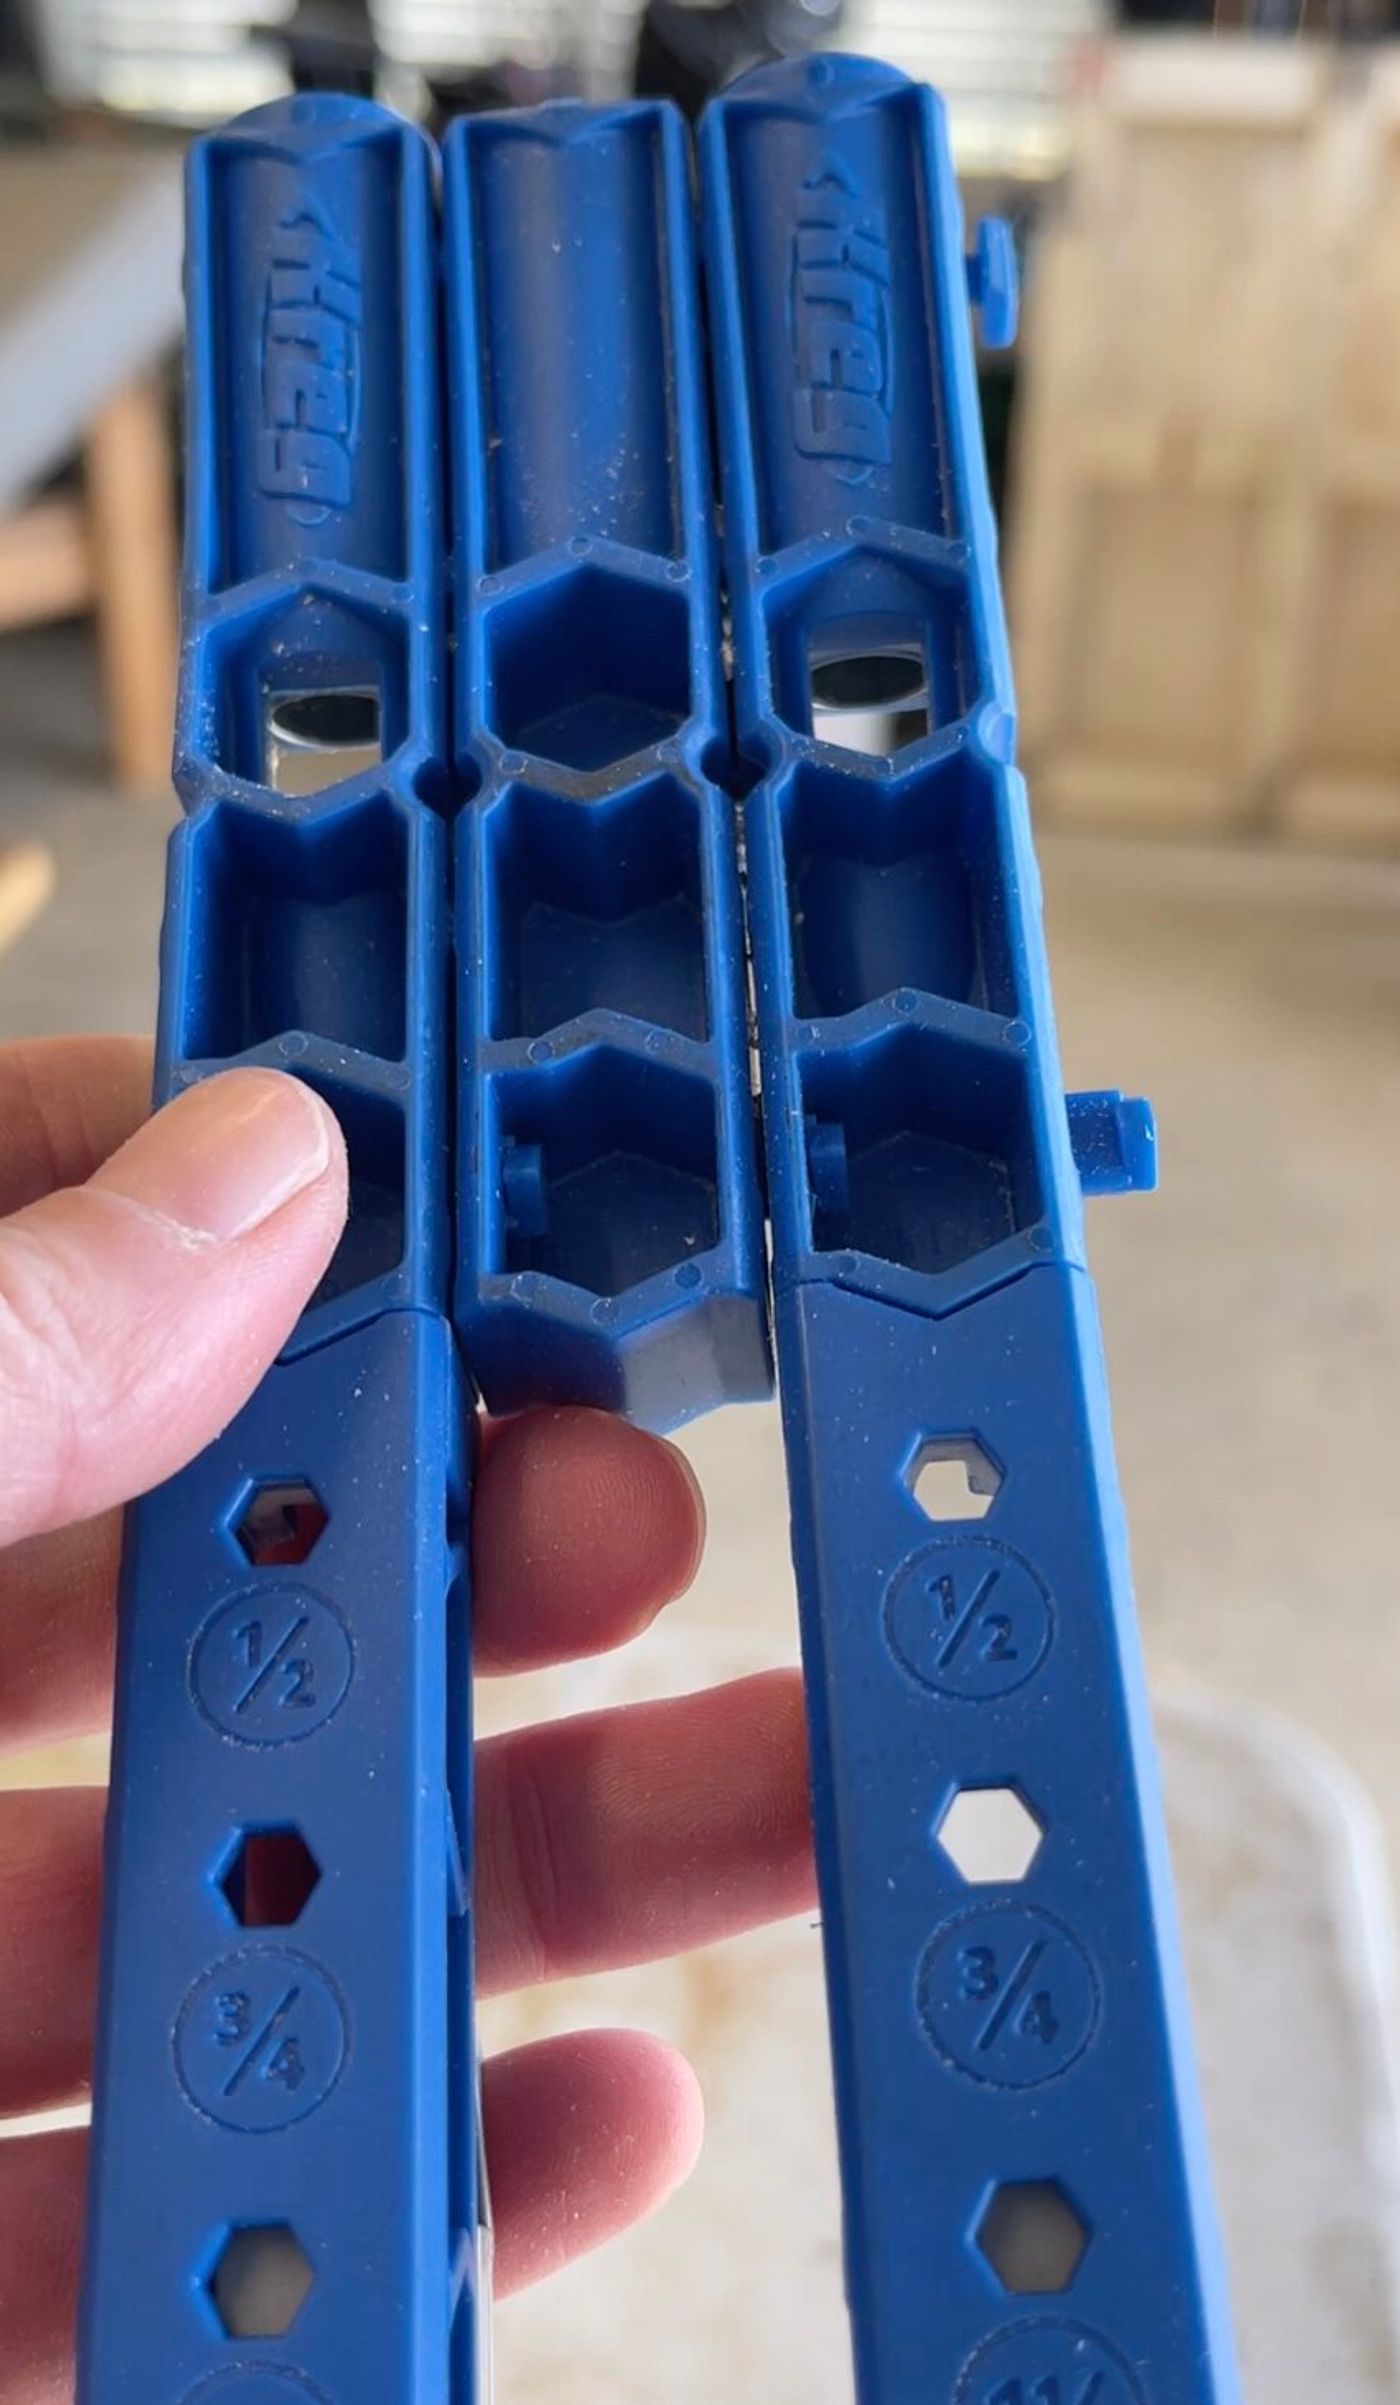
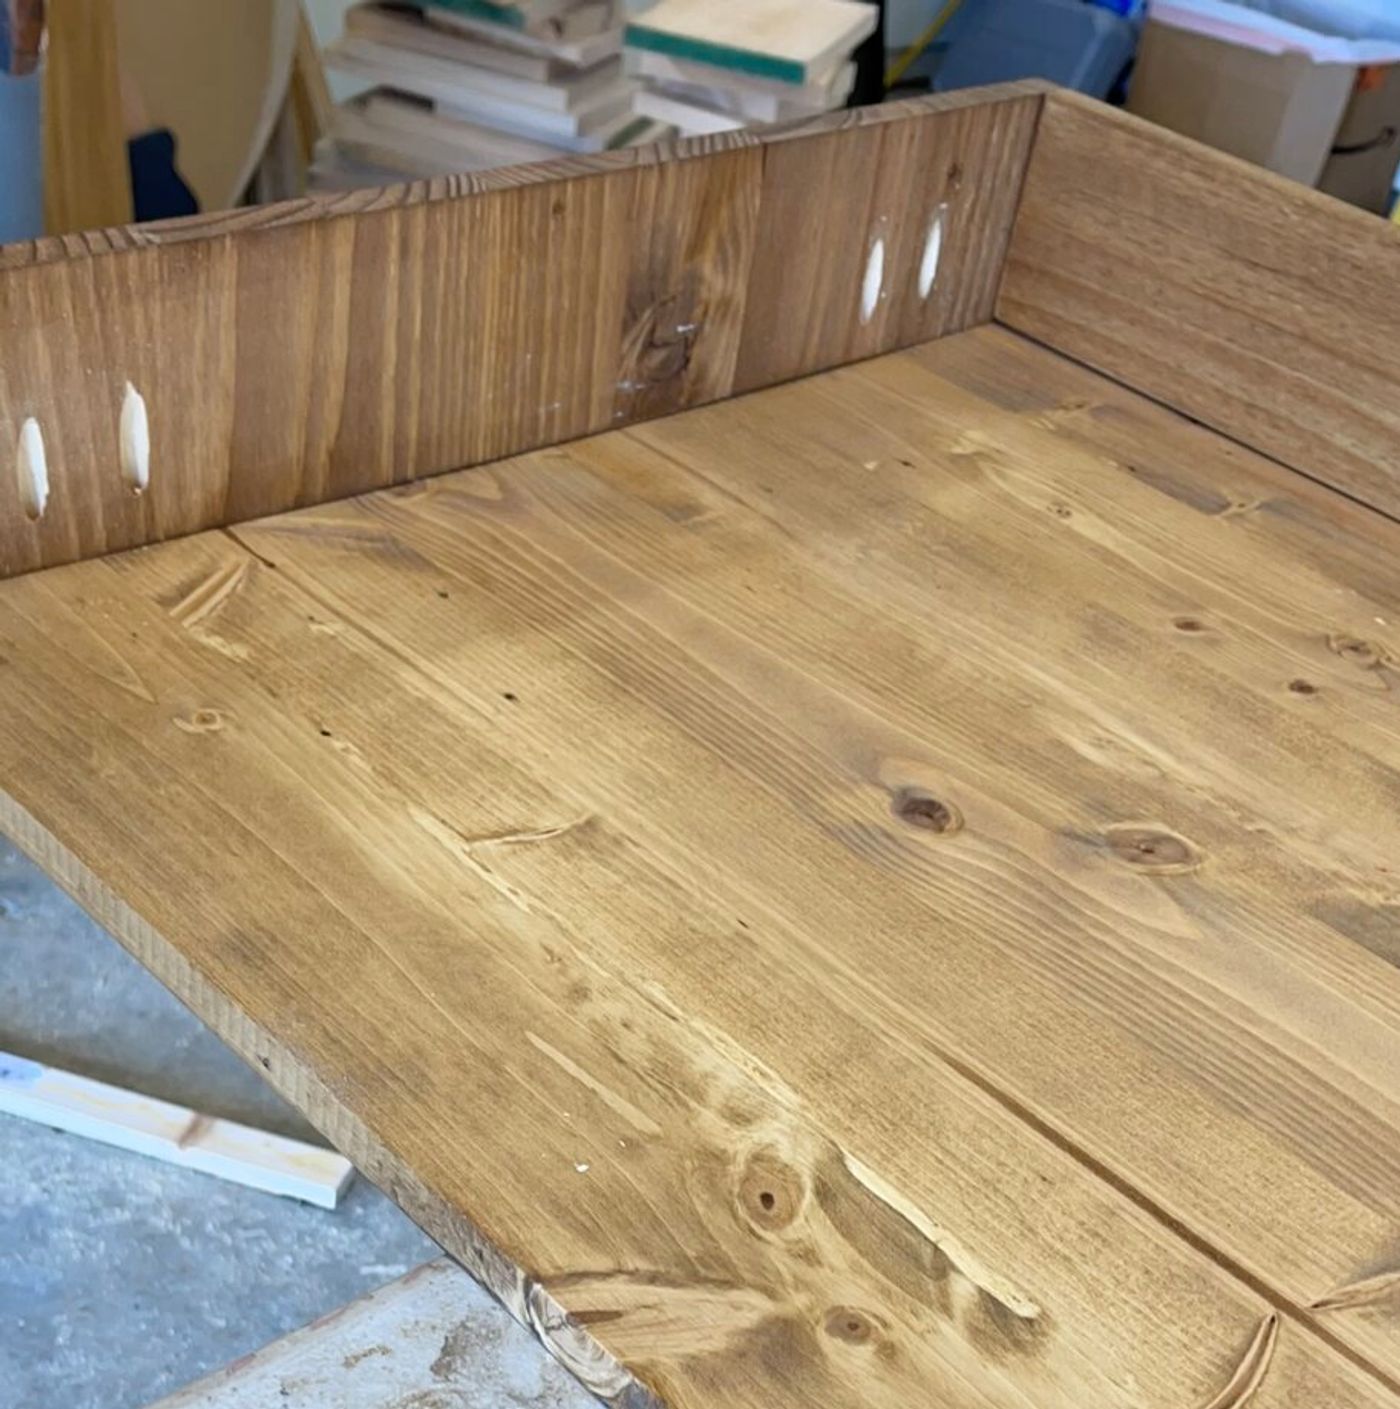
Sand each cut edge and surface to prep for stain. I start at 80 grit and work down to 220 until it feels smooth. Add pocket holes to the left and right sides, the back sections, and the middle support. I used the Kreg pocket-hole system to get the angles right for screwing the sides and support into the bottom of the desk.
Step 3
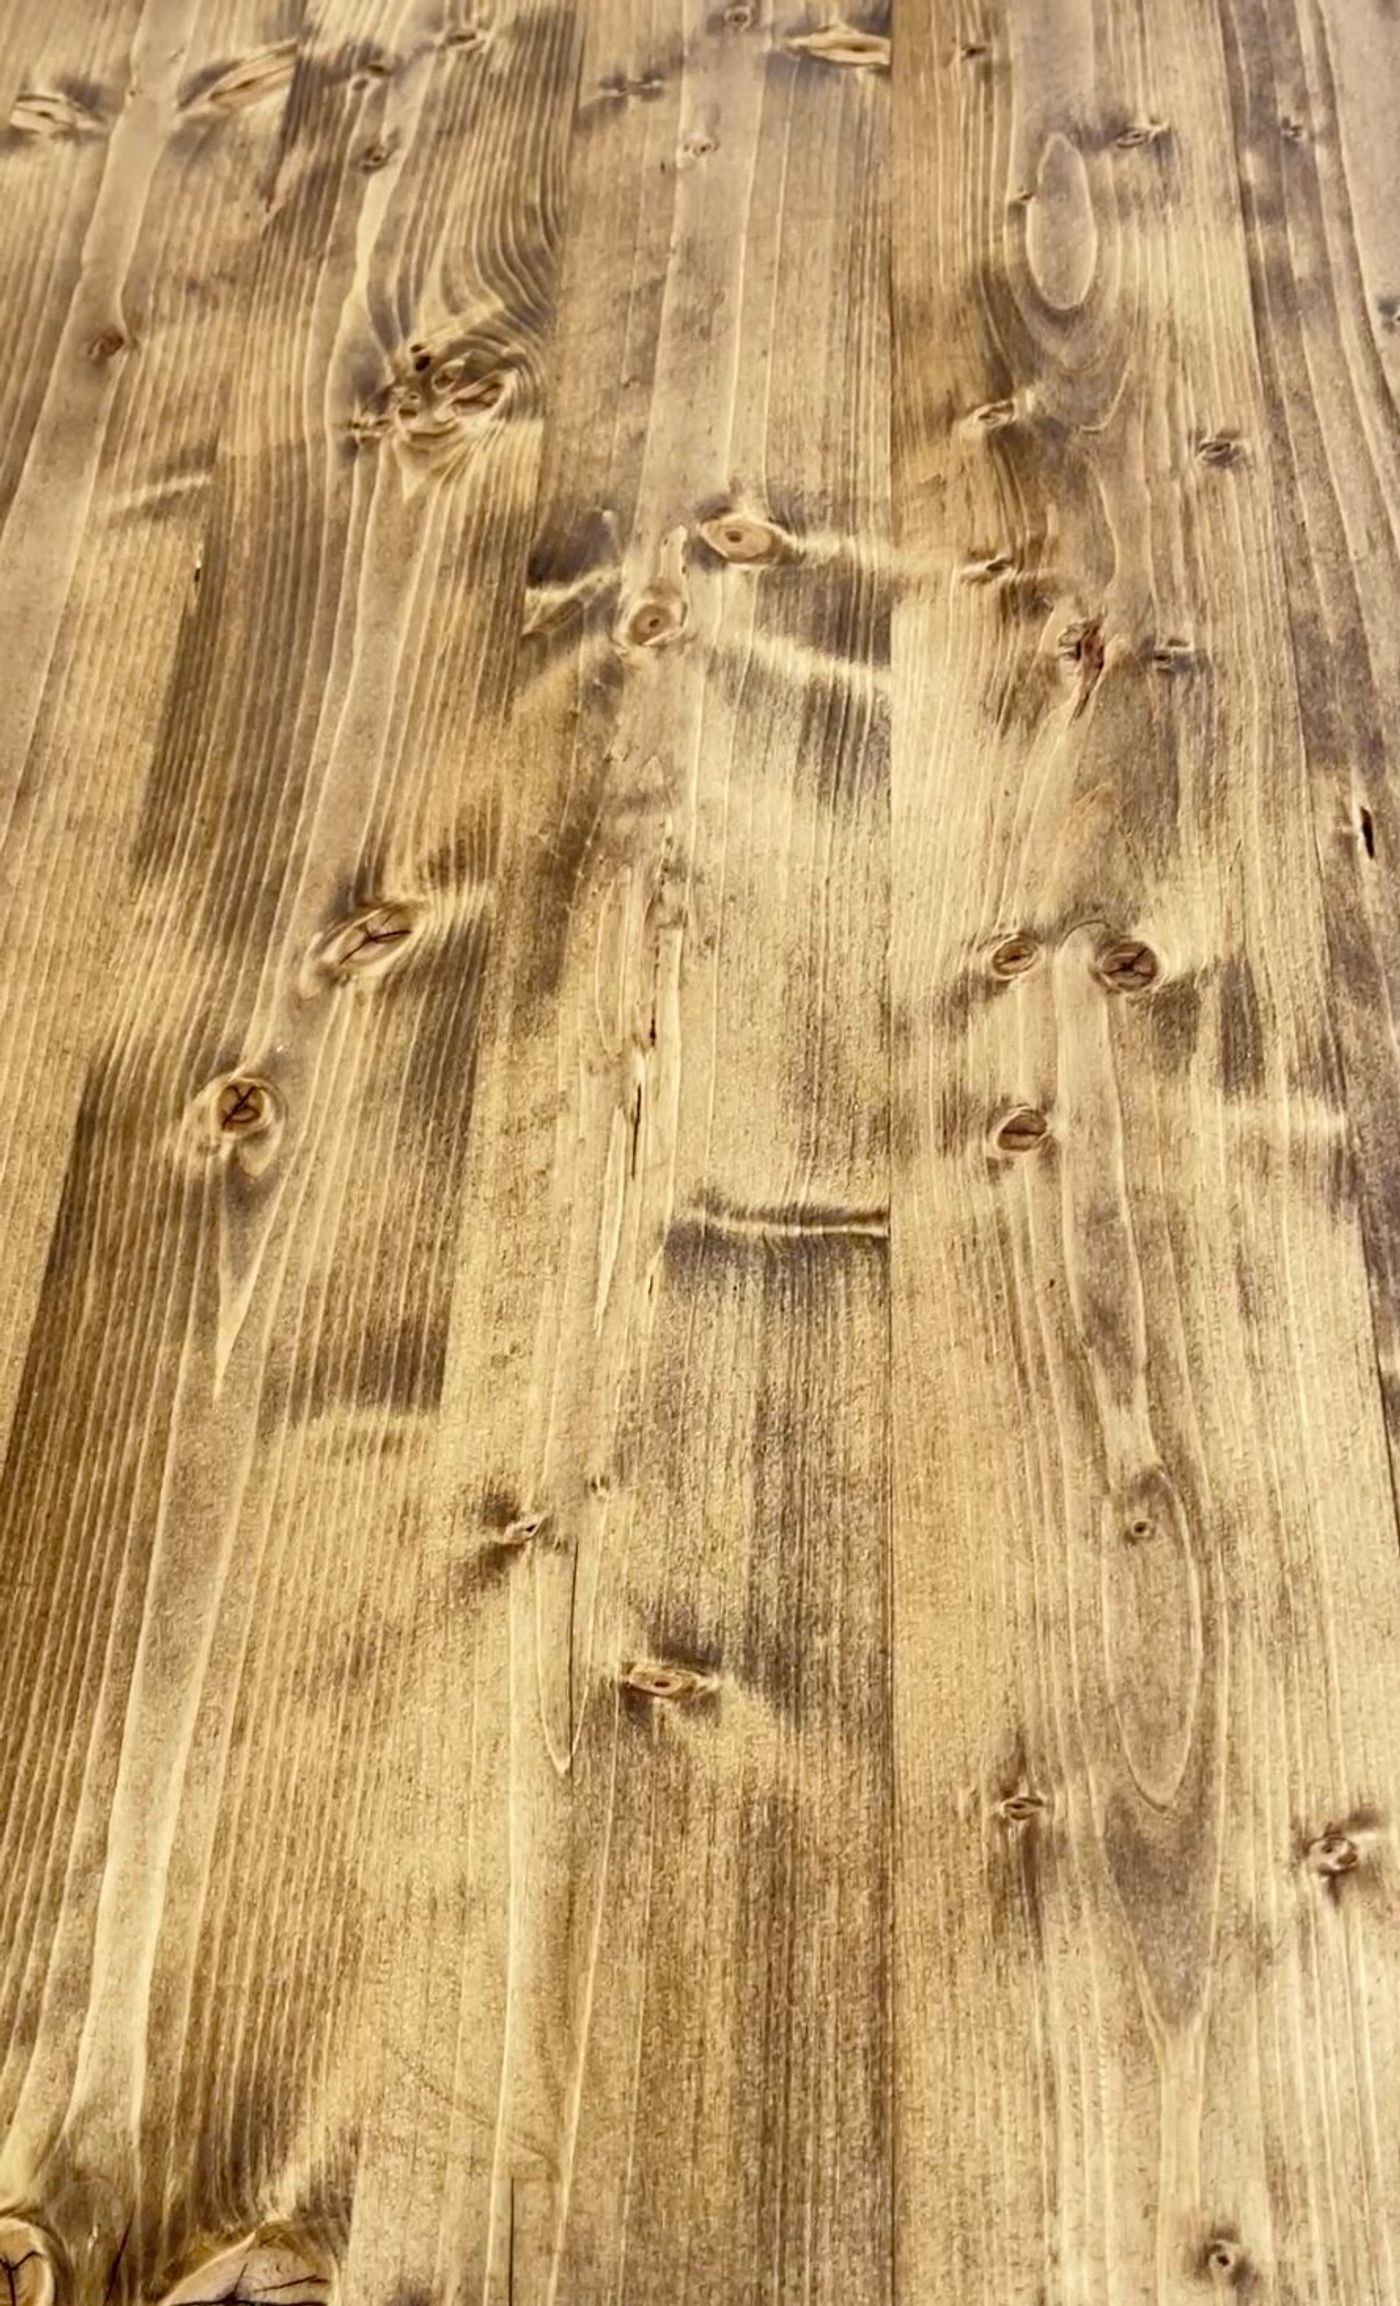
Stain every piece (all sides and edges) with your stain of choice. Mine is Puritan Pine by Minwax; I use it constantly in my artwork and other projects because I love the natural look. I always stain with those off-brand magic eraser pads: dip one straight into the can, apply as evenly as possible, then wipe off the excess with a clean rag or paper towels. The pads go in the trash when I'm done. Stain is not something that cleans up.
Grab disposable gloves before you start. If stain finds your skin anyway, scrub with half olive oil, half dish soap in warm water and it eventually comes off. I don't think it comes out of clothes. If you know something I don't, please share. Let everything dry a few hours before moving on.
Step 4
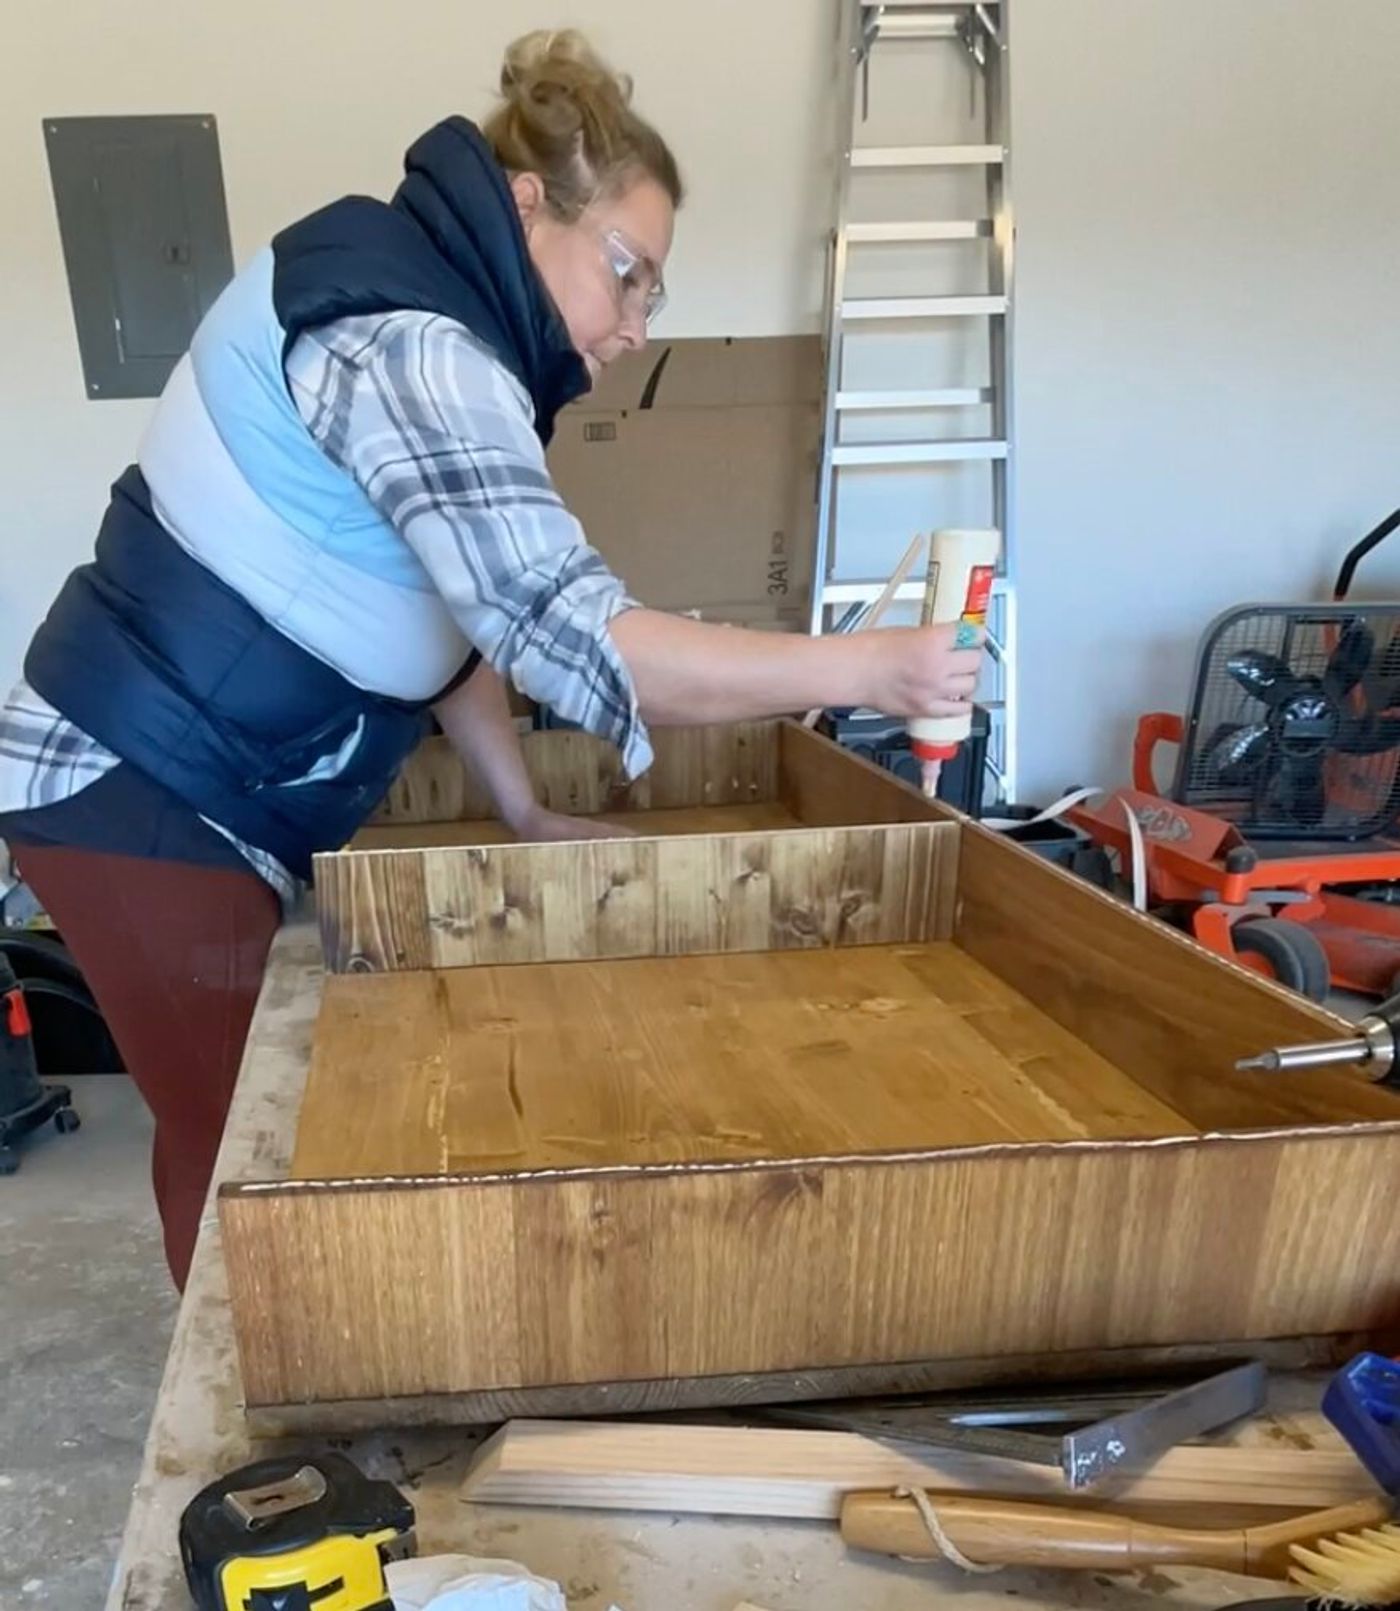
Using wood screws and wood glue, attach the left and right sides to the top. Don't drill through the other side of the top. It gets flipped later and becomes the desk surface. The sides line up flush against the edge of the top. Attach the back section the same way, then the middle support. Wipe away any extra glue.
Step 5
Add glue to the exposed edges of the sides, back, and middle support. Carefully lay the bottom down, line everything up, and secure it with a brad nailer around the edges (or wood screws if you don't have a nailer). Wipe the glue and let it dry.
Step 6
Flip the desk so the top faces up. Add the optional edge trim with glue. Apply poly per the instructions. I focused mainly on the top so it'd be sealed and smooth.
Step 7
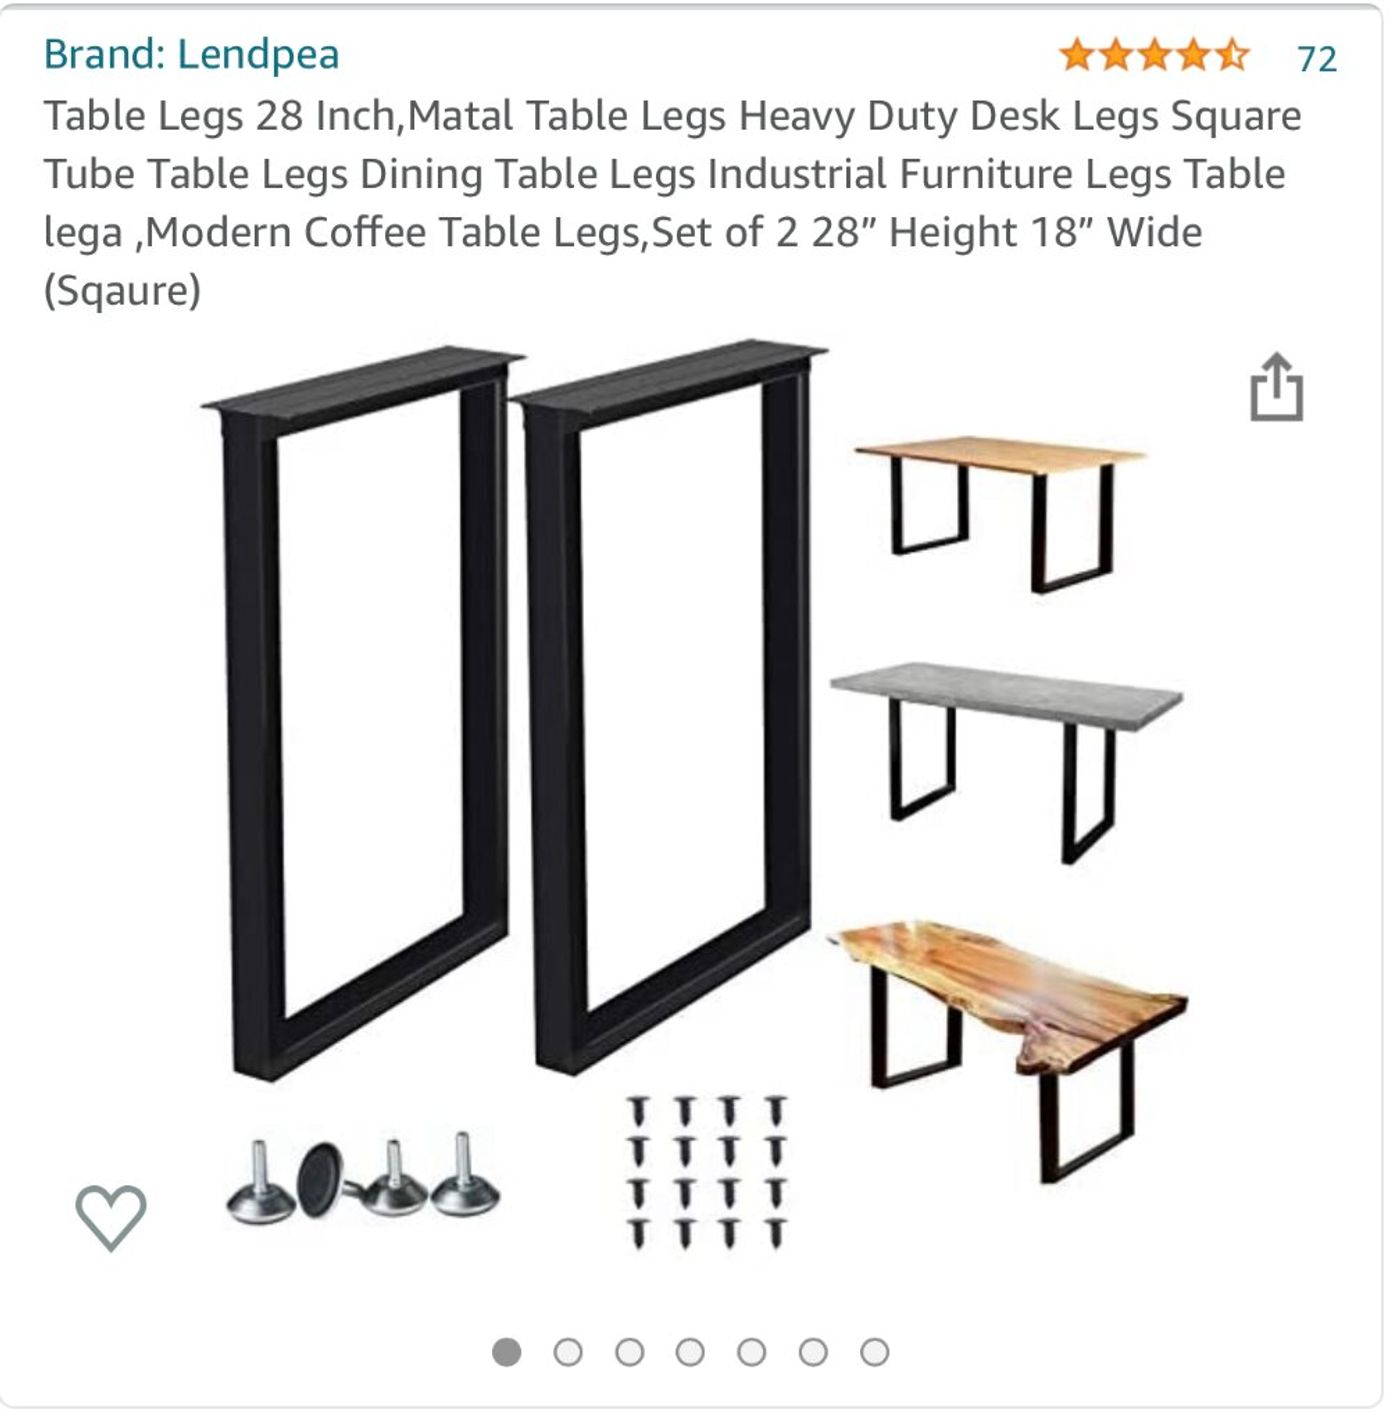
Attach the legs of your choice! I bought mine on Amazon and they were exactly what we needed, very sturdy and well made.
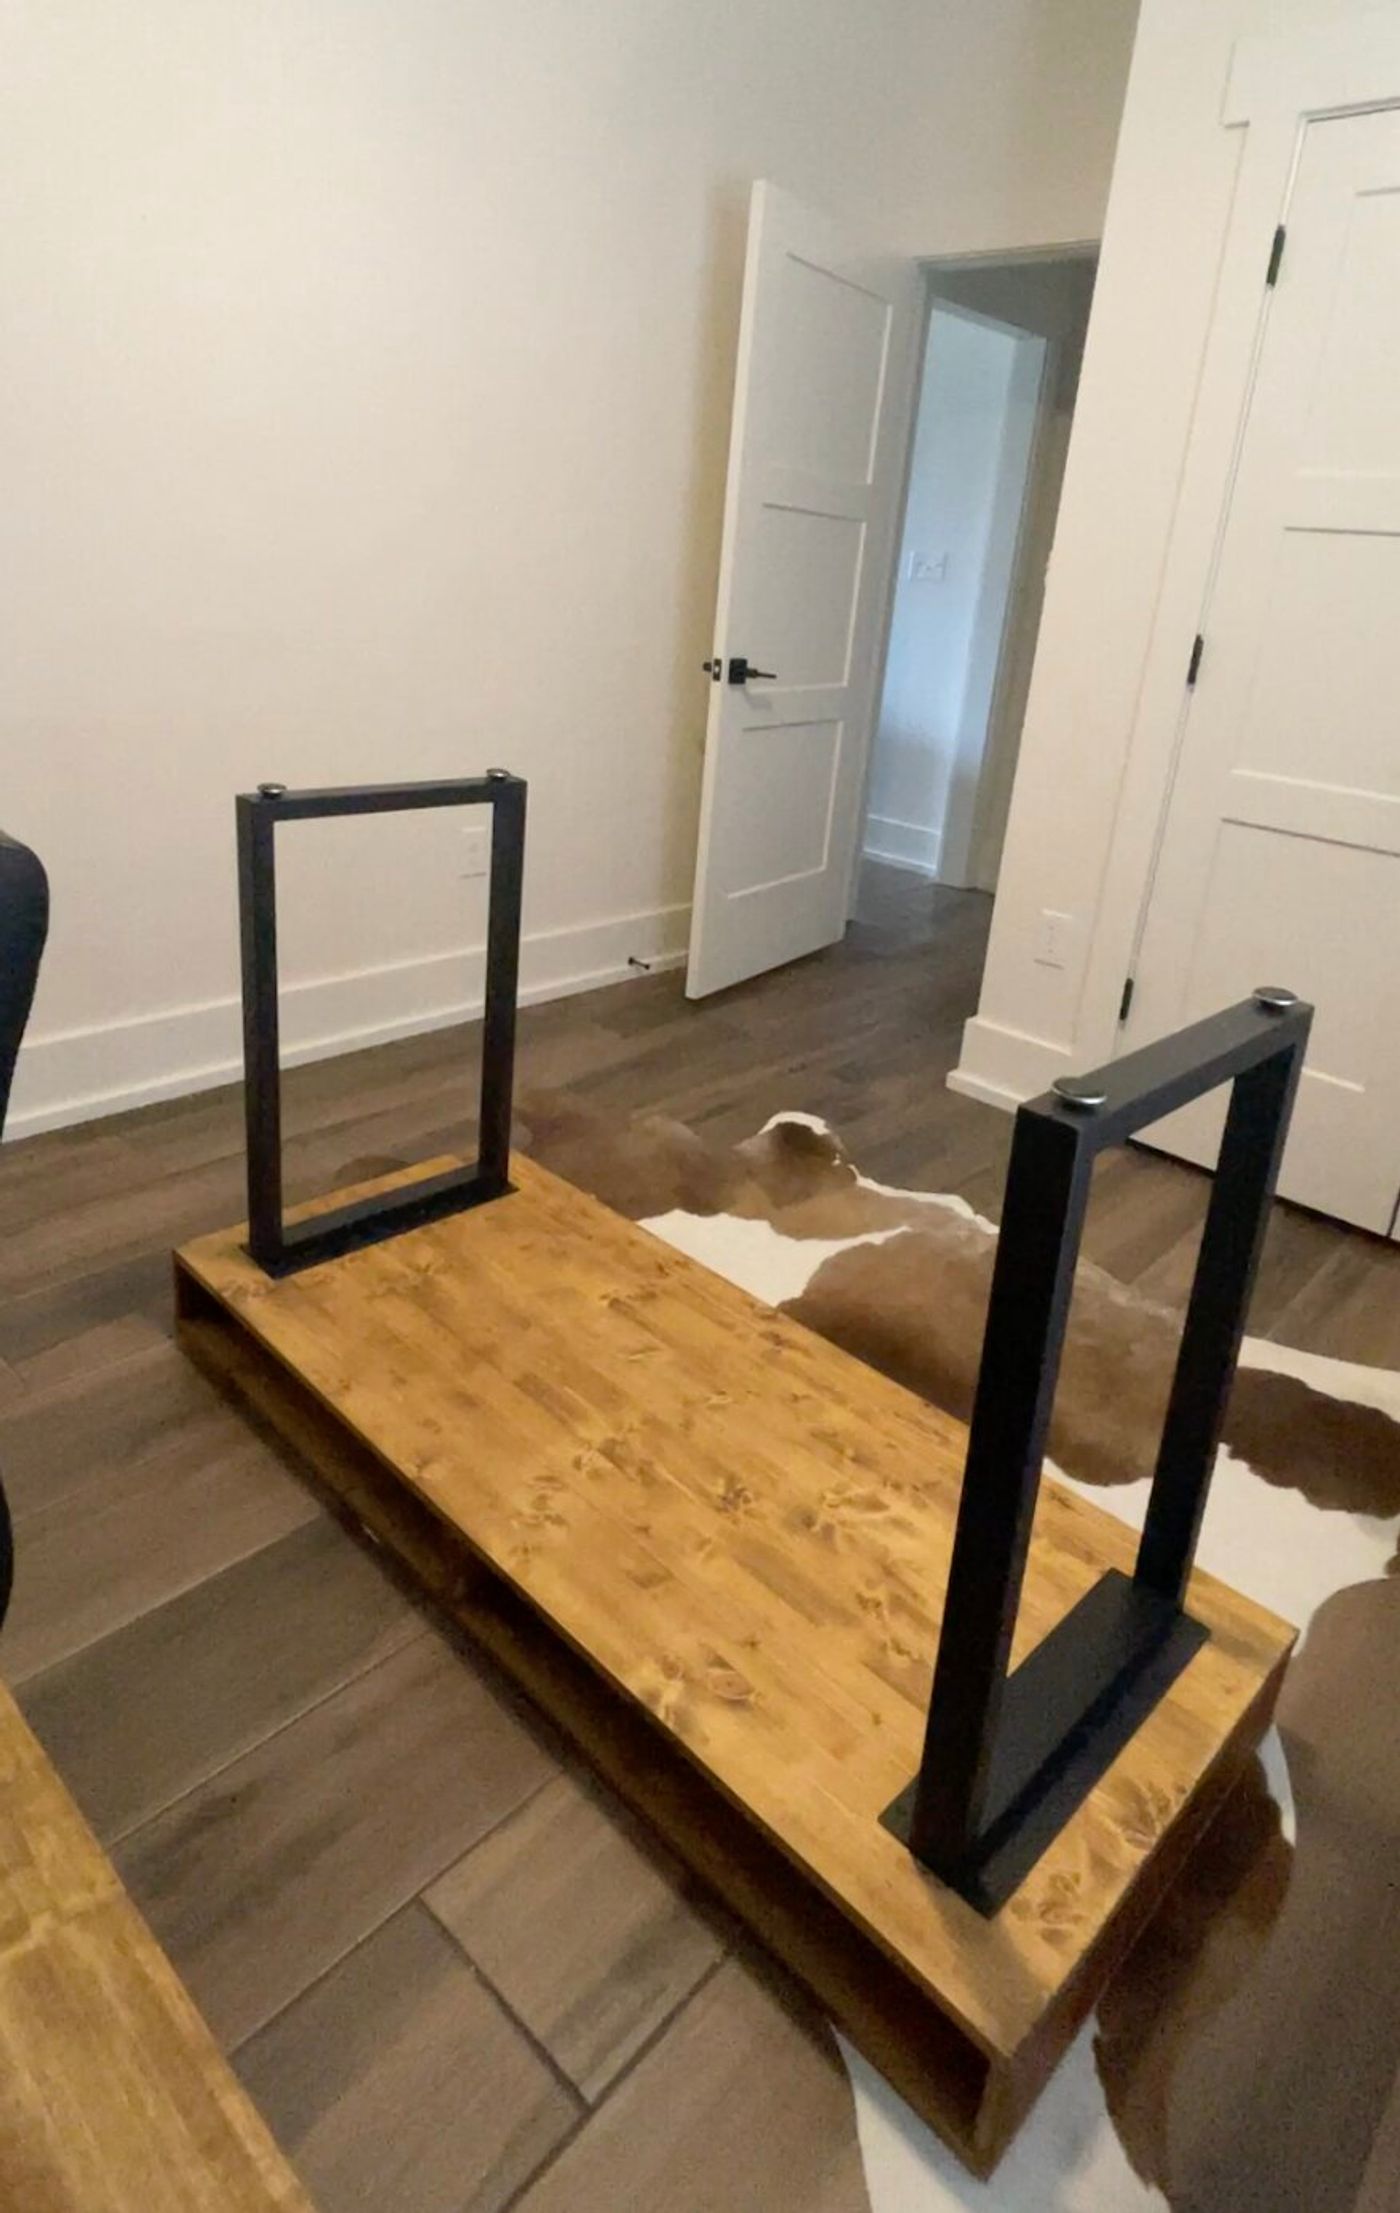
Voilà, a DIY desk that's beautiful, functional, and a piece you can be proud of.
The finished desk