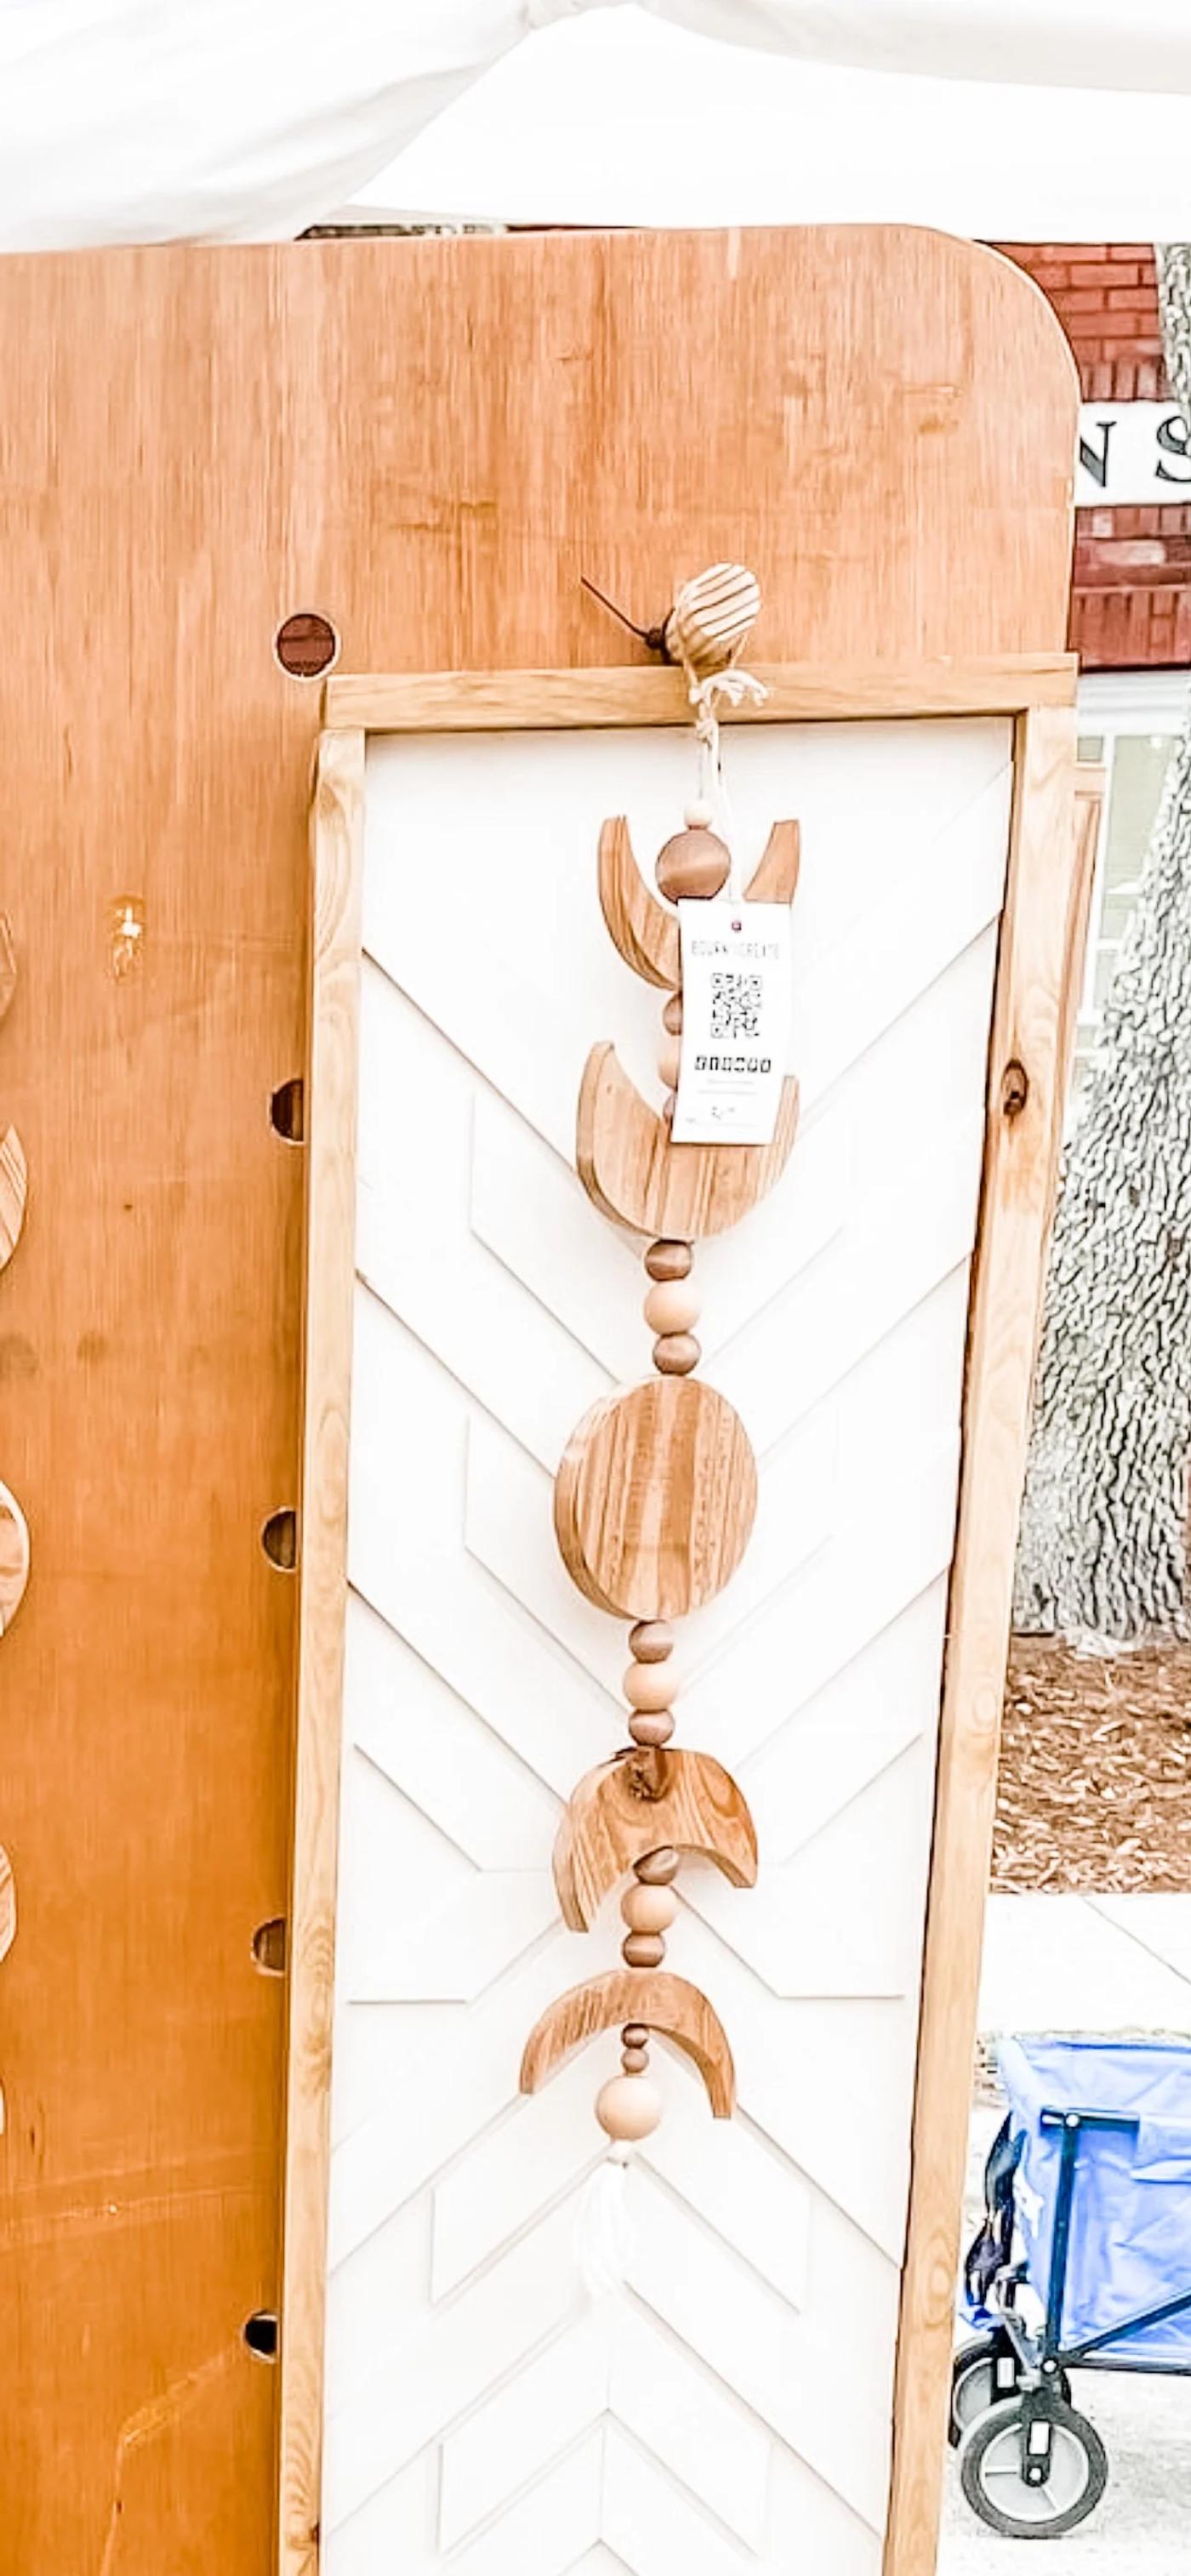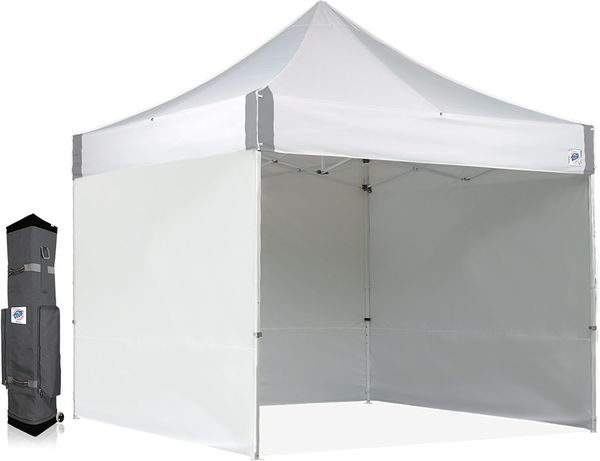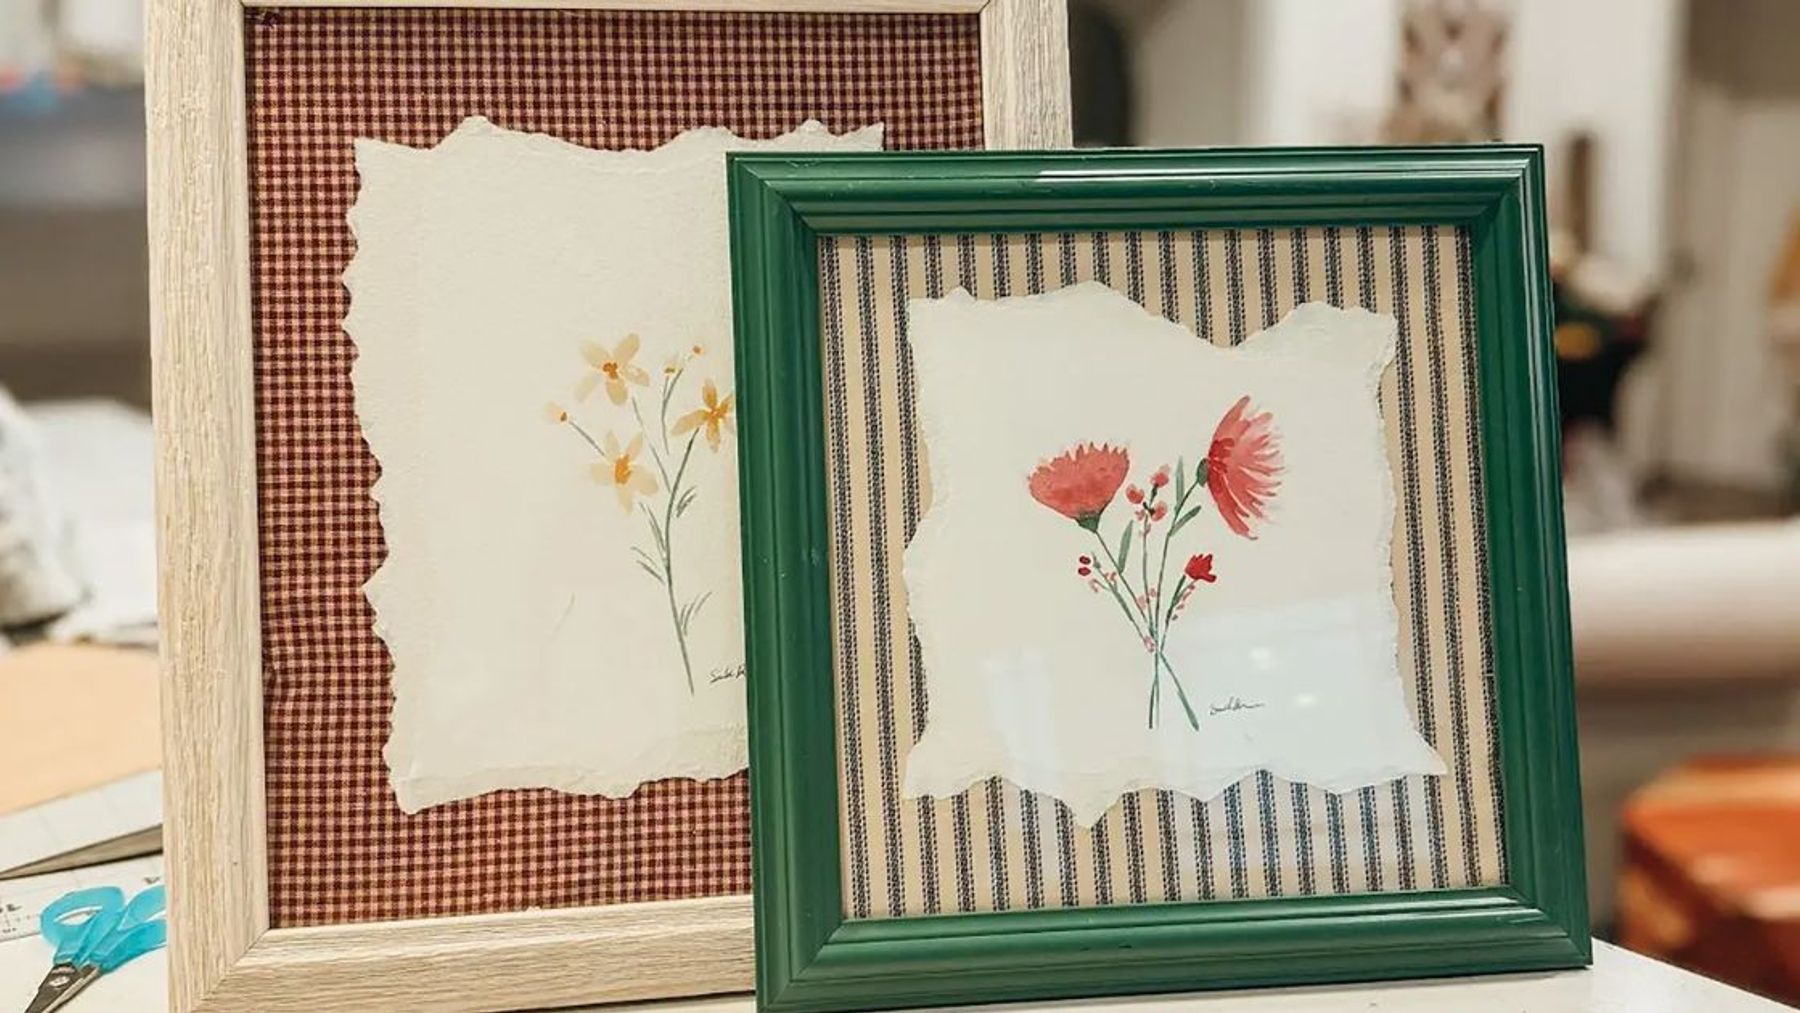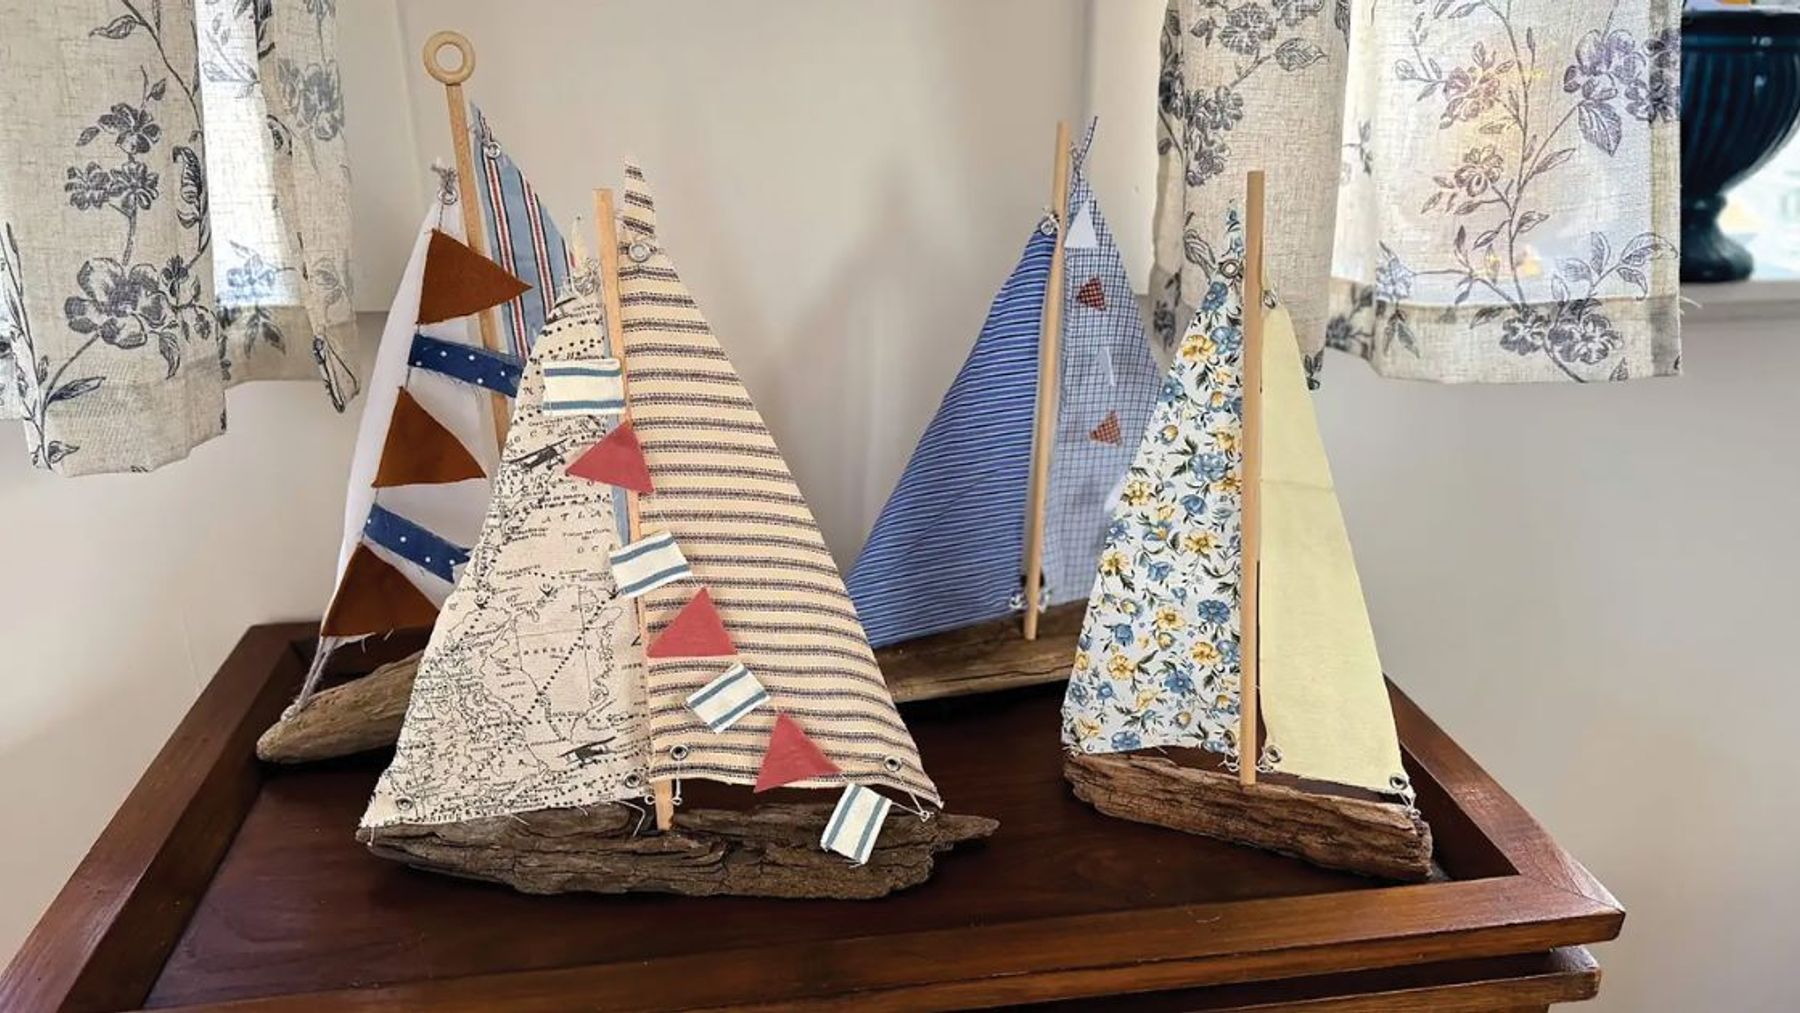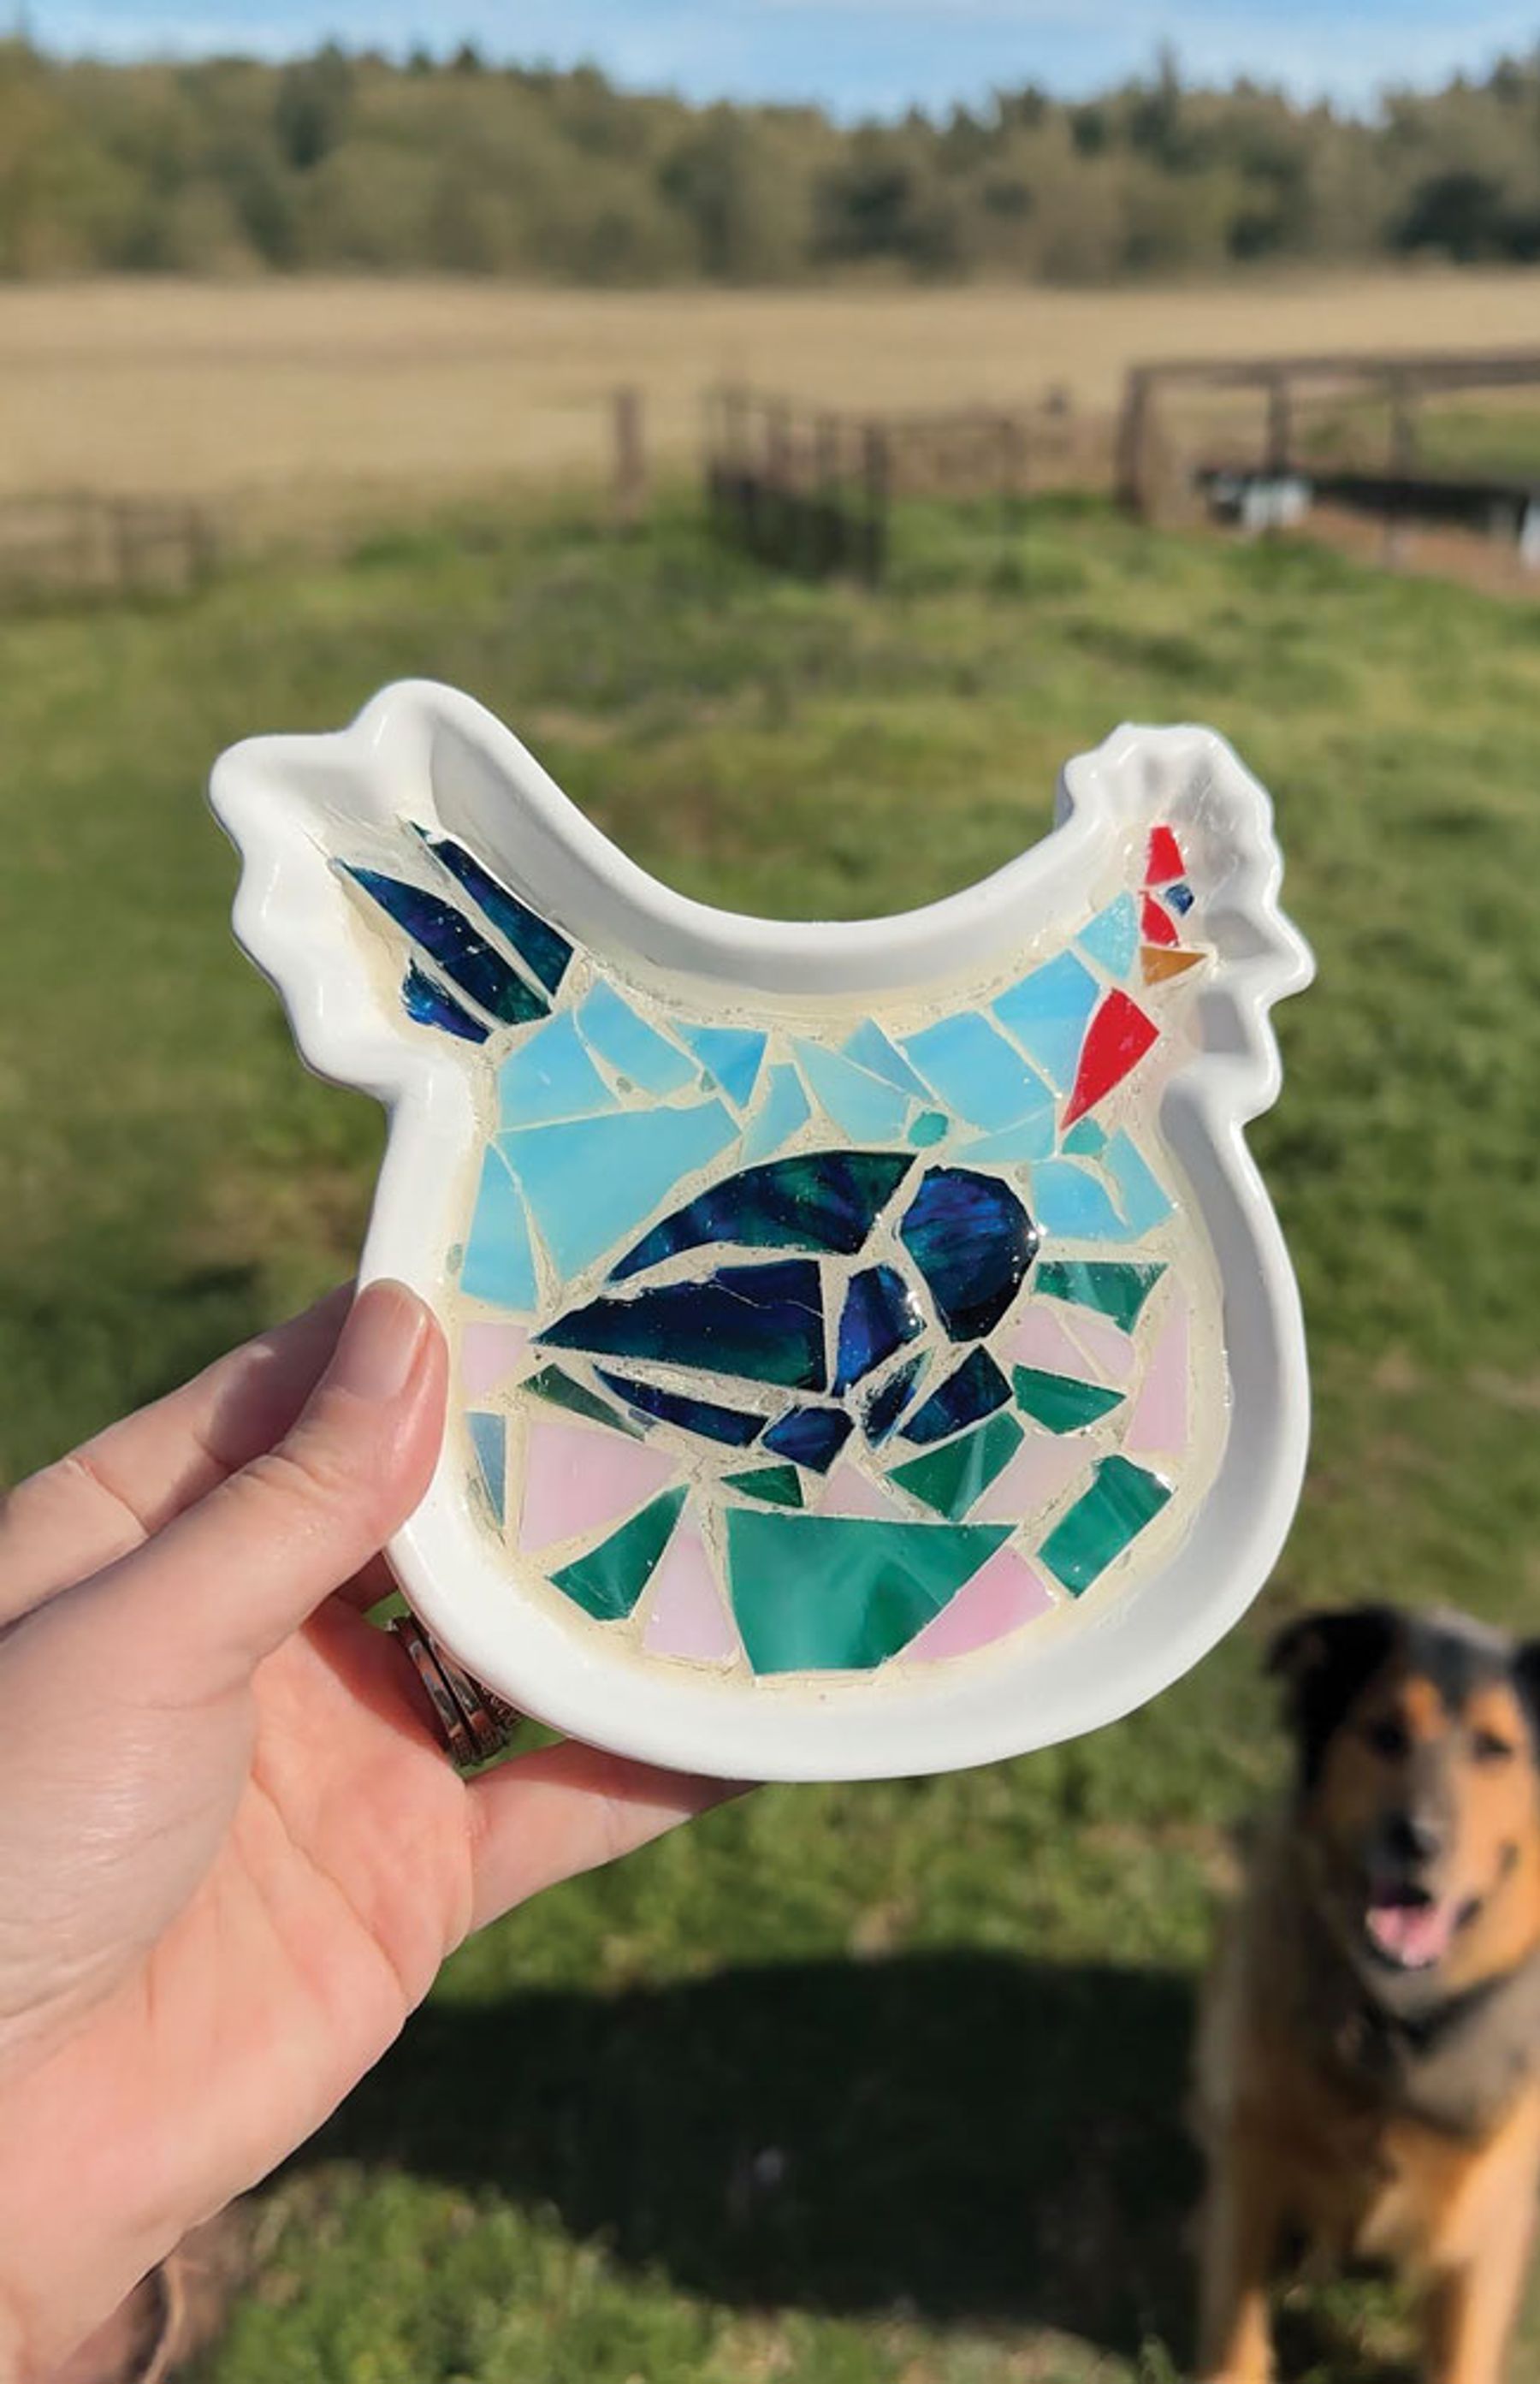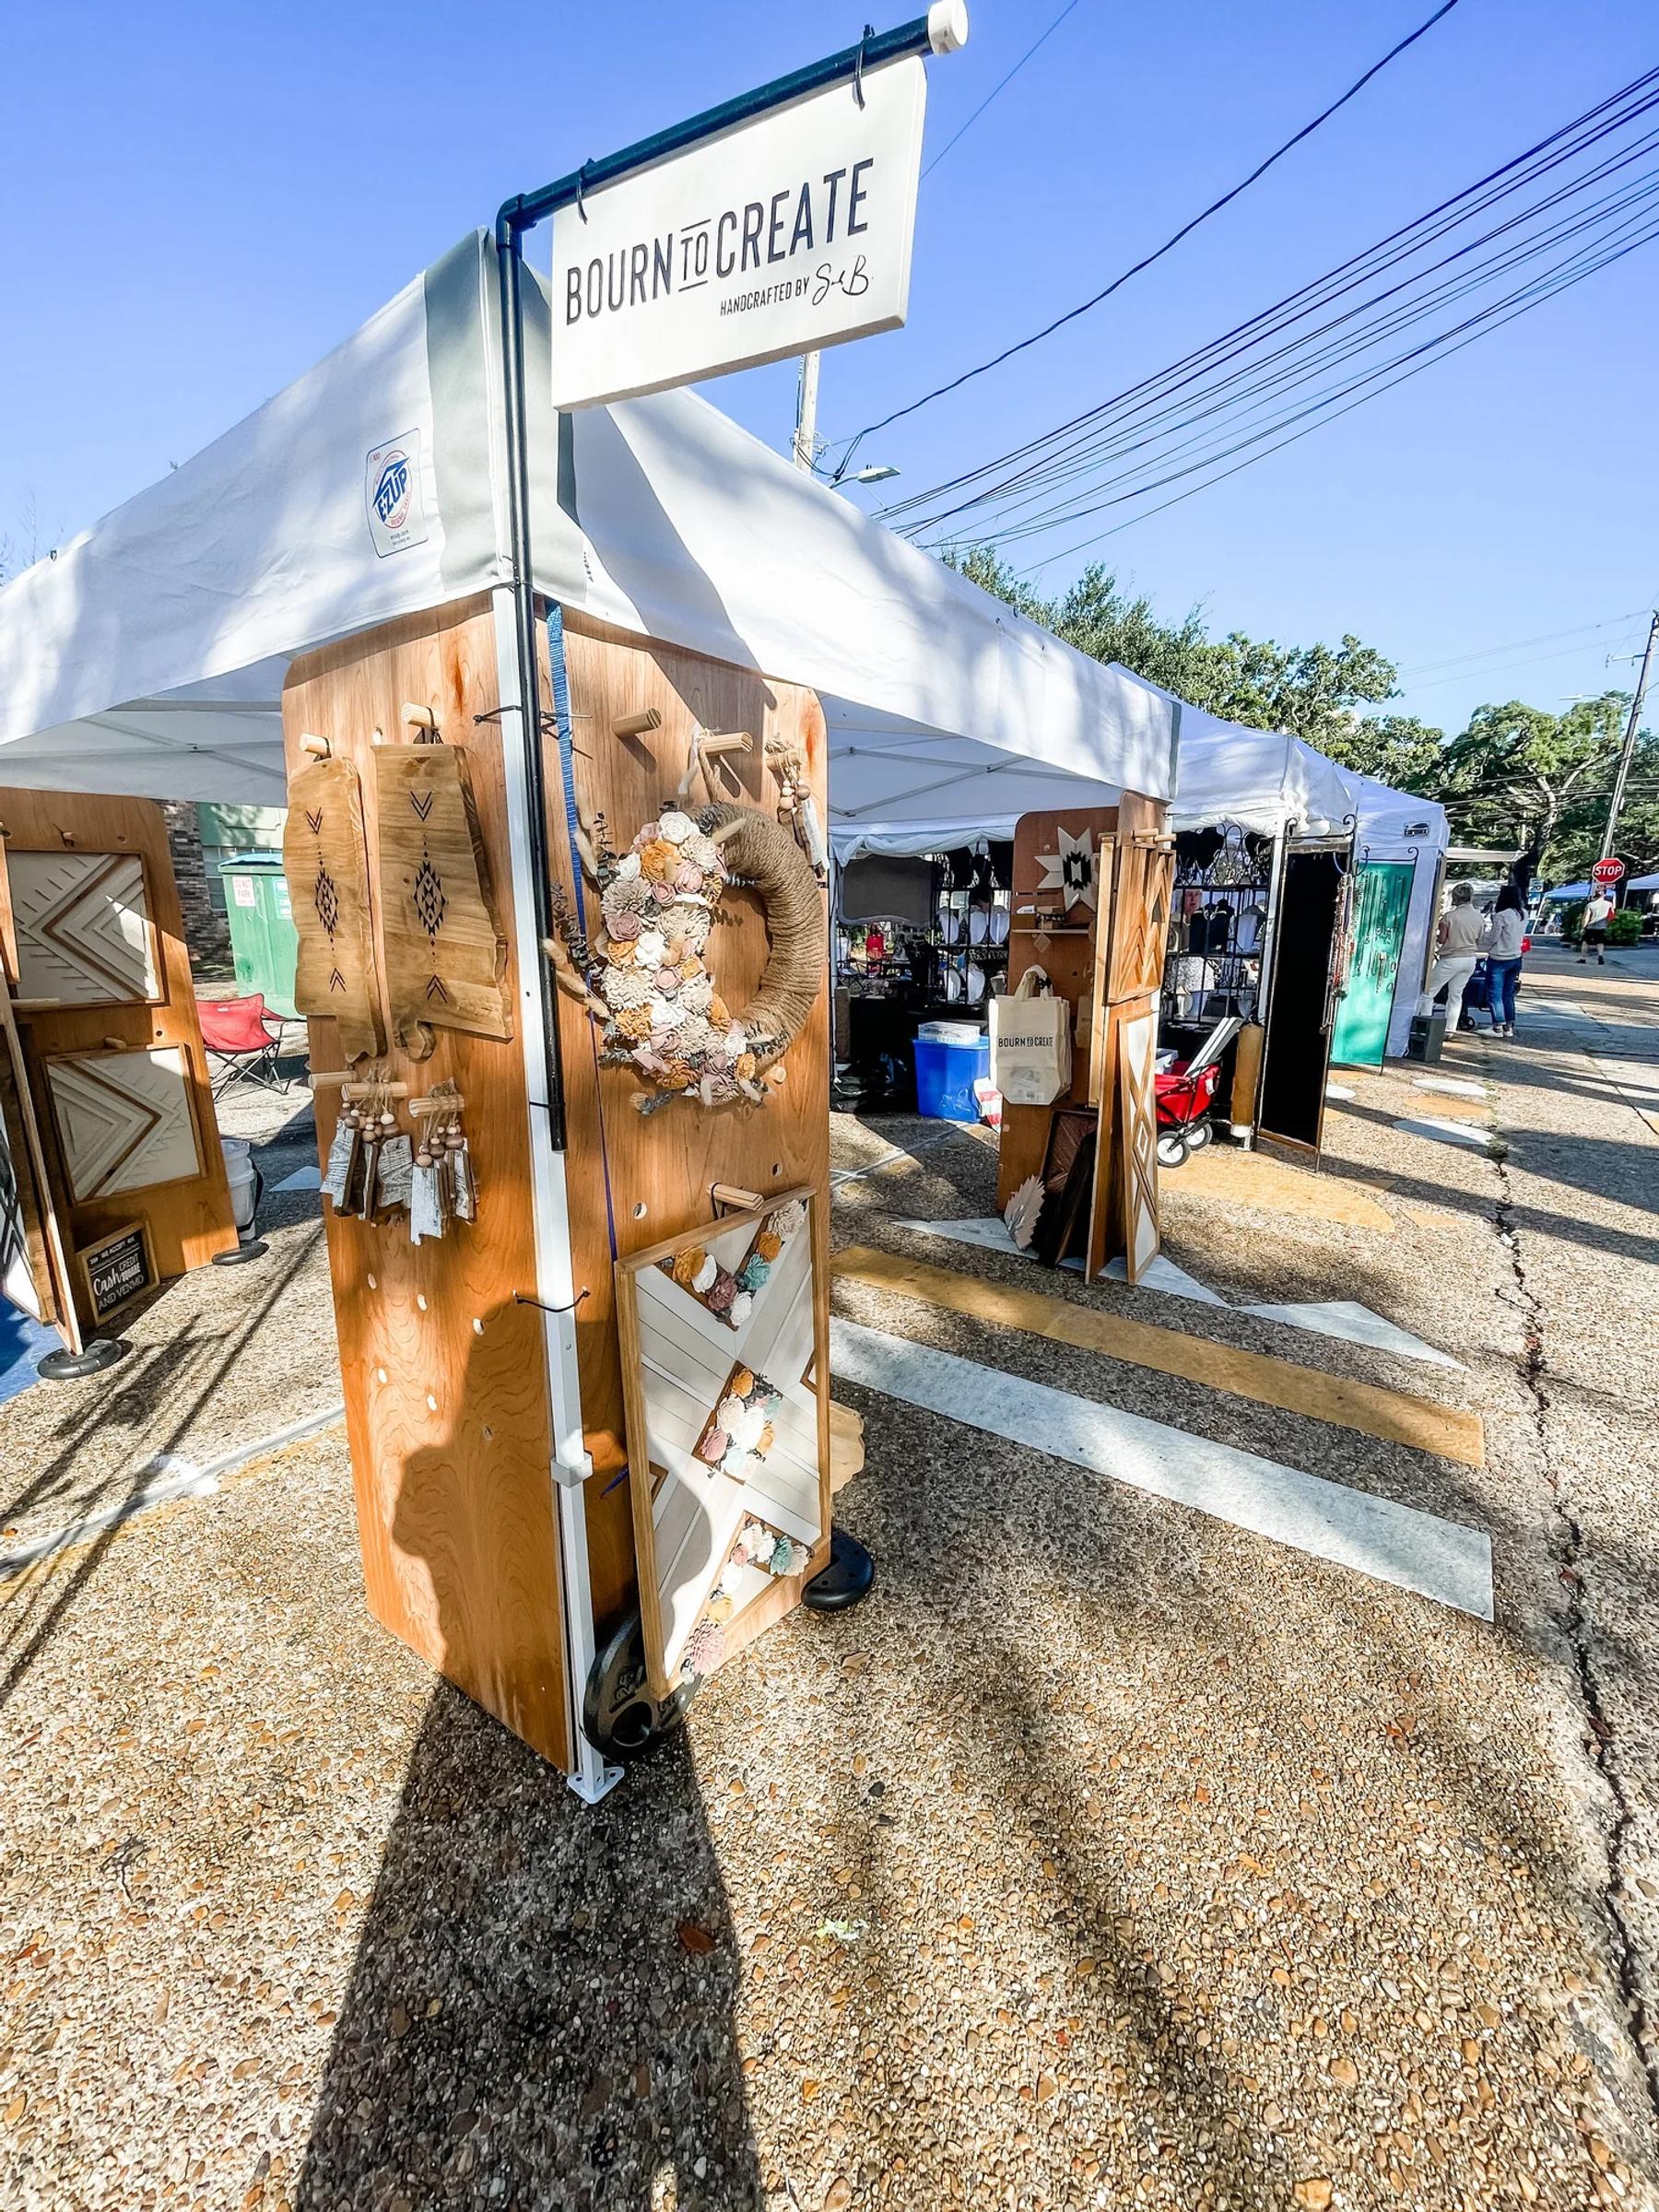
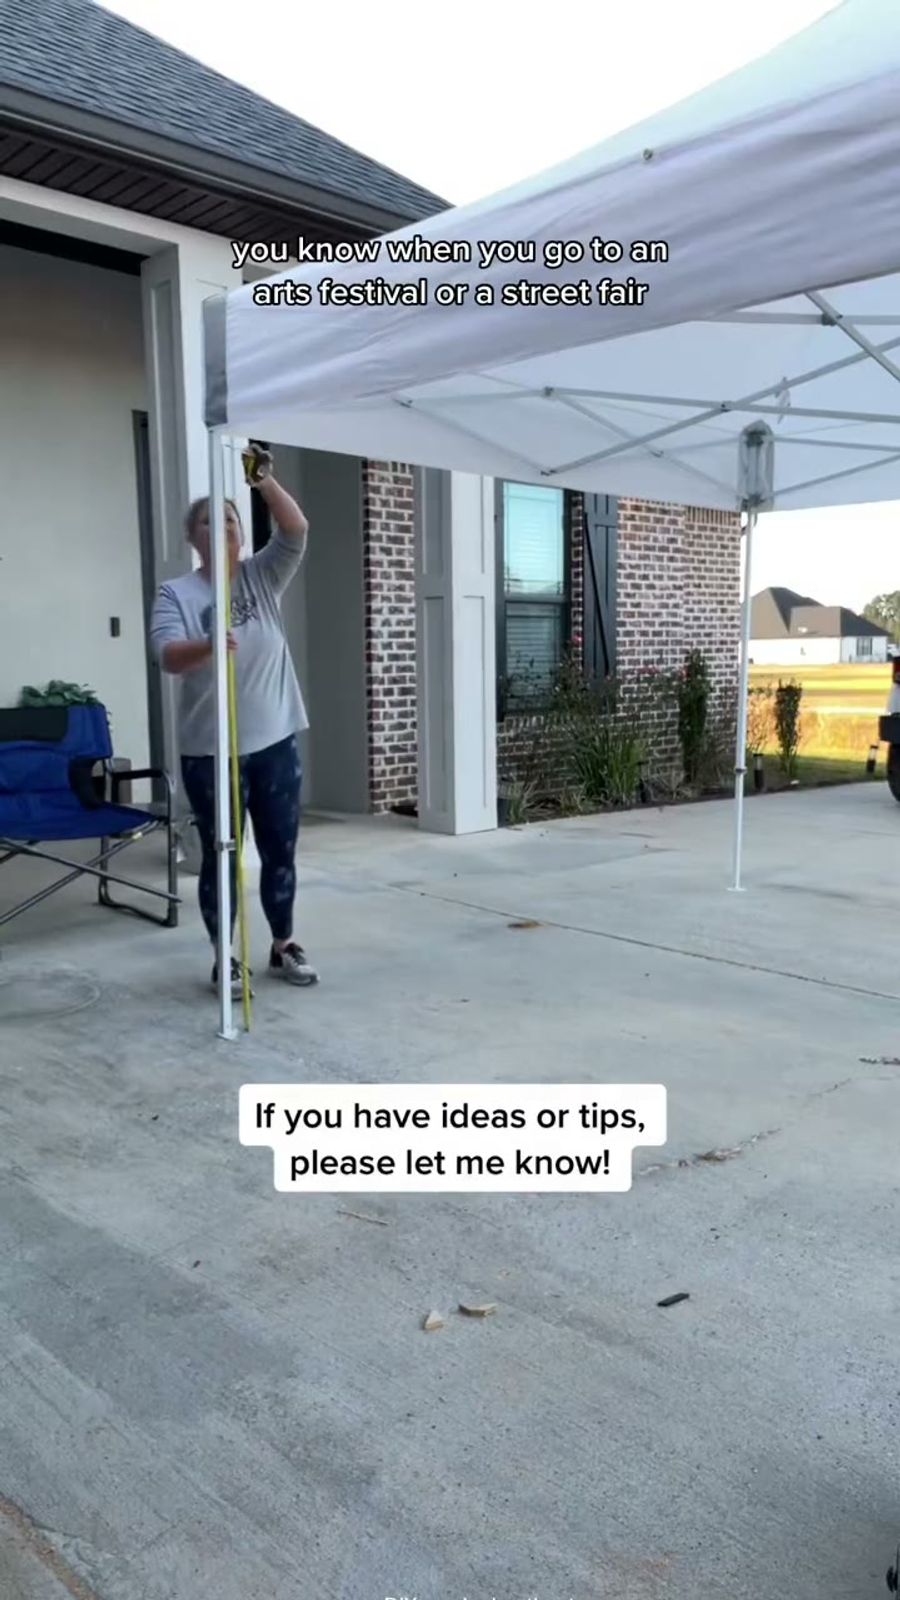
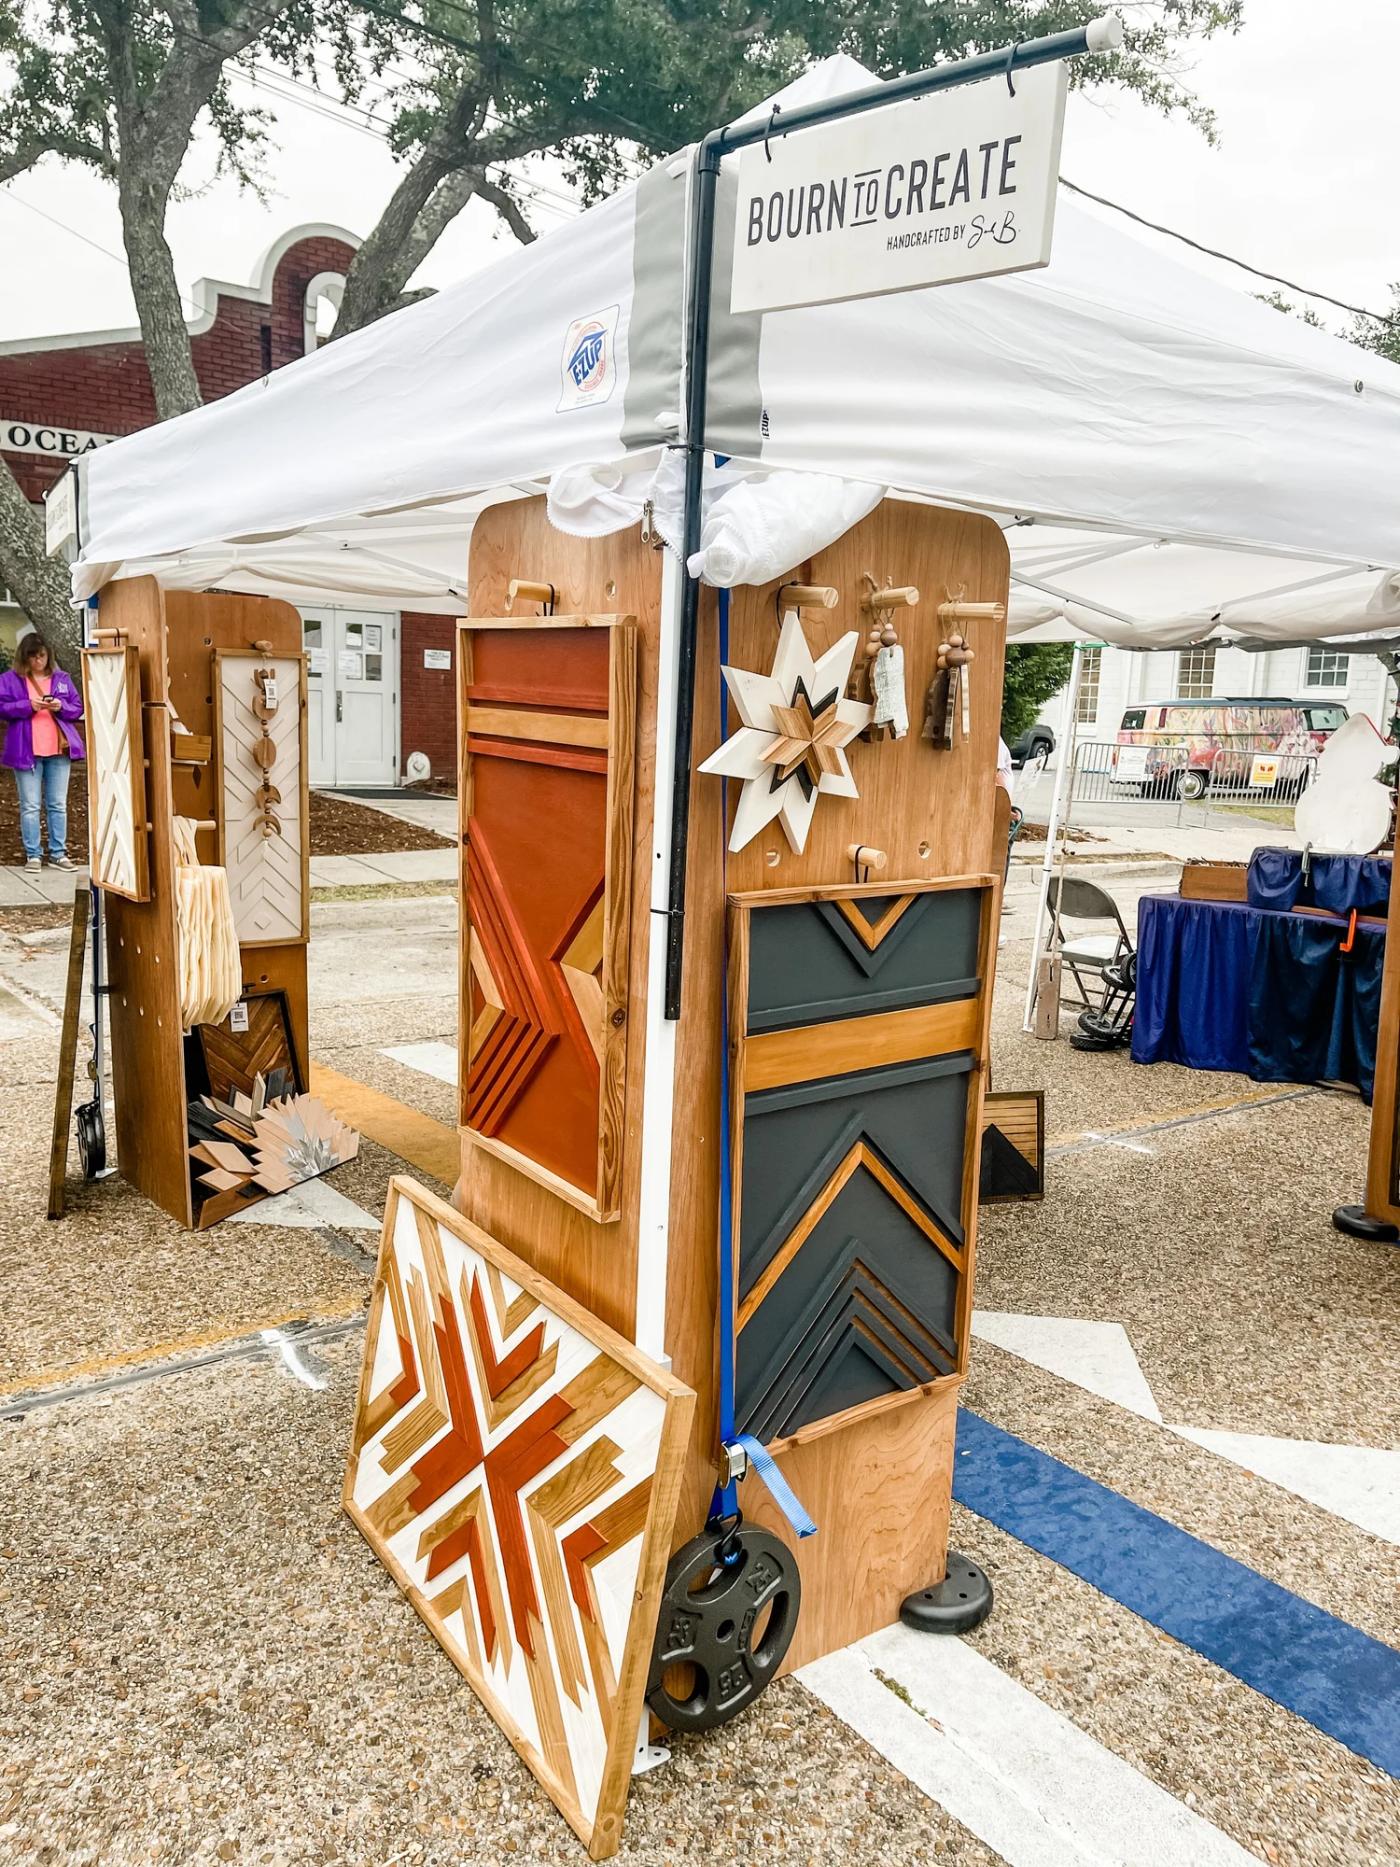
You know when you go to a street fair, farmers market, or festival and see someone with the most aesthetic booth built into their 10×10 tent? I've always been drawn to booths like that, so I decided to build my own. For two years I was selected as a vendor at the Peter Anderson Arts Festival in Ocean Springs, MS. My first year I didn't spend much time on the booth. I needed to focus on inventory and figure out how my pieces sold. By year two, I knew exactly what I needed: low budget, packable enough to store in my garage, and, most importantly, able to fit in my SUV along with all my other market gear. Here's what I came up with, plus a few step-by-steps. If you're more of a visual person, check my TikTok playlist "DIY Vendor Display."
Supplies
- Plywood (1/2-inch birch)
- Dowels (wooden clothing rods cut down)
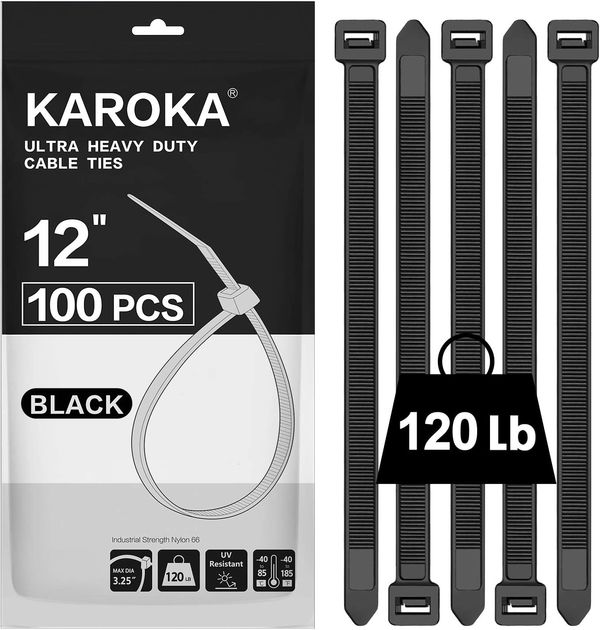
- Zip ties
- Wooden rounds to cut in half for feet on the stand-alone panels
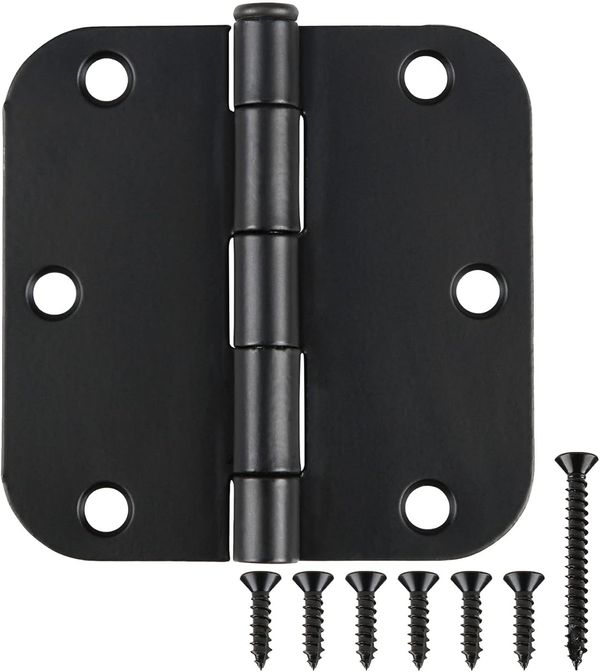
- Hinges
- Sandpaper
- Paint, stain, or clear-coat sealer (optional)
Tools
- Circular saw or table saw to rip the plywood down
- Jigsaw to round corners and cut shelf grooves
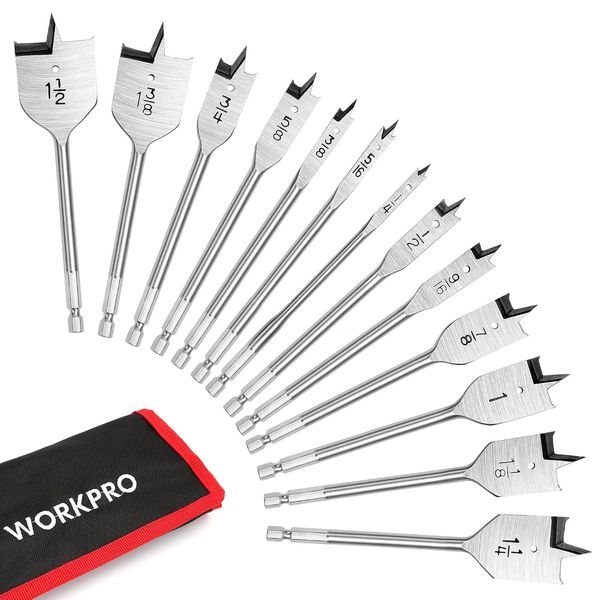
- Drill and bits, including a 1-inch spade bit
- Miter saw (optional, to cut dowels, or use the jigsaw)
- Sander or sanding block
A note on tents
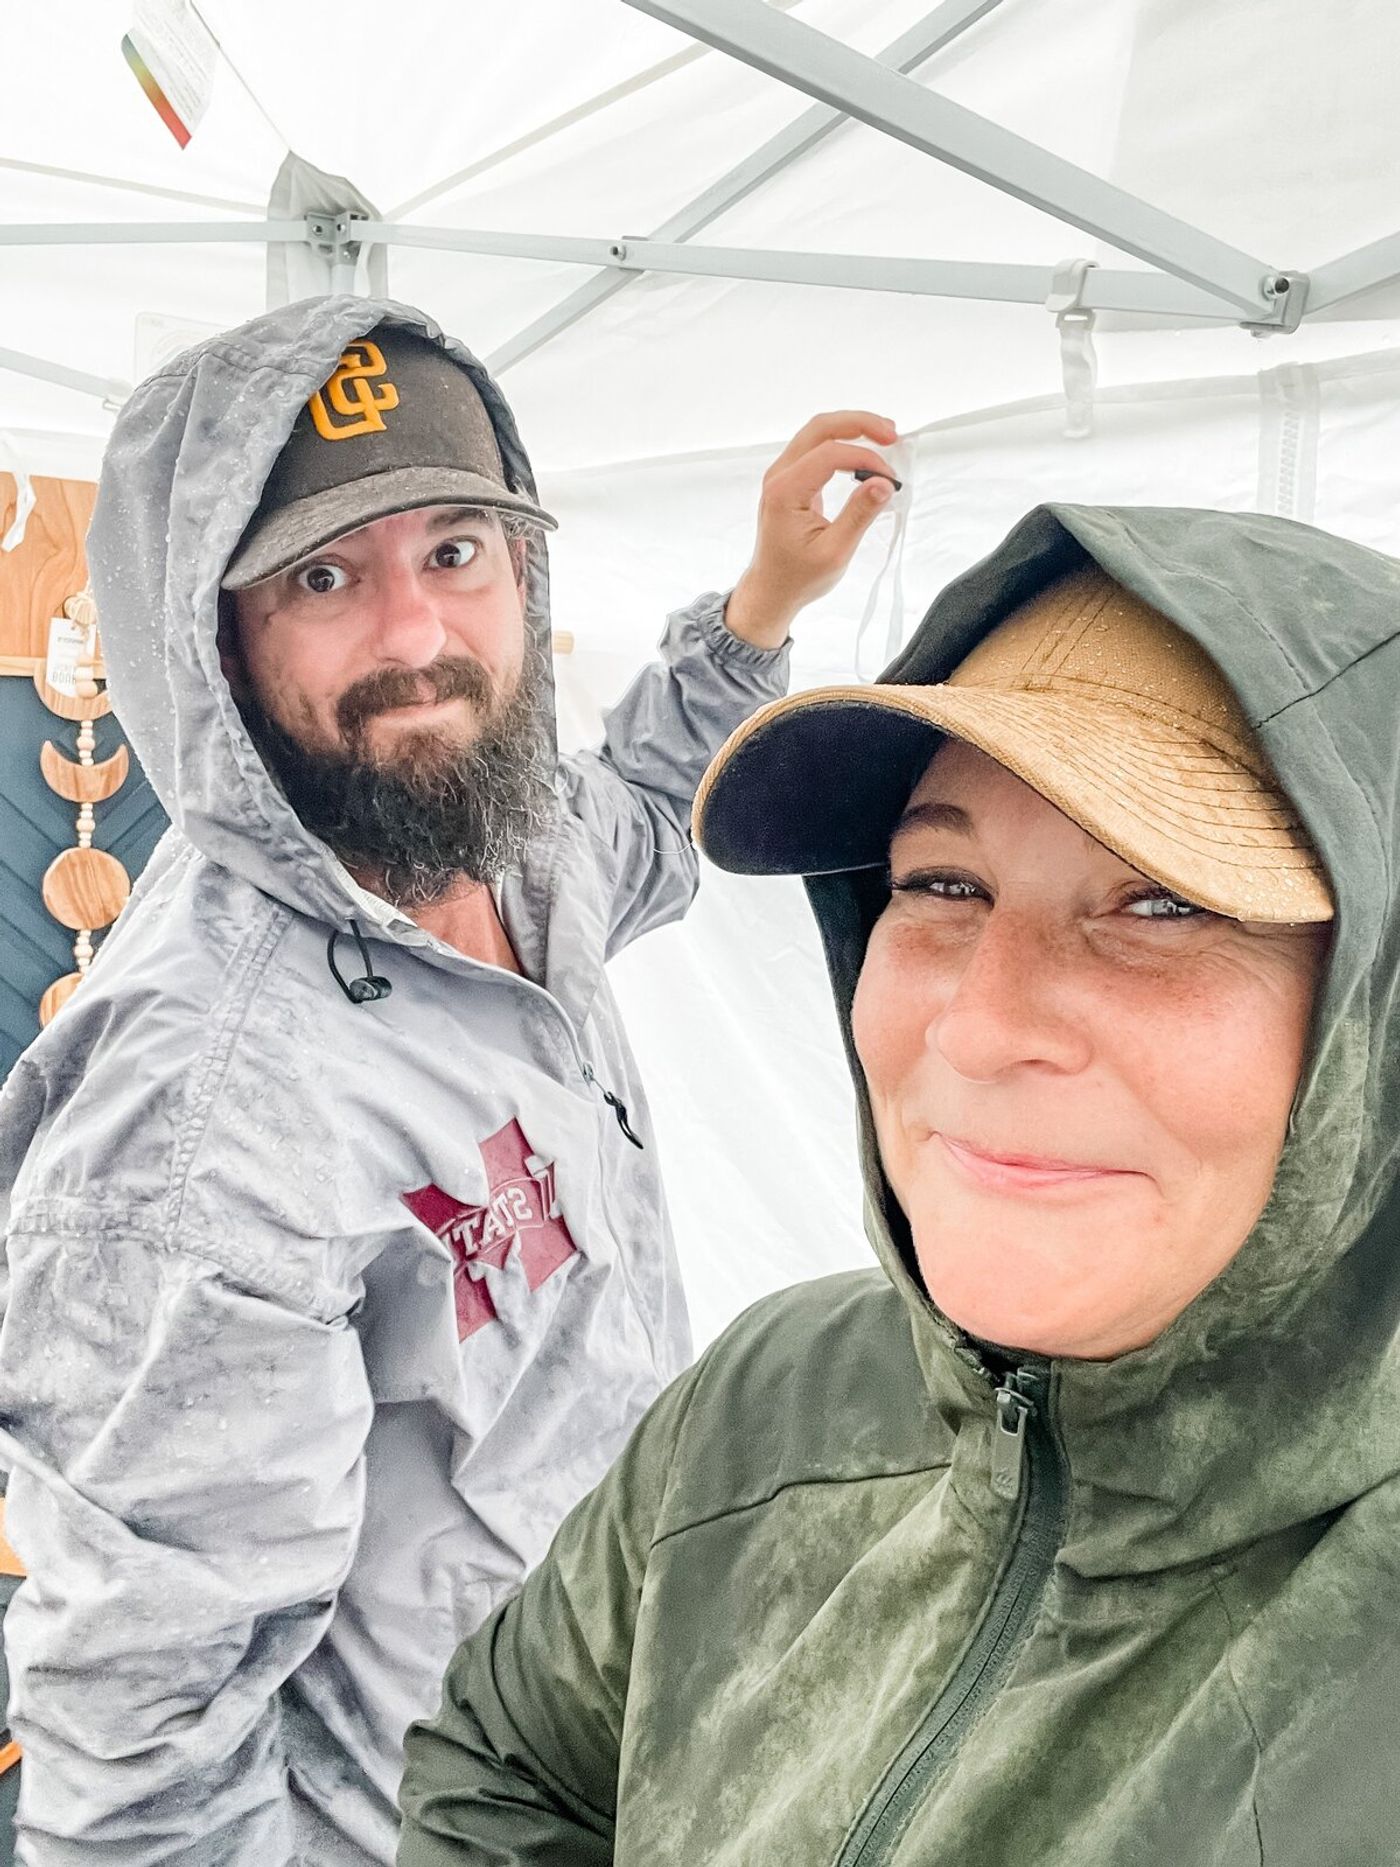
Invest in a good canopy. I've gone through many over the past 15 years, and the difference is huge: you want one that opens and closes easily without pinching you, is genuinely sturdy, includes rain and shade walls, and packs into a heavy-duty roller bag. On one camping trip, mine was the only one of three tents left standing after a storm. That's the kind of quality worth paying for.
Corner panels
- Make as many as you want. I built one for each of the four corners of the tent to maximize space. You'll need one 4×8' sheet of plywood per corner panel.
- Measure and cut. Start with a 4×8' sheet cut to 70 inches (cutting 26 inches off the end), then rip the larger piece in half. Keep your canopy height in mind: 70 inches was perfect to reach the bottom of my cover at the tent's middle height setting.
- Now you have two 24×70-inch pieces. Choose your top edges, and using a bowl or something round as a stencil, draw a curve on one top corner of each so they mirror each other (insides and outsides matching the grain). Cut the curve with a jigsaw.
- Lay the two mirrored panels side by side and attach your hinges.
- Fold them flat and draw your grid to mark the dowel holes. Make a stencil from scrap wood so every panel matches. Add a shelf line here too if you want shelves. Leave enough space between shelves and dowel holes for whatever you're displaying.
- Using a bit that matches your dowels, drill halfway through each hole (just far enough to pierce the panel underneath), then flip and finish from the other side. This keeps all your holes aligned and reduces tear-out.
- Adding shelves? Cut the shelf grooves with a jigsaw and cut the shelves themselves from spare plywood.
- Fold the panels together again and drill a hole at the top, middle, and bottom of the hinged edge (about an inch in, a few inches from top and bottom) for zip ties to attach the panels to the tent.
- Sand all the raw edges, carefully, so you don't sand through the top layer of plywood. Roll a piece of sandpaper to smooth the inside of the holes.
- Paint, stain, or clear-coat. At minimum, clear-coat them to protect against damage and rain.
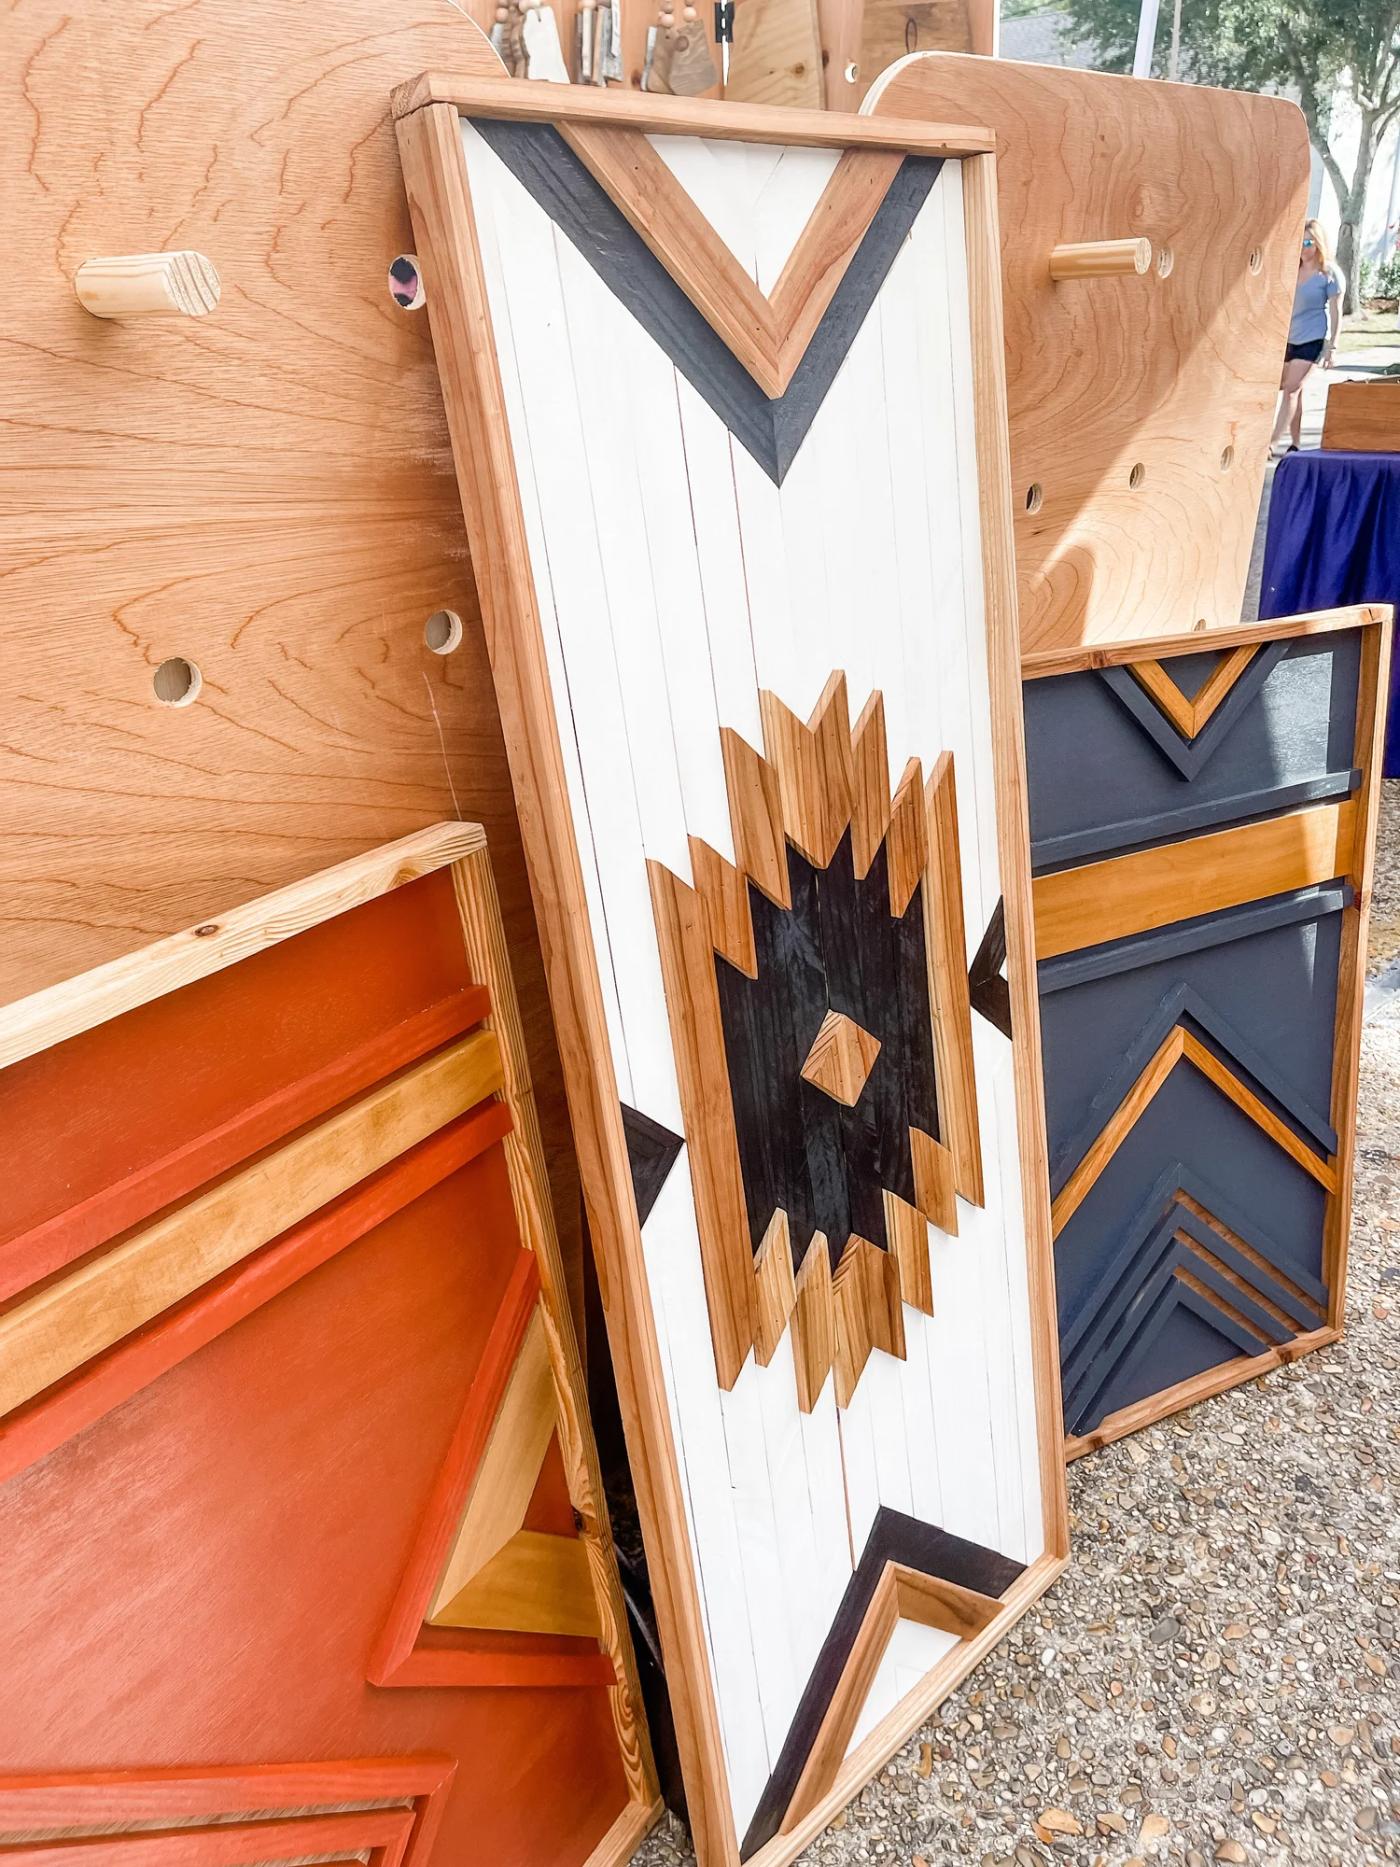
- Cut your dowels to length: some at 6 inches, some at 8 for different placements. Cut a little groove into the ends with a jigsaw so items don't slide off. Hair claw clips keep lightweight bags from blowing away in the wind.
Setting up
Run your zip ties through the holes and around the tent poles, pull tight, and make sure the panels sit at a 90° angle on even ground. You can mount the panels on the outside of the poles (more support, but harder to zip walls up in a storm) or the inside. On uneven ground, slip a shim underneath to lock a panel in place. For street markets where you can't stake down, hang 25 lb plate weights on each corner with a thin toe strap. It holds even through heavy storms (next time I'd disguise the weights a little better). If weather rolls in and you need the walls up, move your inventory inside and pull the dowels toward the center so the walls fit.
Stand-alone panels
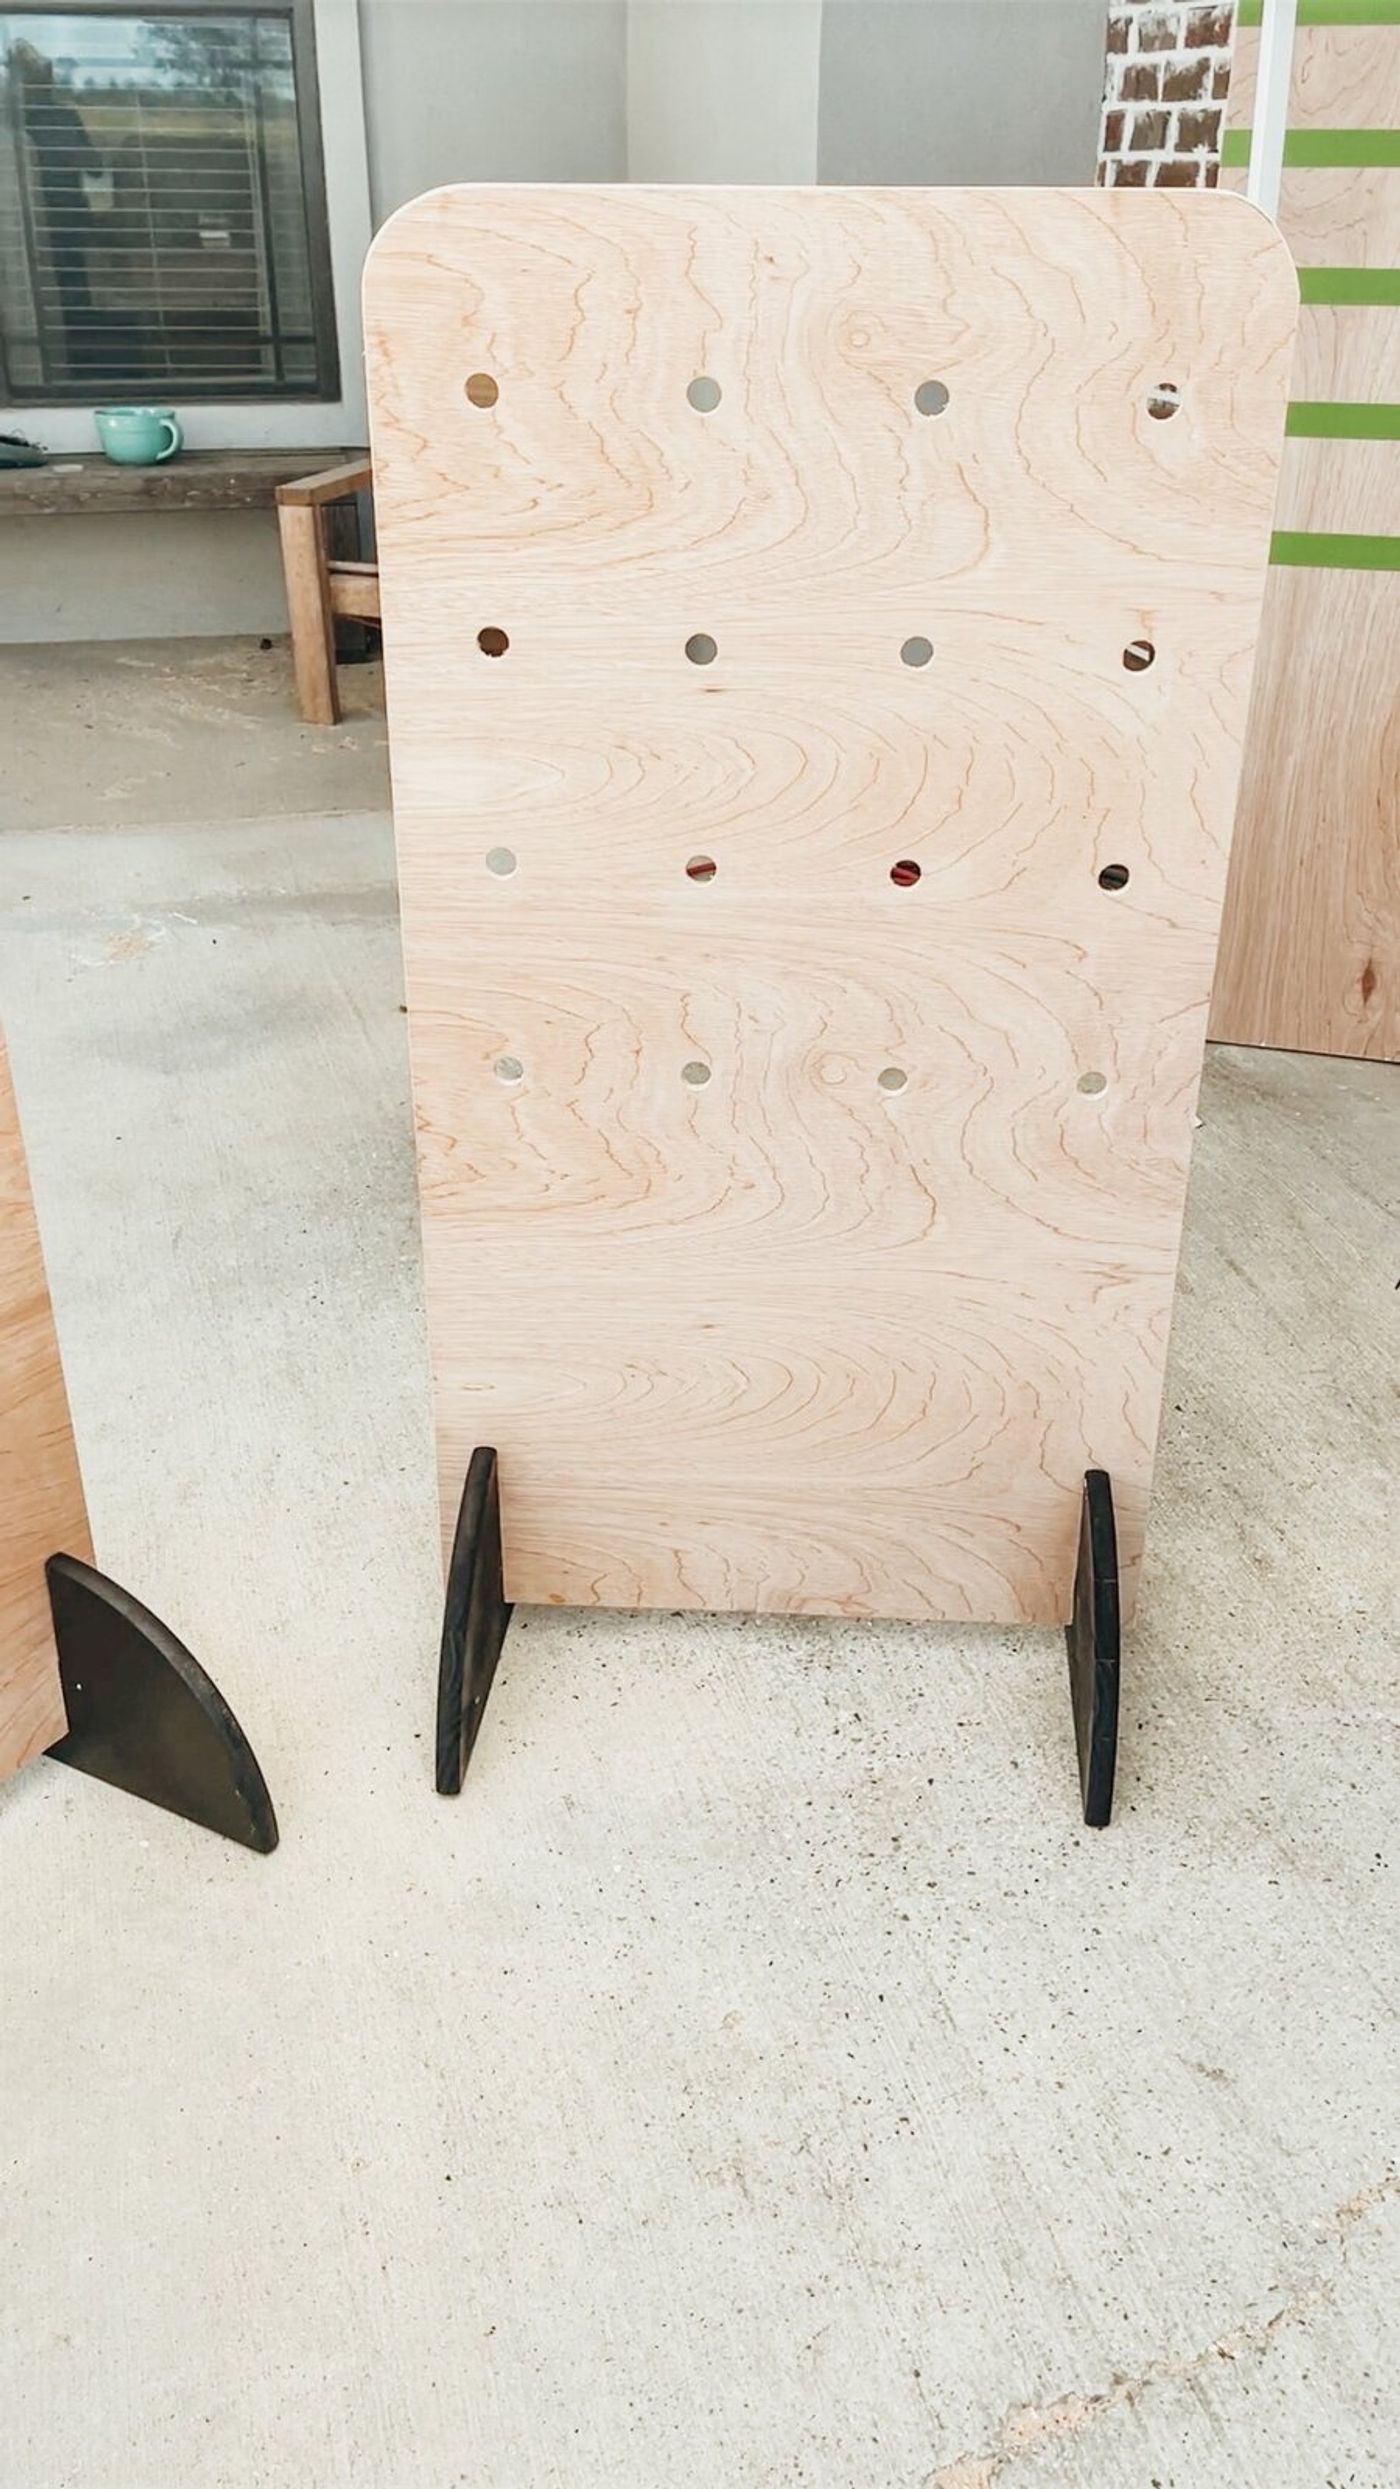
- Make these from the scraps you cut off the corner panels.
- Same process: cut to size, round the corners, drill holes, sand, clear-coat.
- For the base, cut wooden rounds (Lowe's has them) in half, then cut a slit into the middle of the rounded side. Match a slit on the bottom of the panel so they lock together. Paint the "feet" black so they look intentional and people don't trip on them.
Display signs
Make sign frames by cutting PVC and adding an elbow, with an end cap so the sign slides off. Spray-paint the PVC black, zip-tie it to the corners of the booth, and hang your wooden sign inside the frame.