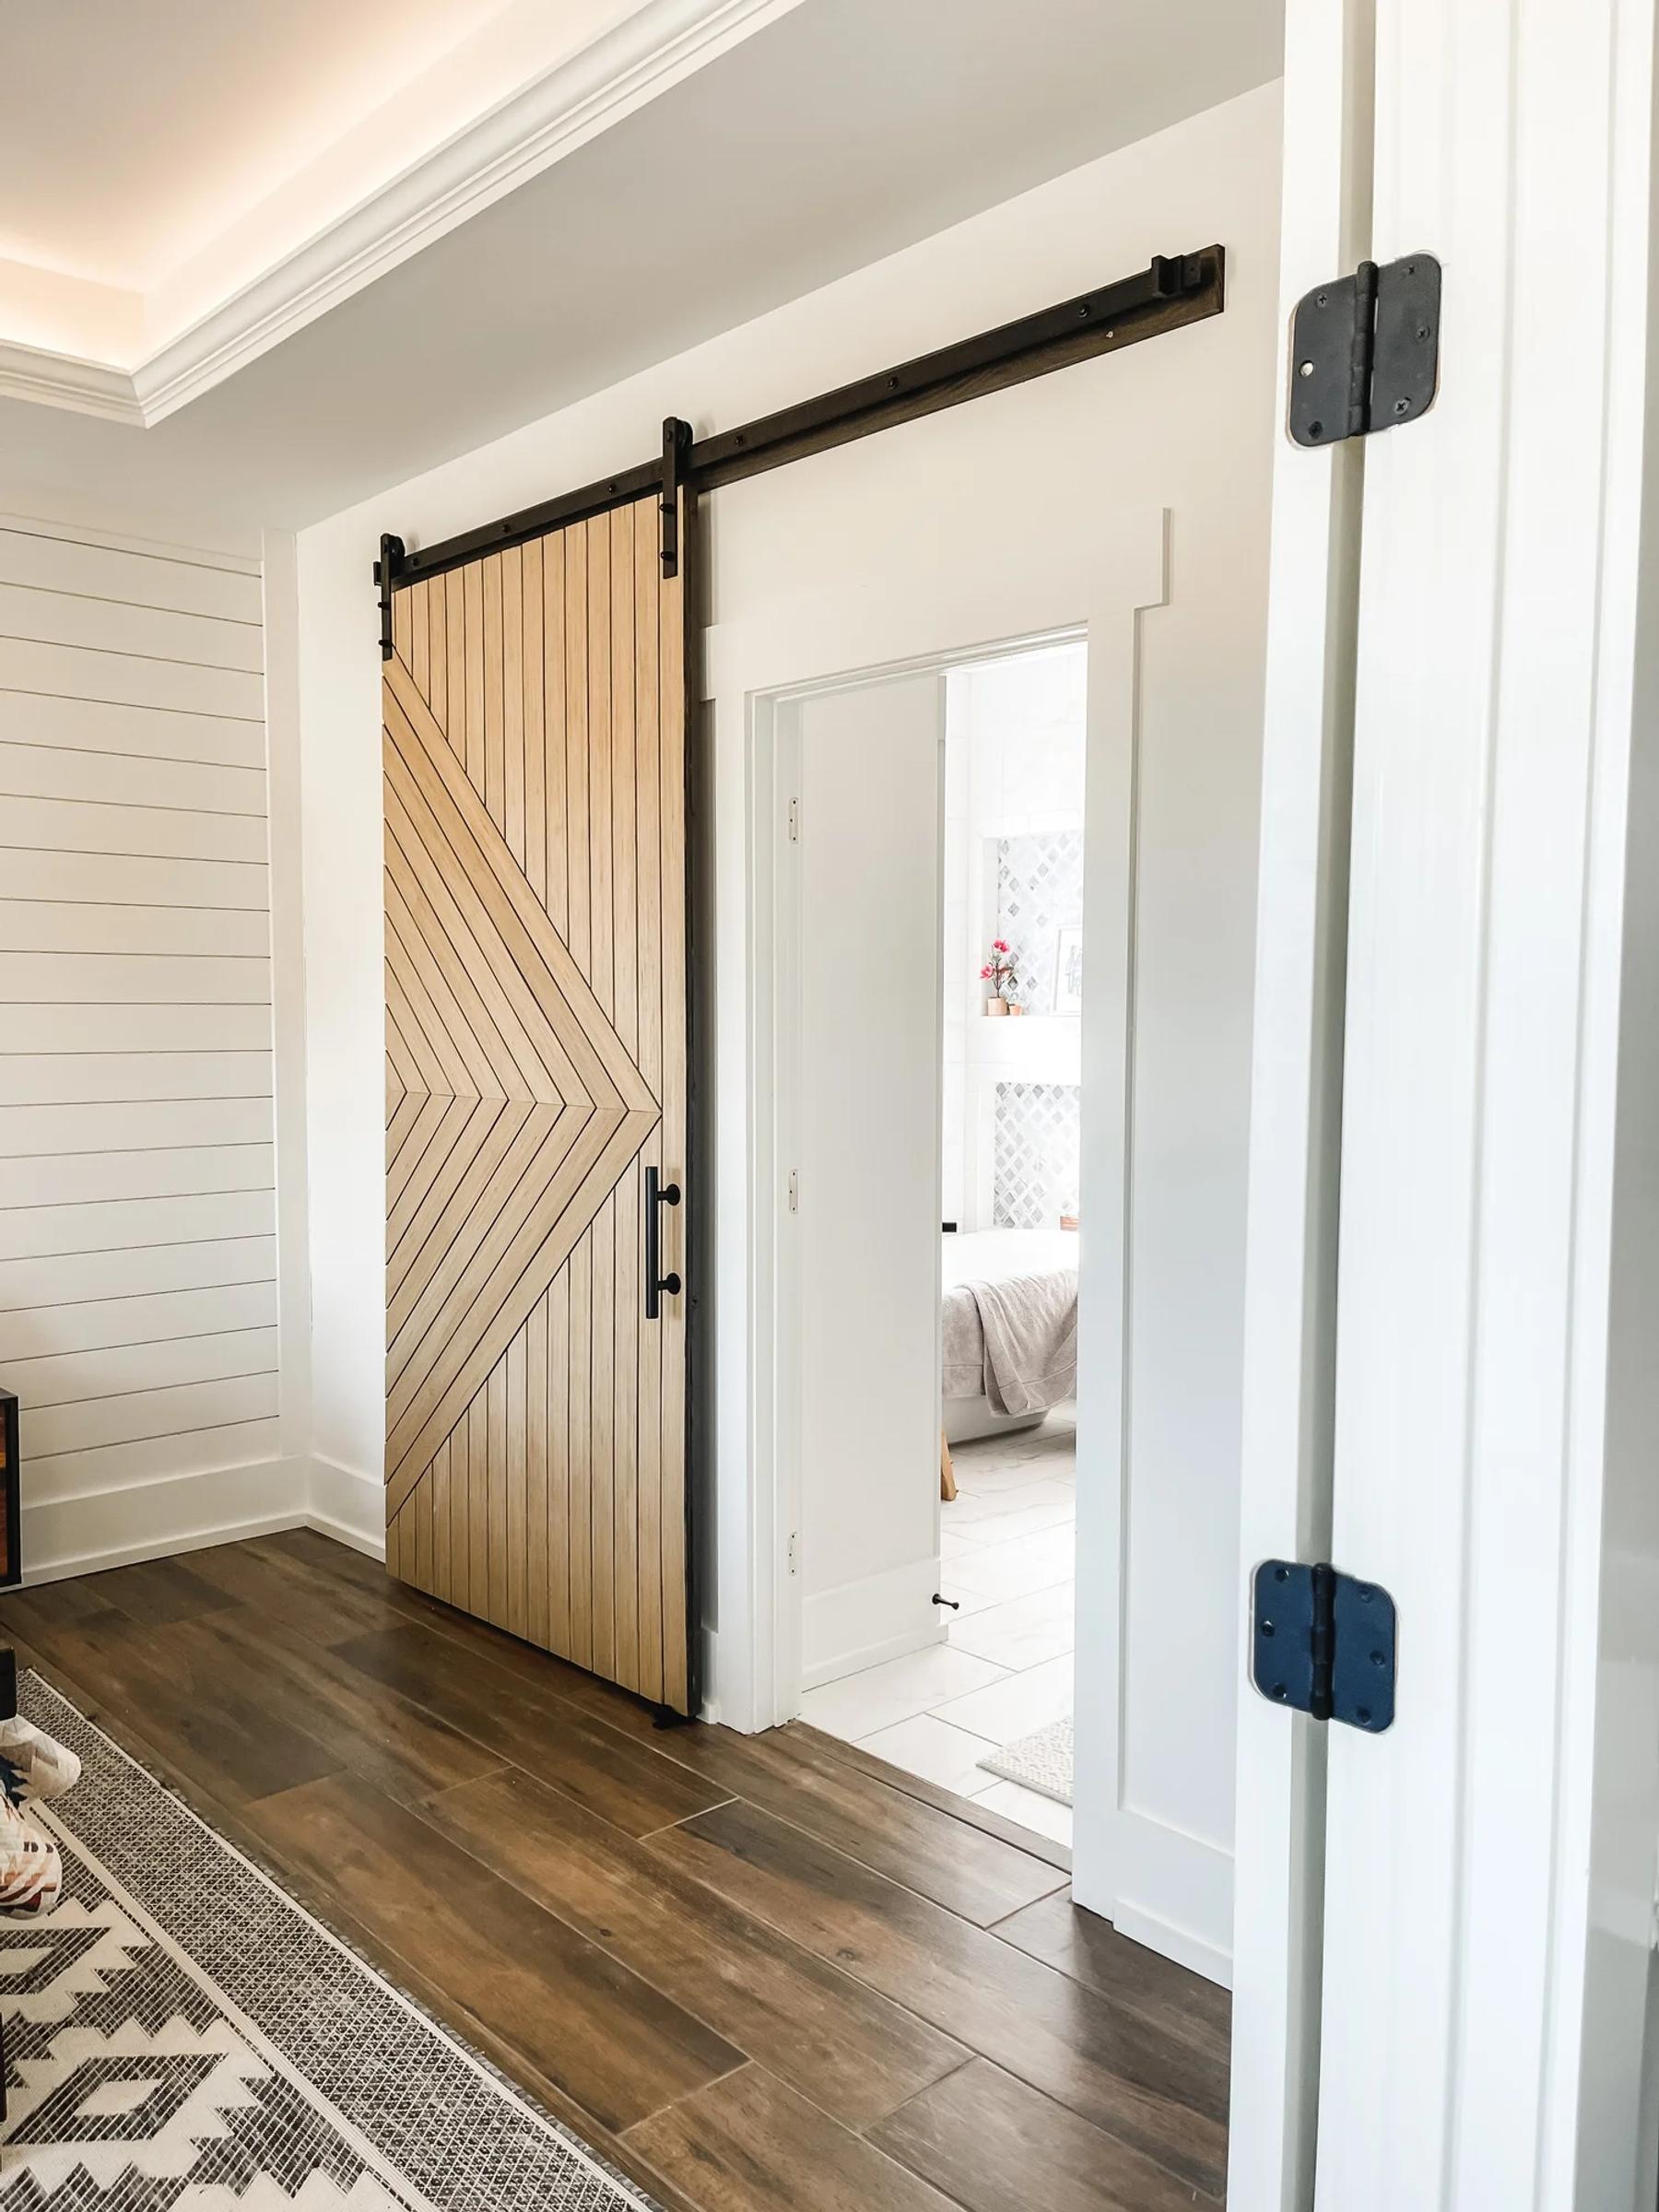
I'm going to be completely honest with you: I didn't do a lot of research when I decided to do this project. I just knew I wanted to replace our master bathroom door with a sliding one, for two reasons. First, to solve our multiple-door situation: you walk into the bathroom and immediately hit a shower door and a toilet-room door, so a hinged door that swung in made everything feel crowded. Second, I wanted it to look modern, more like an oversized piece of art. I'm not keen on the farmhouse-style doors (no shade, it's just not right for my home). So I came to the conclusion that I'd have to build this bad boy myself, and make it budget-friendly, because who doesn't want to save money?
Here are the tools and supplies I used. You can easily swap tools or types of wood. I used the cheapest options I could find at my local hardware store, and this is what made my specific design. Copy it exactly, or get creative with your own.
Tools
- Circular saw (or table saw)
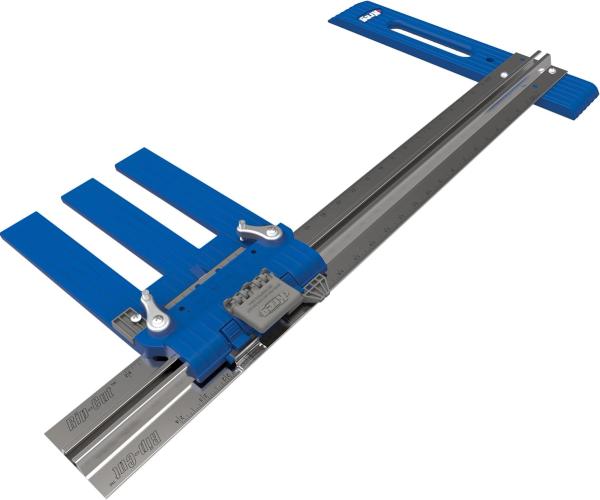
- Kreg Rip-Cut (or table saw)
- Sander (or hand-sand with a block and paper)
- Miter saw (or another way to cut 45° angles)
- Jigsaw (or use the circular saw to trim edges)
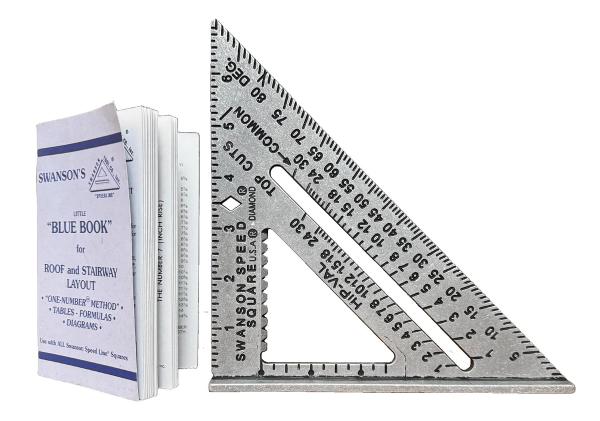
- Measuring tape, speed square, pencil
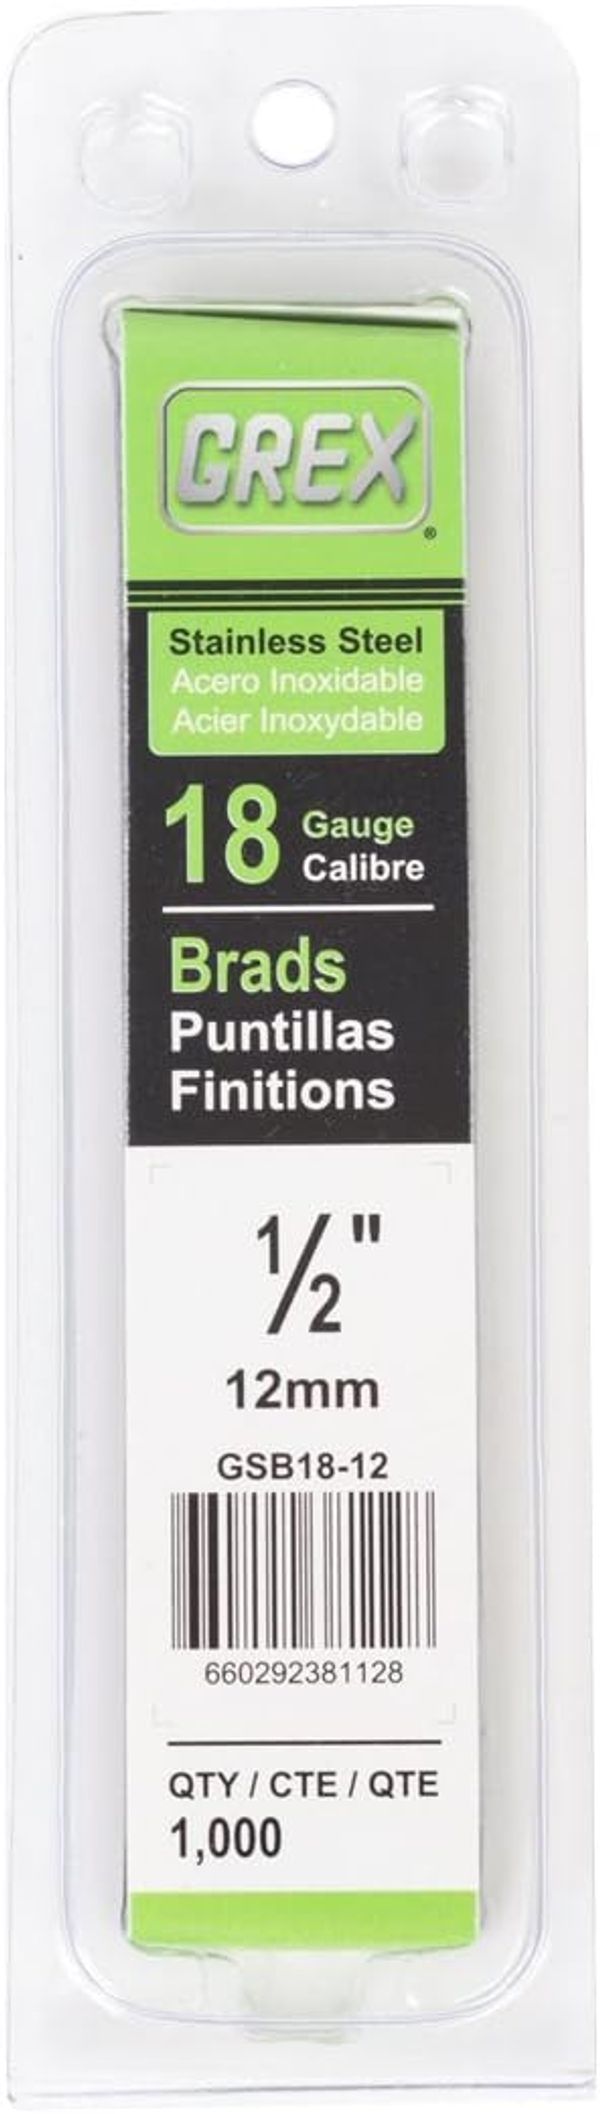
- Nail gun + 1/2-inch brad nails
- Drill and bits
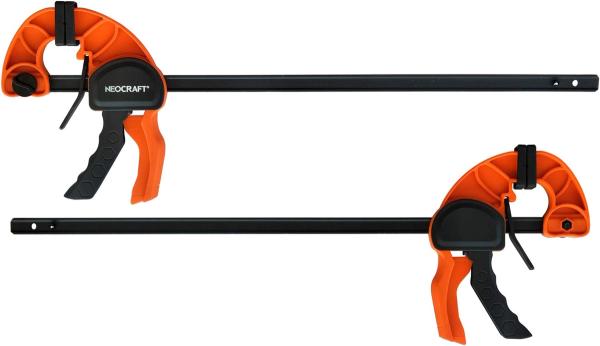
- Stud finder, level, clamps
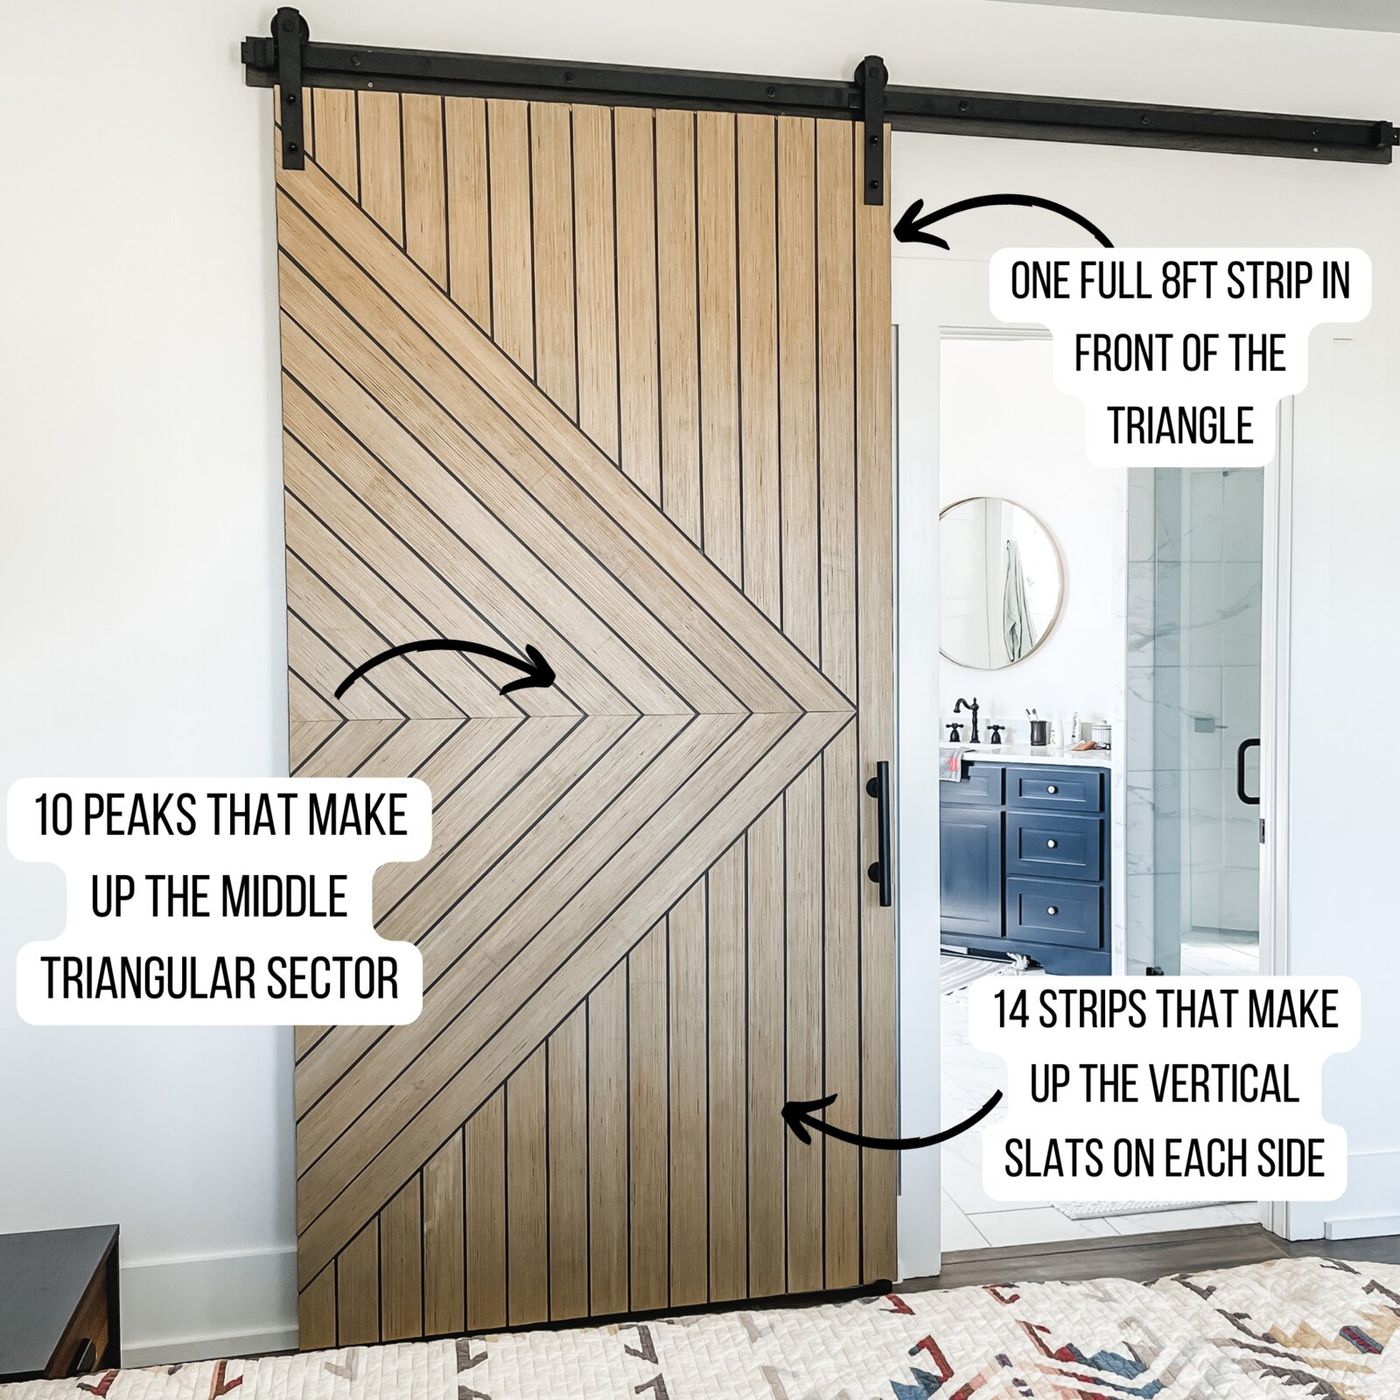
- Tile spacers
Supplies
- Wood glue
- Stain (I used Weathered Oak by Minwax)
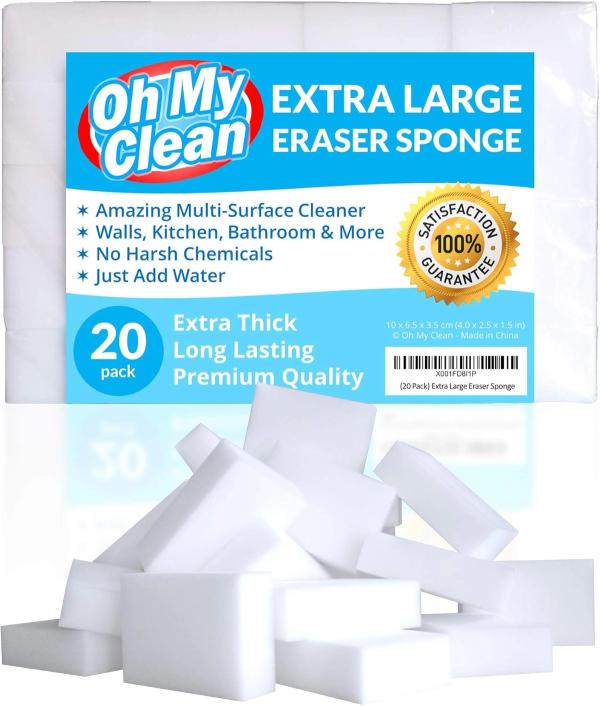
- Throwaway rag for stain, or off-brand melamine sponges
- Disposable gloves
- Clear coat
- Paint of choice (I used Black Fox by Sherwin-Williams)
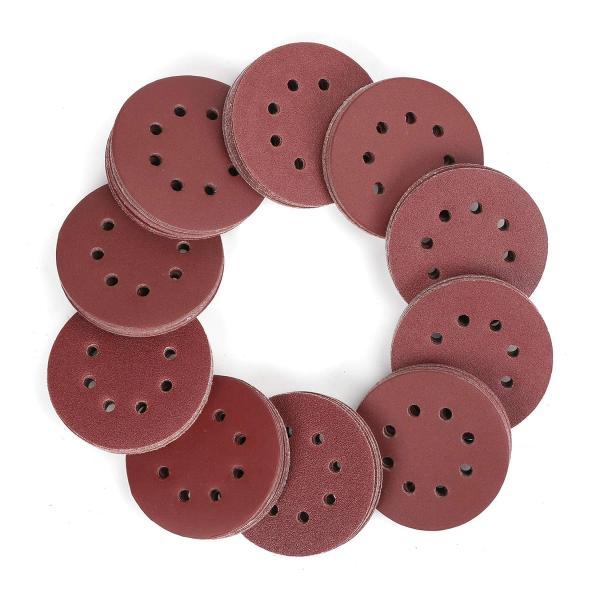
- Sandpaper
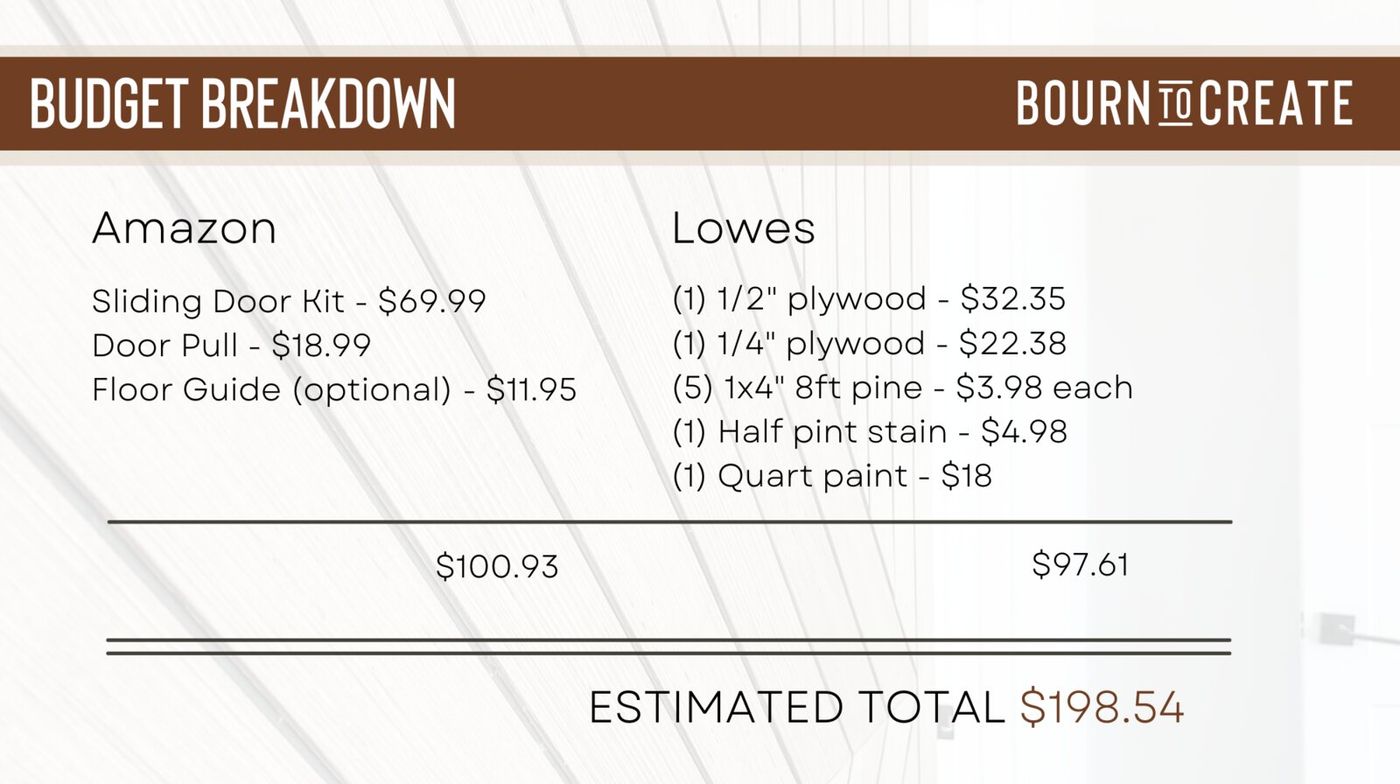
- Wood: (1) 1/2-inch plywood full sheet 4'×8' (or use your existing door); (1–2) 1/4-inch plywood; (4) 8 ft 1x4s to trim the back; (1) 1x4 for the "headboard" if needed
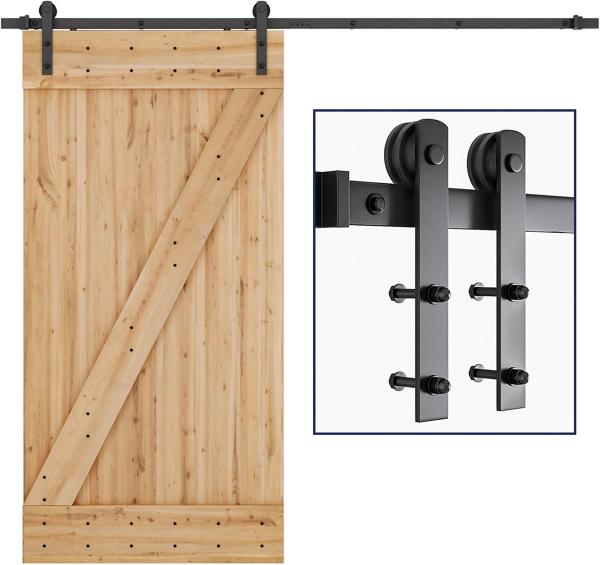
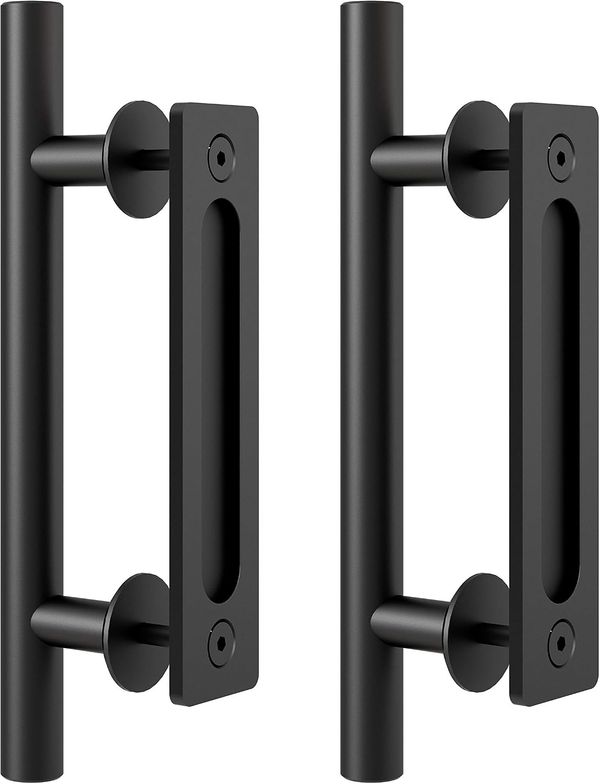
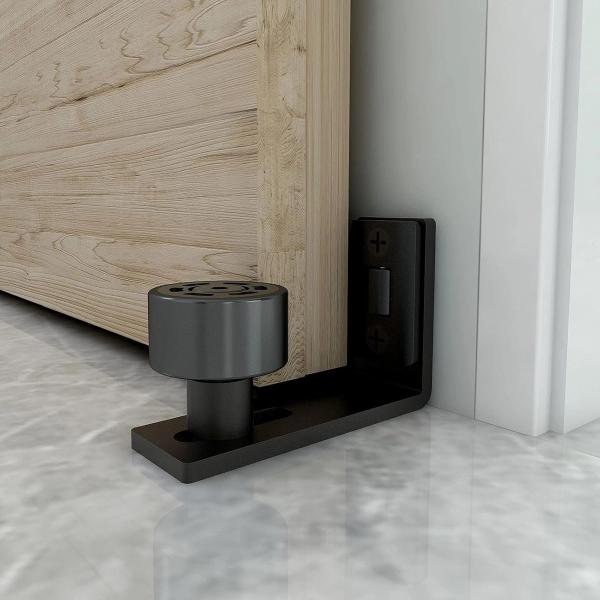
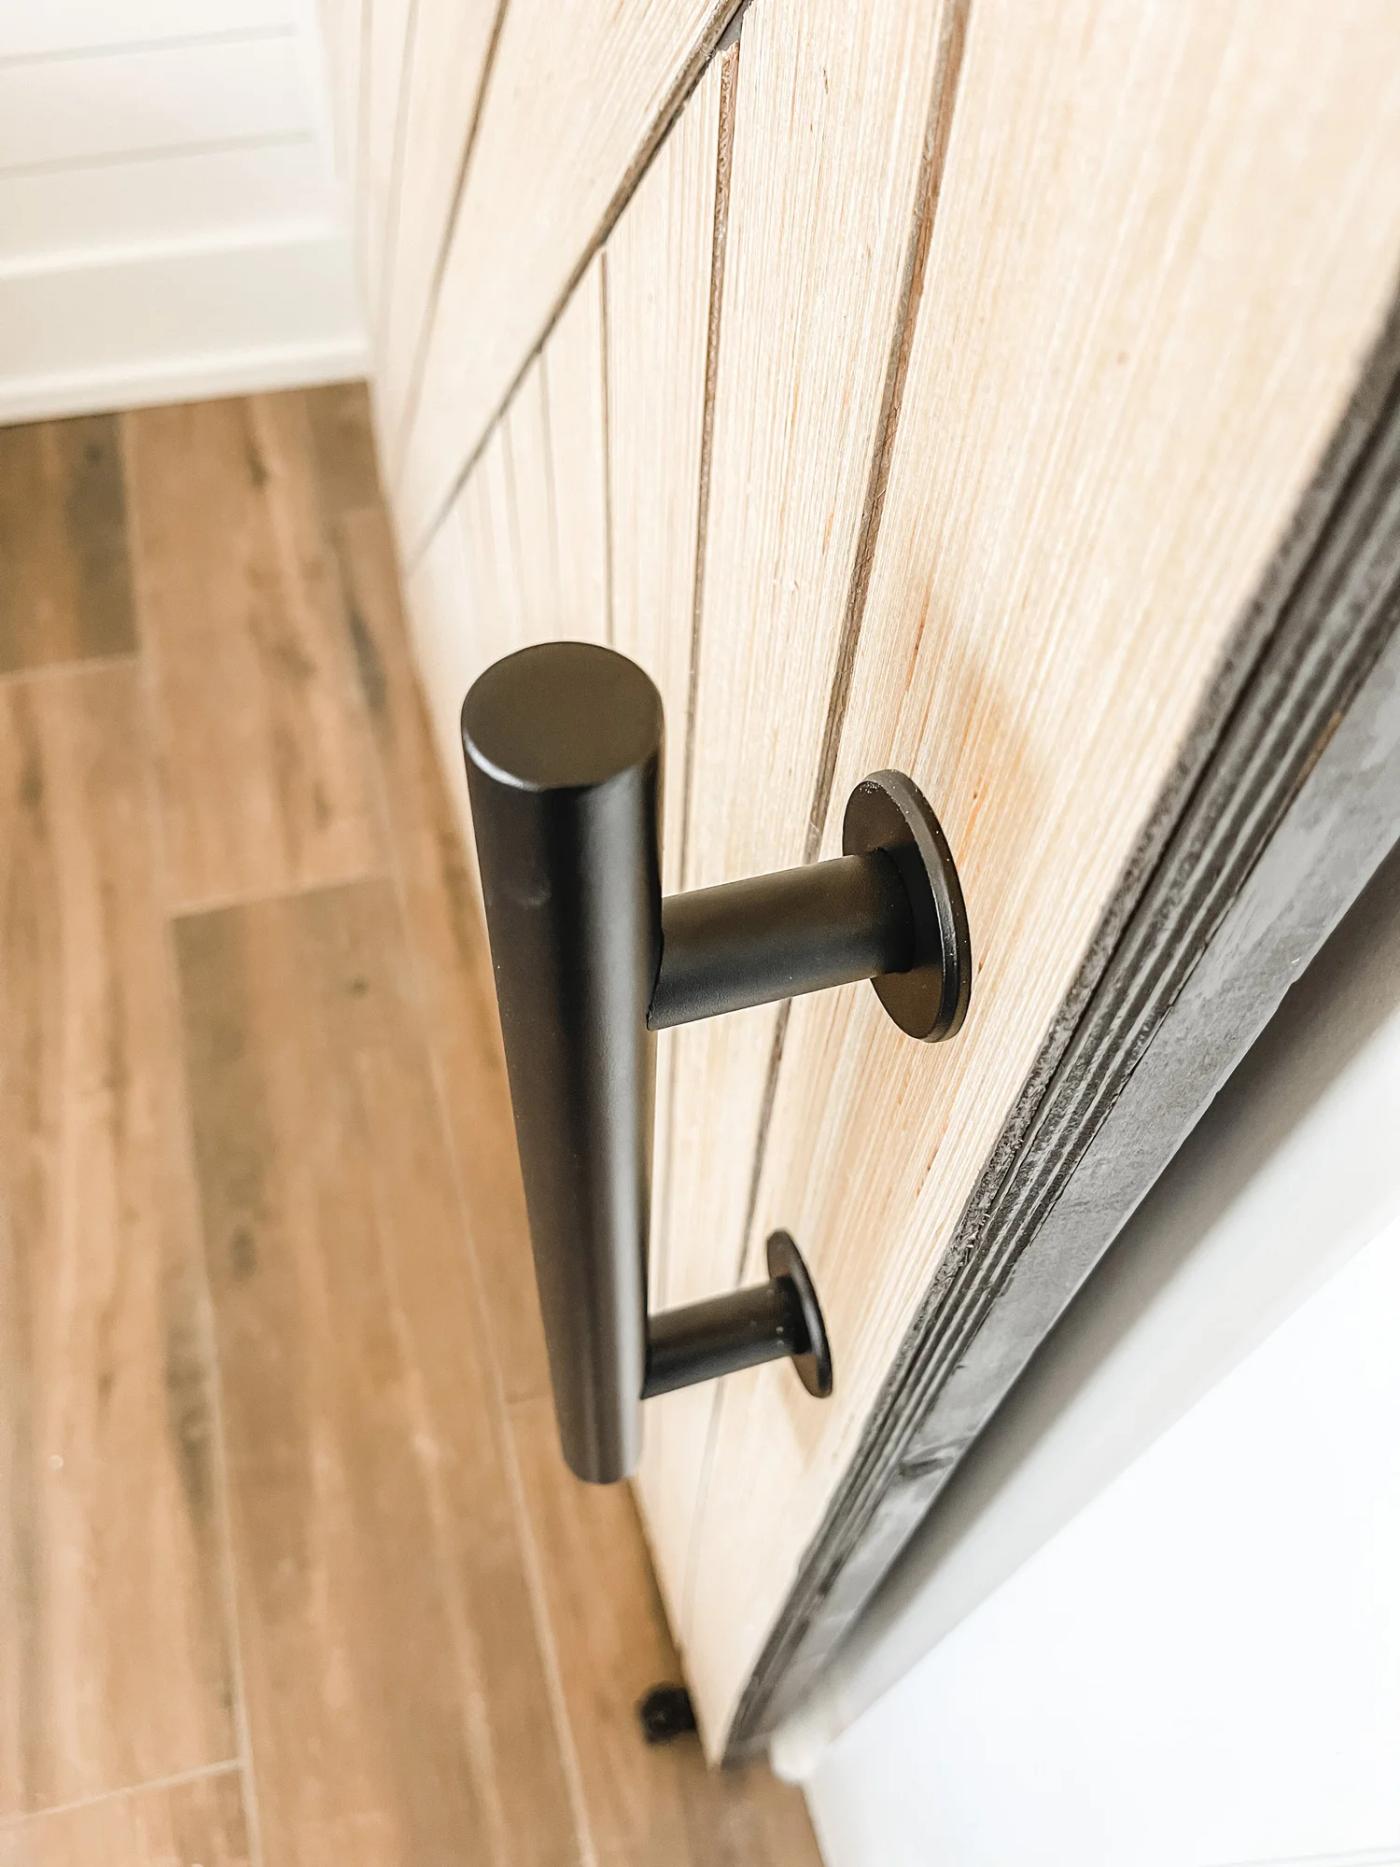
- Hardware: sliding door kit (mine is 8 ft), door pull, floor guide (mine came with the kit, but I needed to install mine on the wall, not the floor)
Step 1: Install the rail
Lay everything out and make sure you have all your parts. Decide whether you need the headboard piece based on your kit instructions: it sets the rail off the wall far enough that your door won't hit the moulding around the doorway. Follow the kit instructions to mount the rail to your wall.
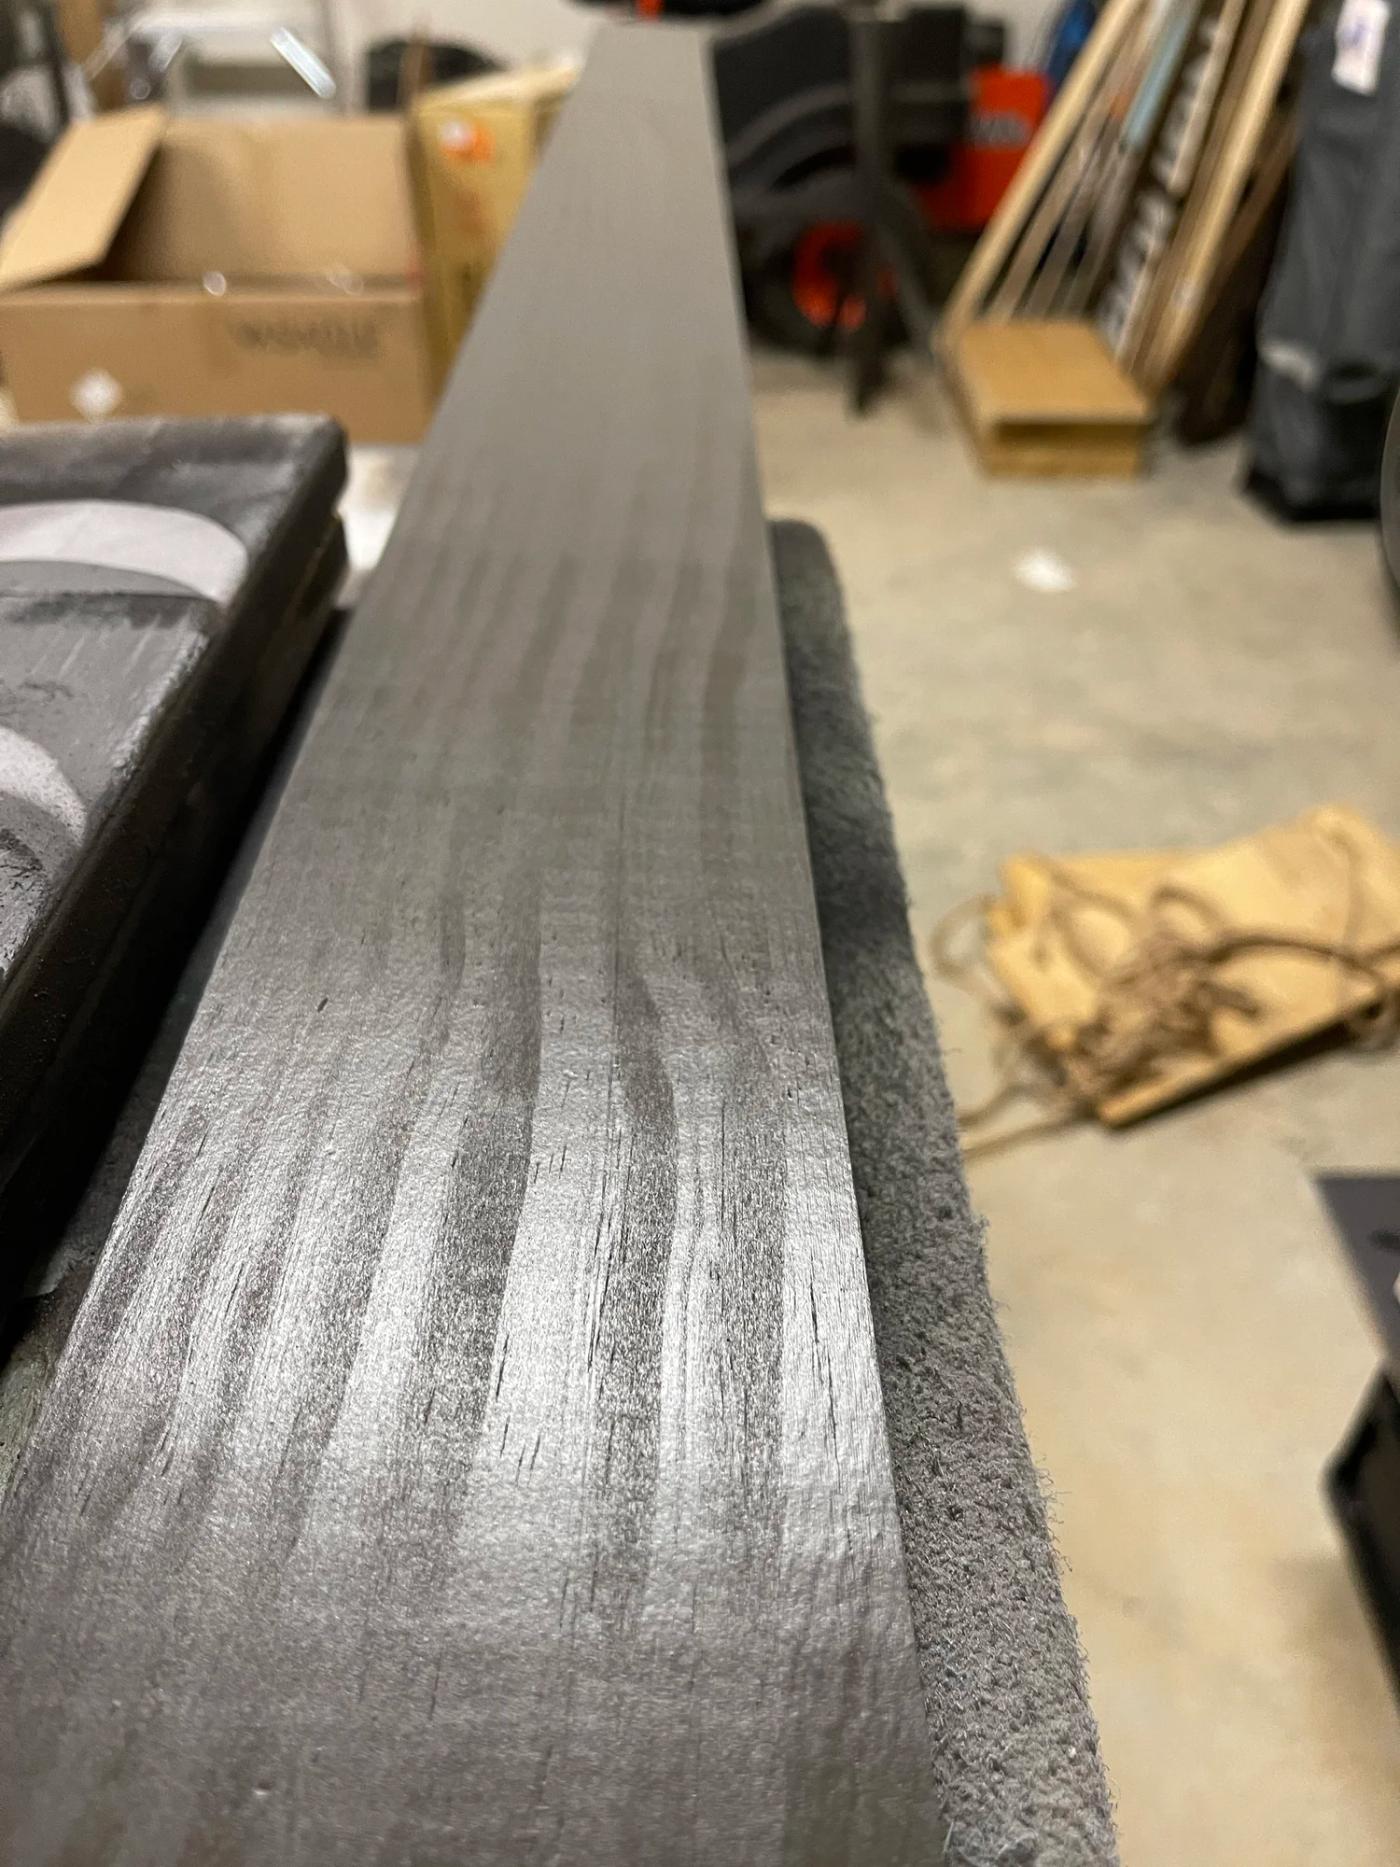
I bought an 8 ft 1x4, painted it the same black as the door, and installed it right into the studs so it looks like part of the rail system. Overlap your door frame and measure the right height off the plywood (I hung mine an inch higher than the door is tall to leave room to slide). Measure twice, cut once!
Step 2: Prep the door face
I used a full 8'×4' sheet of 1/2-inch plywood. Lay the door body on a work surface (I used a folding table). Lightly sand the face (I start at 80 grit and move to 220) and get the edges smooth too. Then paint or stain the face and edges before the slats go on; this is what shows through the gaps, so it's personal preference. I used two coats of Black Fox and let it dry completely.
Step 3: Mark your center
Measure half the width and half the height and draw lines that cross in the middle. That crossing point is your guide for the V-shape in the center of the design.
Step 4: Rip your slats
Rip 3-inch strips from your 1/4-inch plywood. I highly recommend a Kreg Rip-Cut if you don't have a table saw: it attaches to your circular saw and gives you even cuts every time. (No jig or table saw? Clamp a long straight board to each end and run your saw along it, a second set of hands helps.) Rip in the same direction each time so the grain runs the same way. I used two sheets to get as many 8 ft strips as I could.
Step 5: Lay out the design
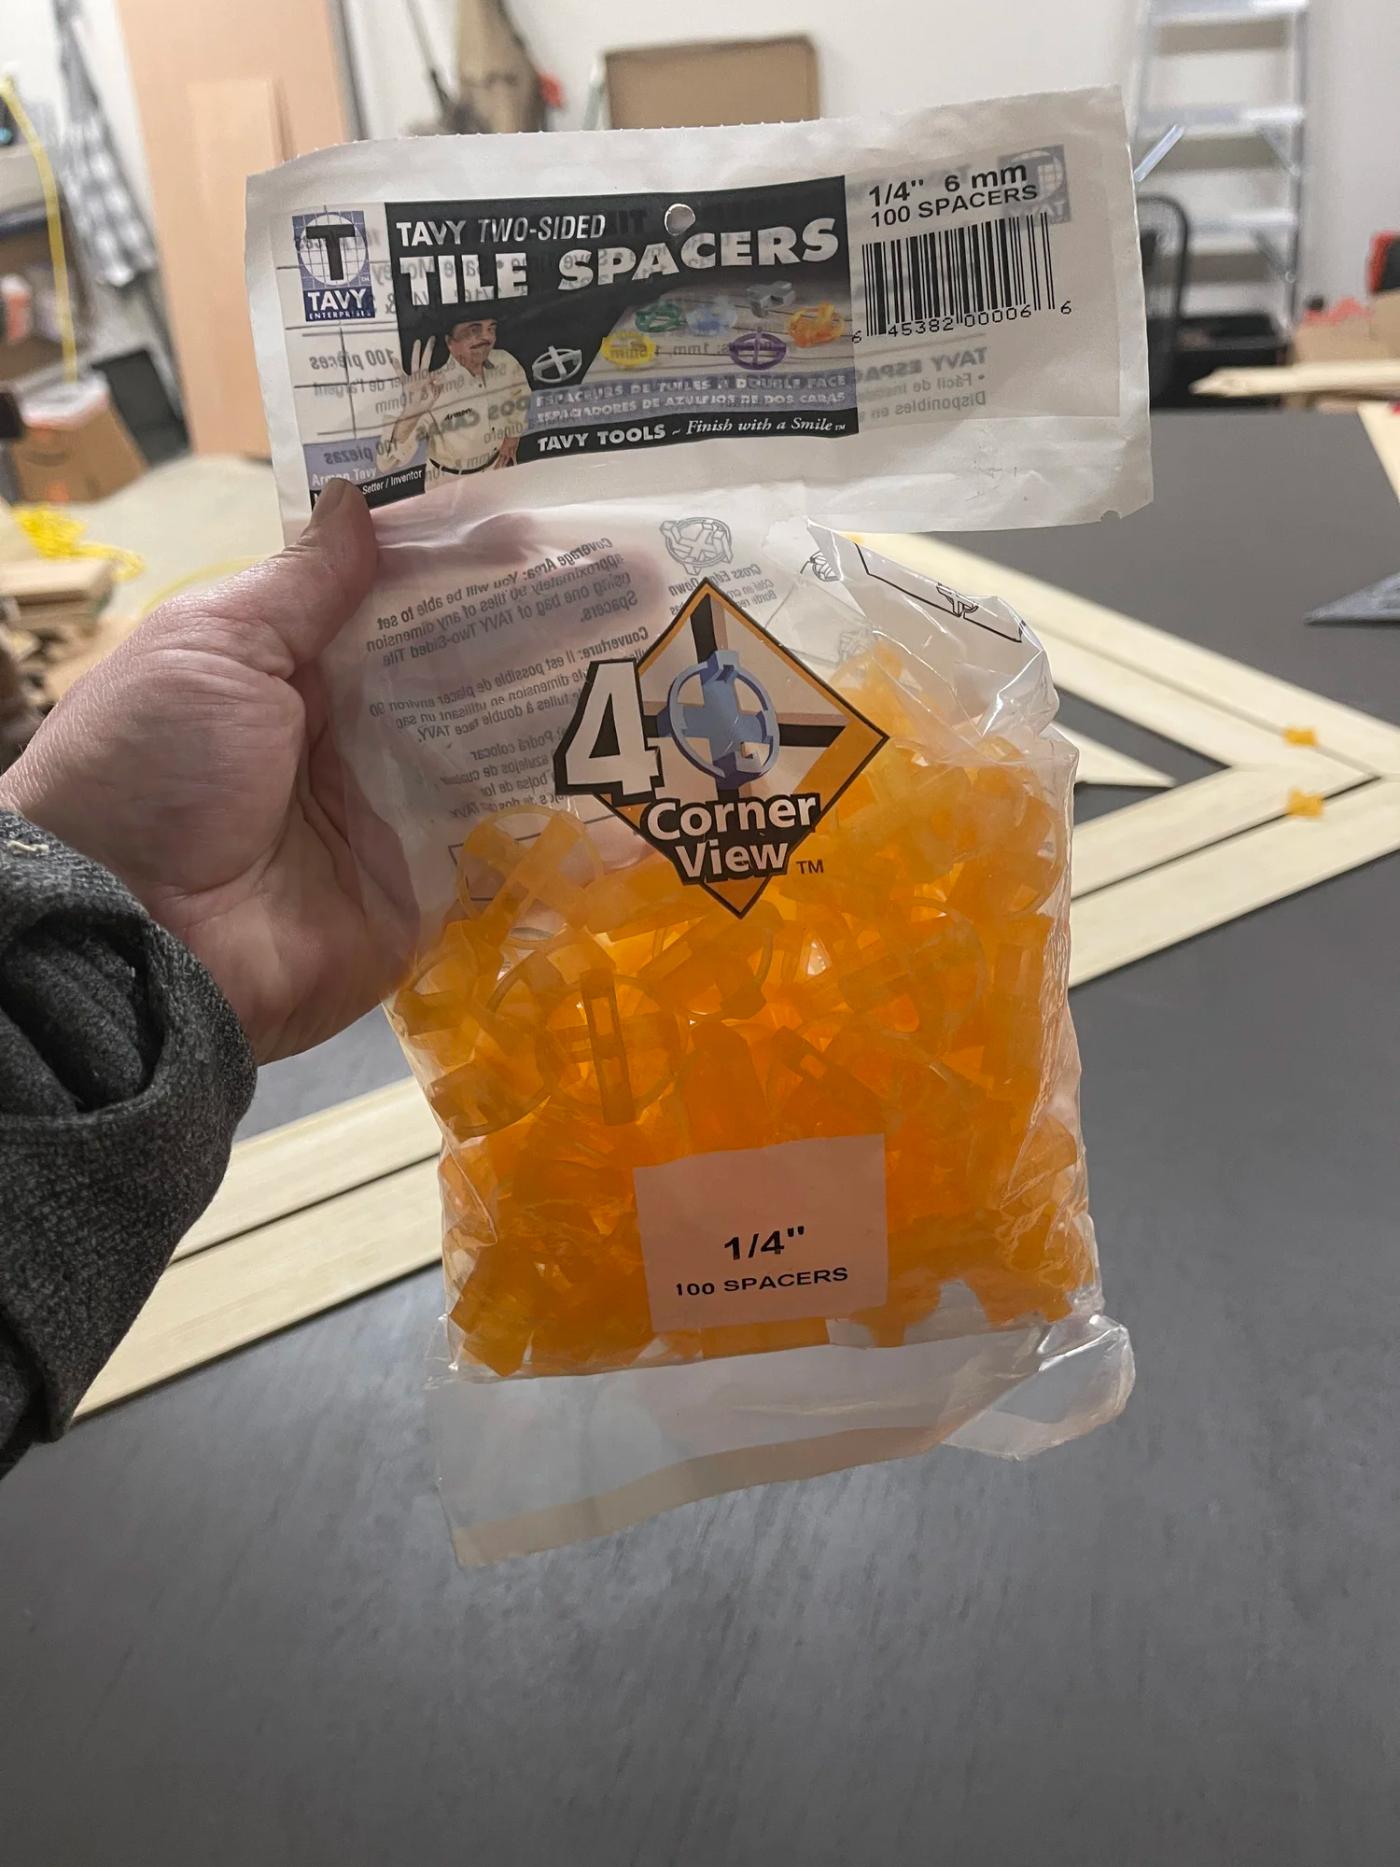
Start in the center. Take an 8 ft strip, measure the length you need at the angle, and cut a 45° angle with your miter saw (use a speed square to find the angle). Pro tip: cut two strips at once to mirror each other, and sandwich them with the same sides touching so you don't end up with one front and one back. Finish the middle triangle before the vertical cuts, working from your longest strips down to minimize waste. Use tile spacers as you go for even gaps. Don't worry about slats hanging off the edge. Those get trimmed later.
Step 6: Sand the edges
Before you glue anything down, sand every slat edge. I tried three methods and got the best results with a piece of sandpaper folded in thirds. Smooth all the rough edges, including the angle cuts.
Step 7: Attach the slats
Once everything's cut and laid out with even spacing, glue if you like (mine froze overnight and the water-based glue failed, so learn from me) and go through with a brad nailer, 2–3 nails per slat. Pro tip: clamp a straight edge to line your nails up. They're barely noticeable, but it helps the design.
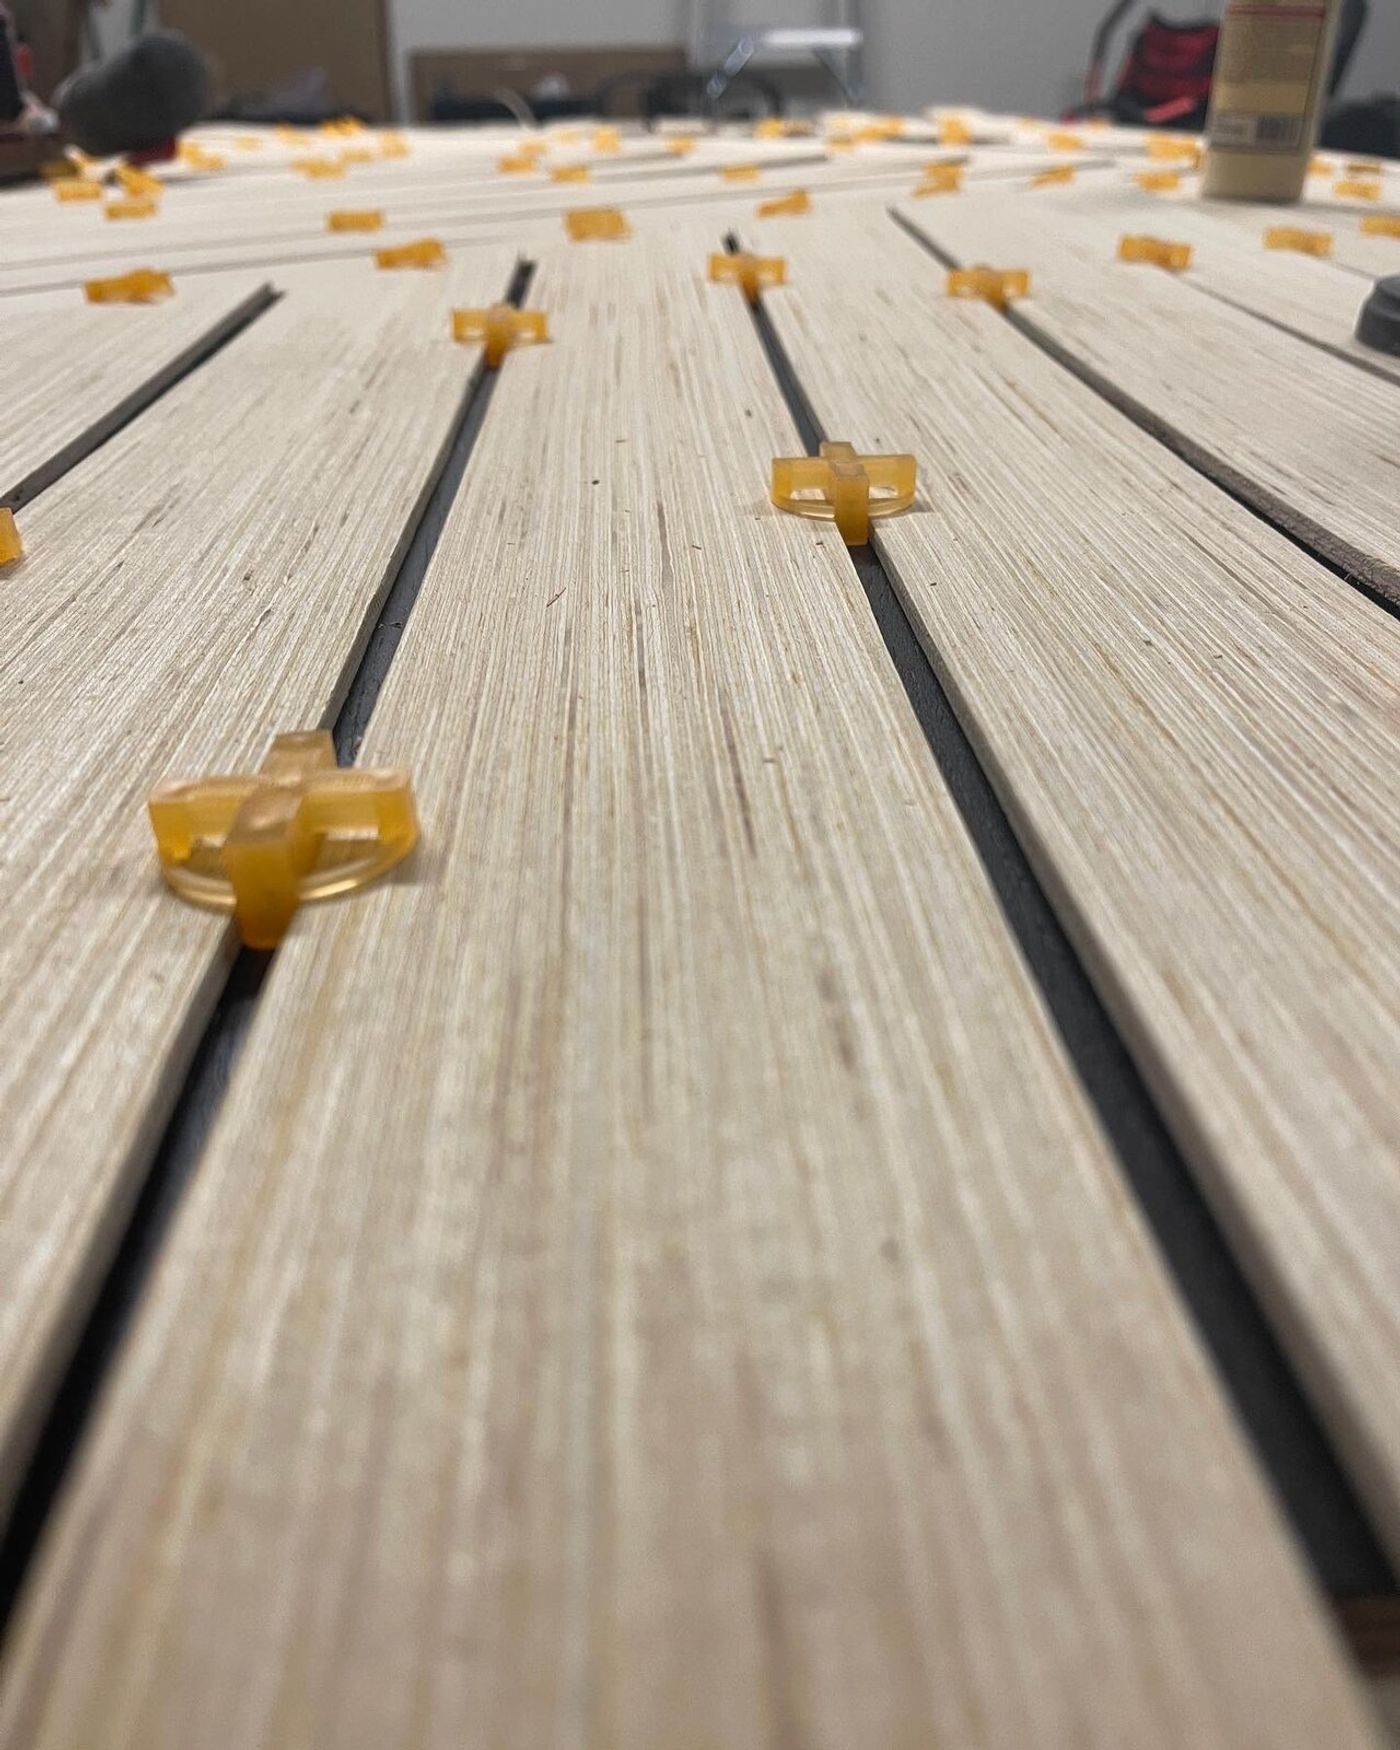
Step 8: Trim the edges
Let the glue dry, pull the tile spacers, and trim the overhang. I used a jigsaw on the top and bottom and a circular saw on the triangle edge: the jigsaw made cleaner cuts. Use clamps and a straight edge to guide the saw. Learn from my mistake: the circular saw tore up a few pieces. I think laying a scrap board over it first (or flipping the door) would've prevented it, but the door was too heavy for me to flip alone, so I replaced those pieces.
Step 9: Stain and seal
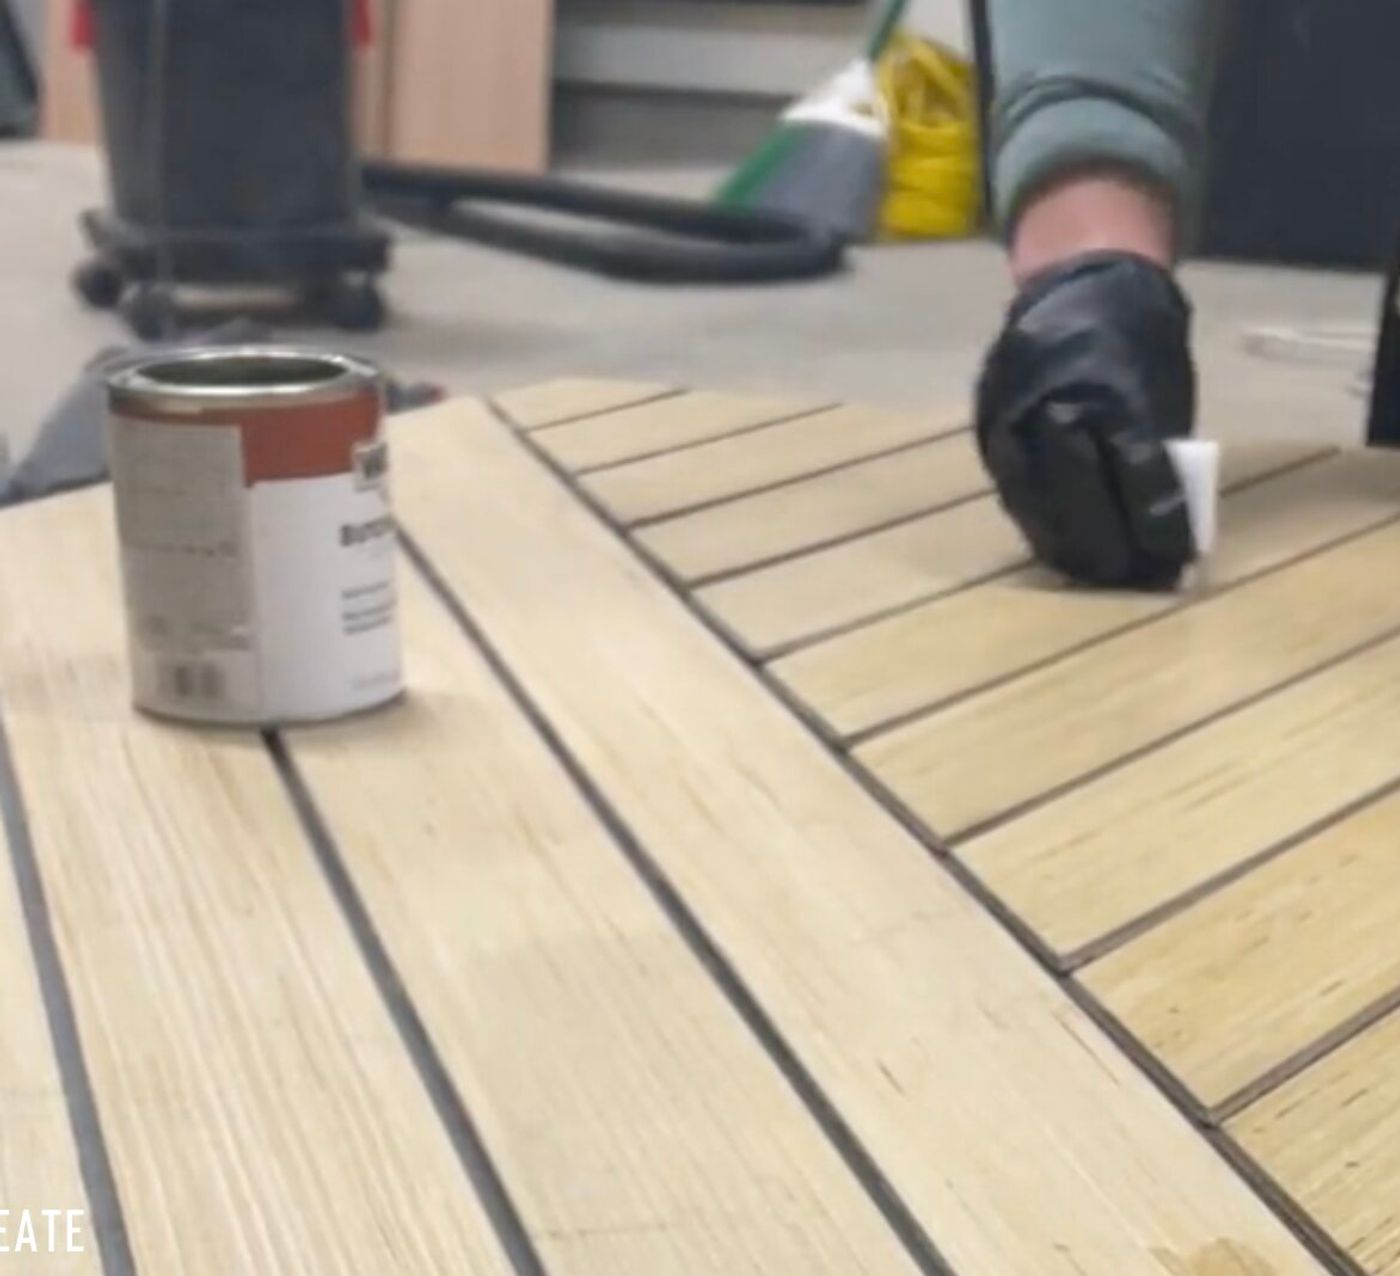
Sand the freshly cut edges smooth and even with the back. Brush or blow off all the dust, then stain. I used one coat of Minwax Weathered Oak (stir it thoroughly, never shake). Let it dry and apply a clear coat per the instructions. Pro tip: apply stain with off-brand melamine sponges torn in half, and wipe up the excess with a rag.
Step 10: Trim and finish the back
Once the front is fully dry, flip the door. Trim the back with two 8 ft 1x4s run vertically, then cut a third 1x4 to fill the top and bottom (running the long pieces vertical hides the exposed edges on the sides). I added one more piece of trim through the middle, secured with glue and the nail gun. Paint the whole back, edges included. I used the same Black Fox.
Step 11: Hang it
Add your hardware. My door weighs maybe 80 pounds, so I got help and installed the hardware while it leaned against the rail: I highly recommend this, it gets the wheels exactly where you want them. Put the wheel brackets on the thickest part of the door so the hardware fits right. Pro tip: boost the door up on scrap wood to your desired height while you attach the hardware, then kick the scraps out once it's hung.
Admire your work
For under $200, I'm honestly so impressed with this build. I couldn't have found a door this big in a style I actually wanted. Let me know if you make one. I'd love to see it. Reach out on email, Instagram, or TikTok if you get stuck!